How to Install a Frontal Wig: The Beginner Guide to a Flawless Hairline
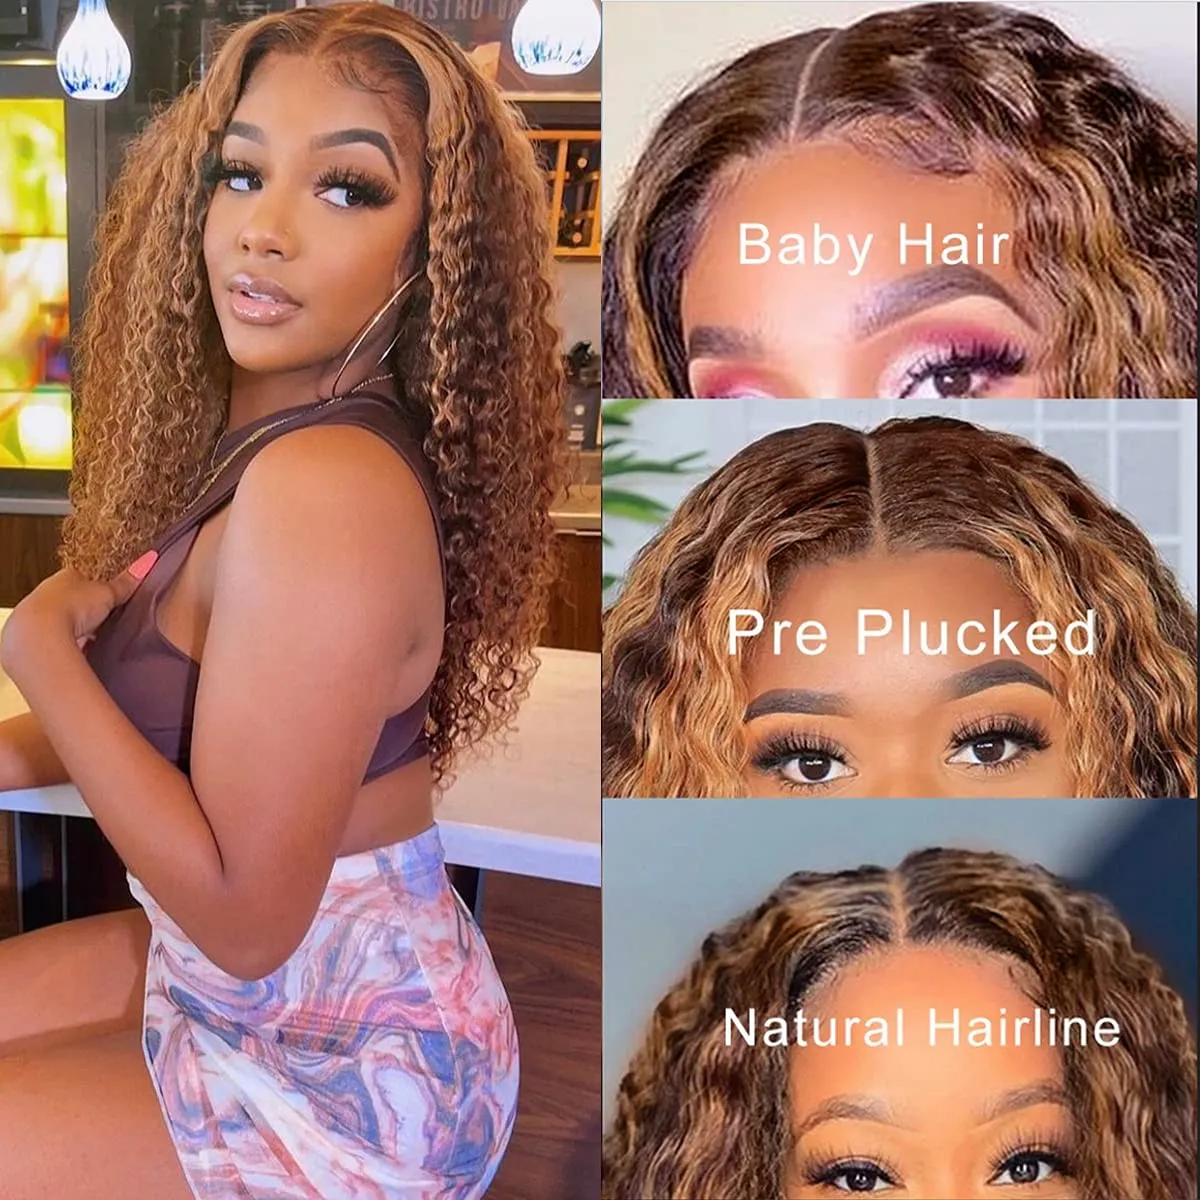
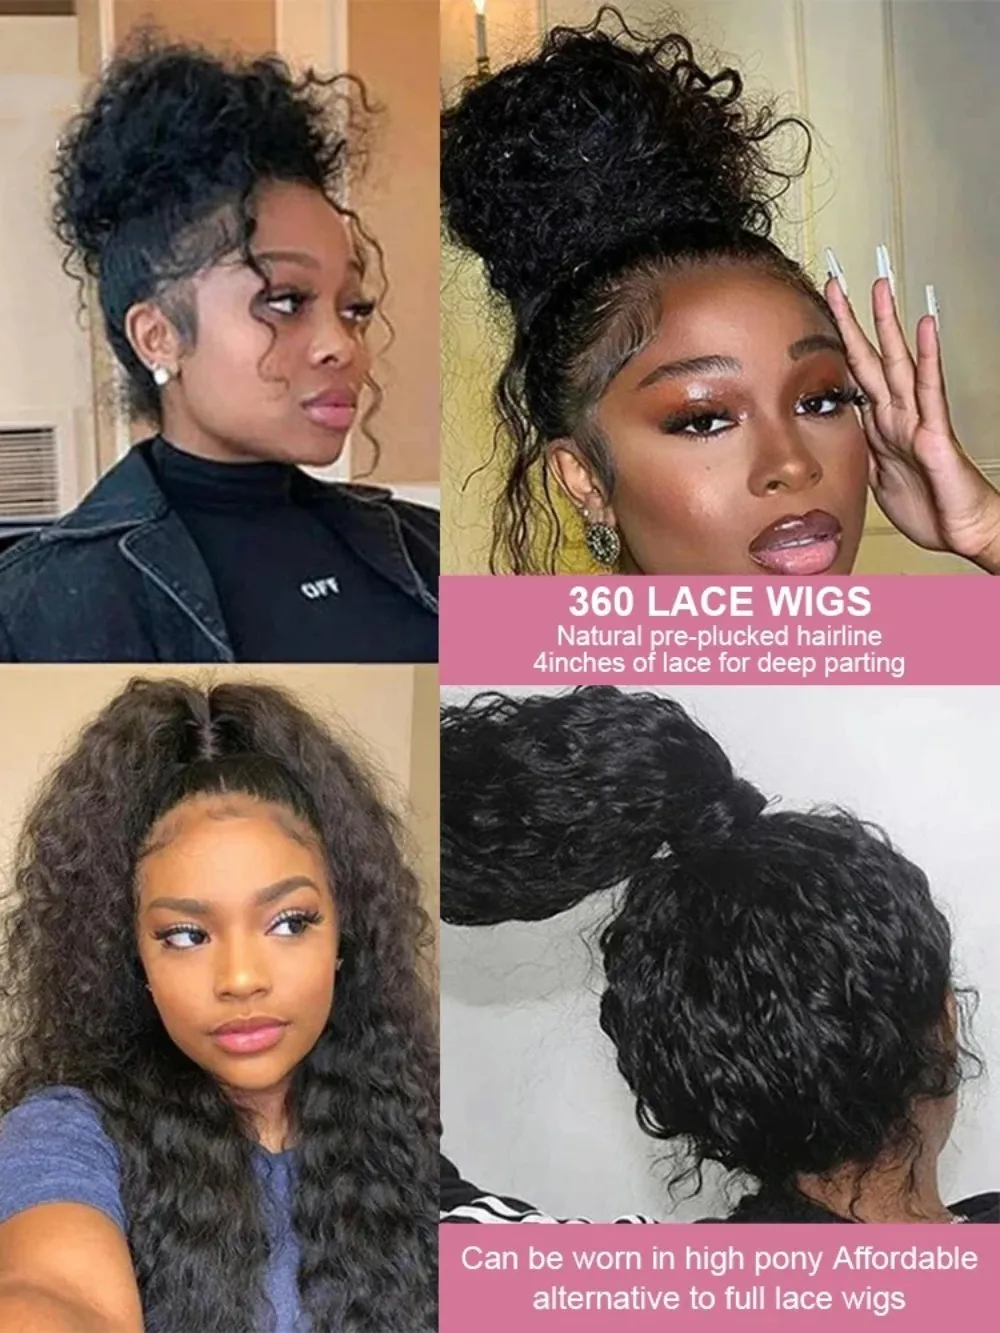
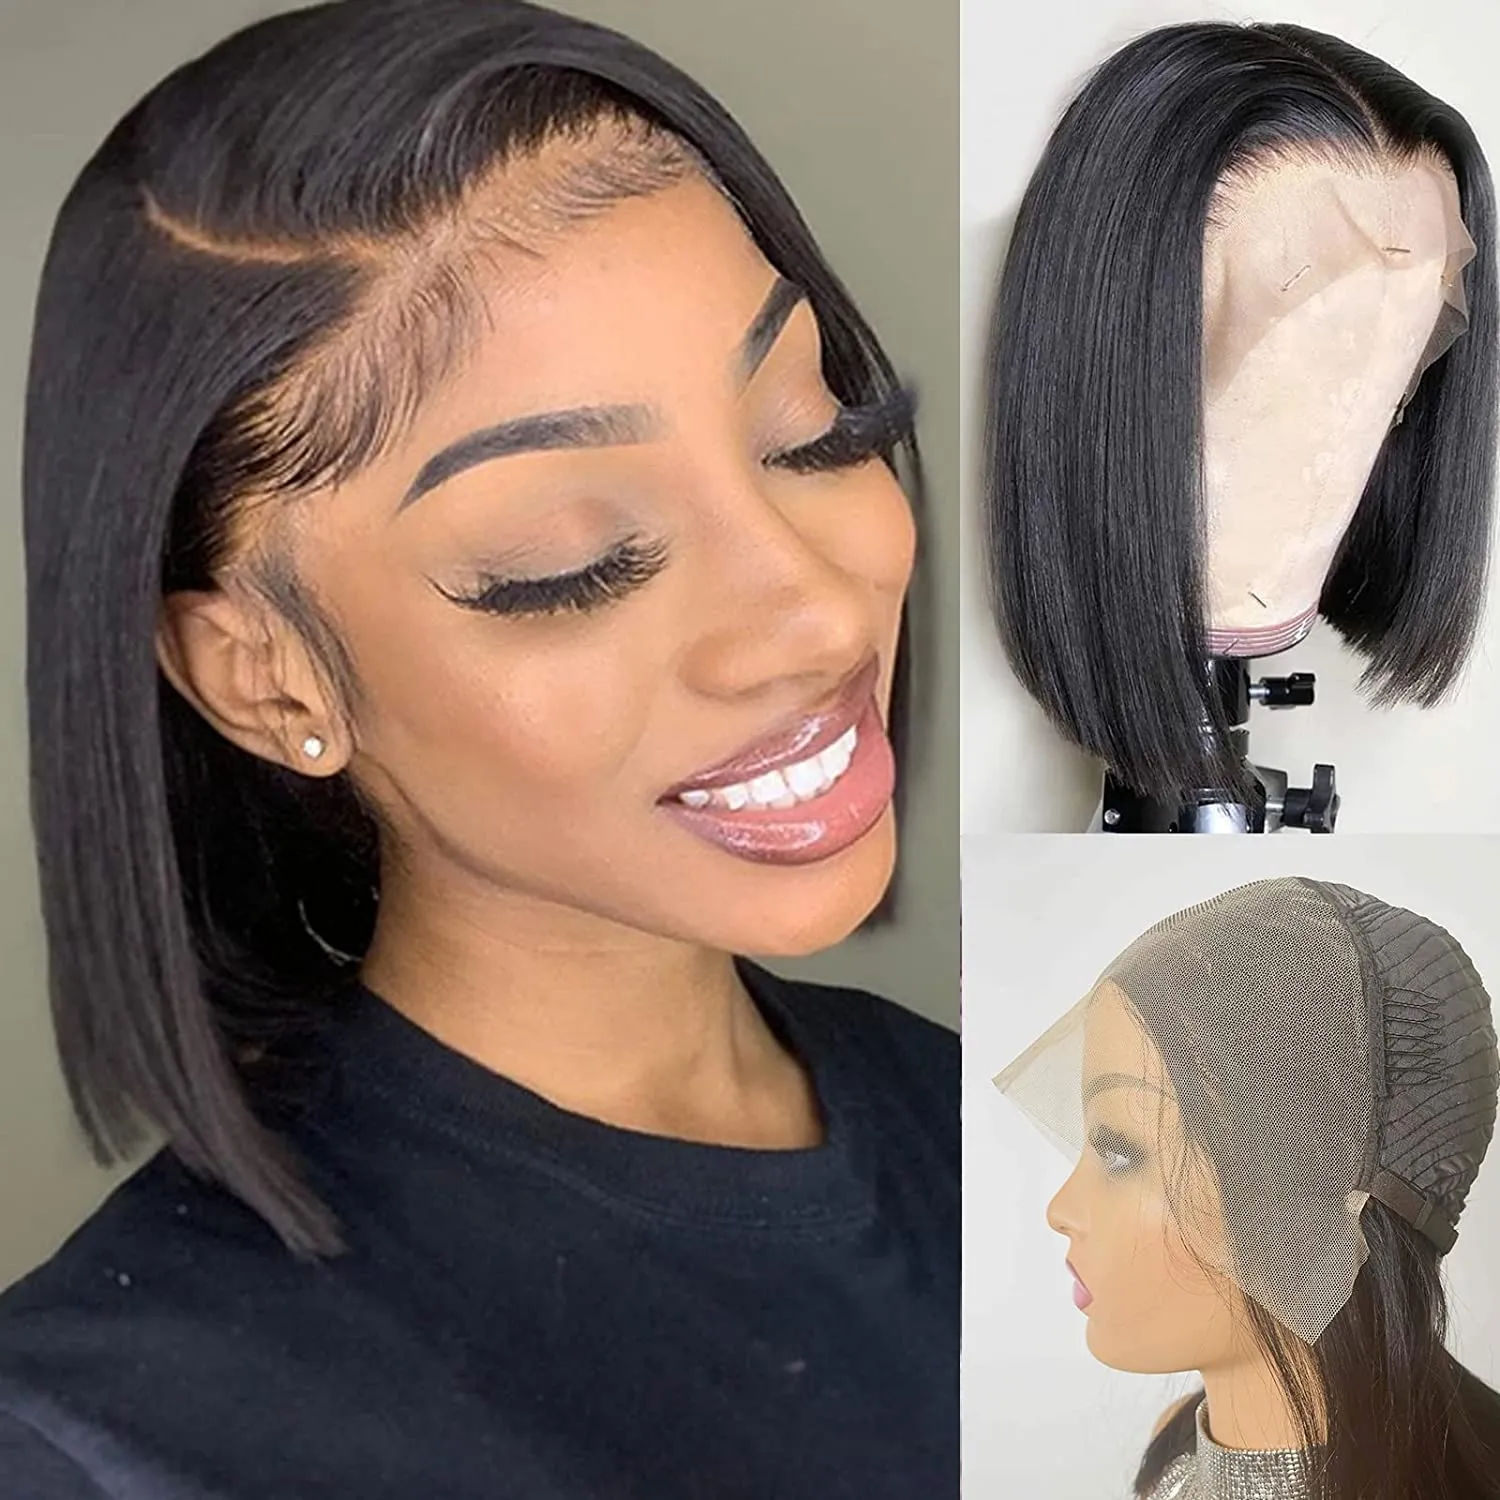
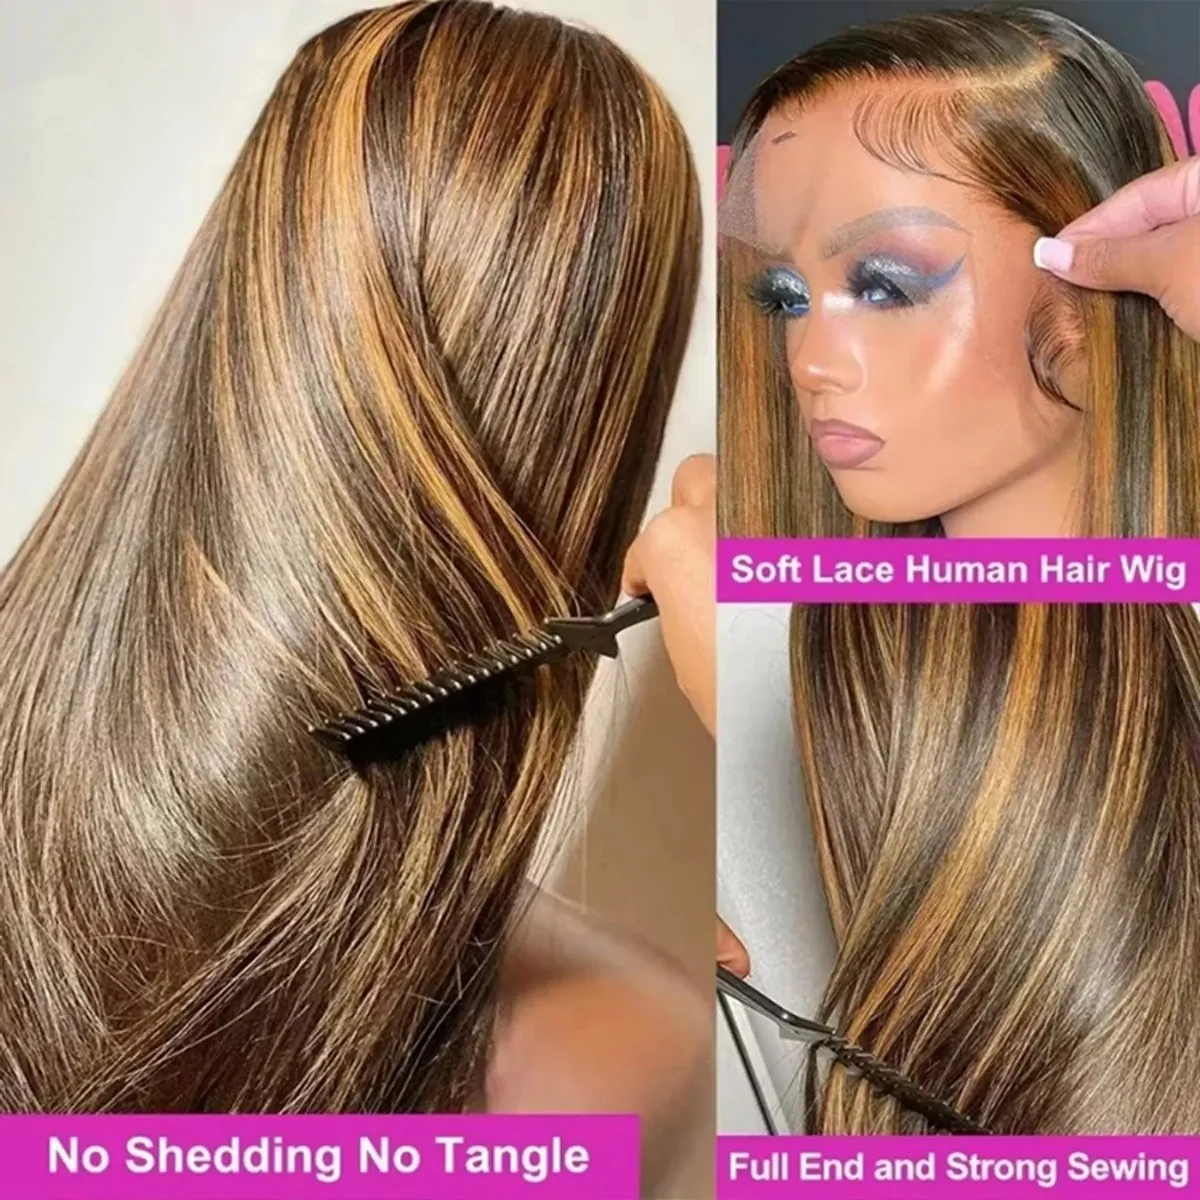
A frontal wig covers your entire hairline from ear to ear — temple to temple — with a single piece of lace. Compared to a closure wig (which covers only a small section at the crown or part), a frontal wig gives you vastly more styling freedom: high ponytails, half-up styles, deep side parts, anything that exposes your hairline. But that freedom comes with a more involved installation process. The lace spans your entire forehead, and getting it to melt into your skin from temple to temple is a skill that intimidates beginners. It should not. It follows a clear sequence, and doing it in the right order makes the difference between invisible and obvious.
🧩
Closure vs Frontal: Know the Difference
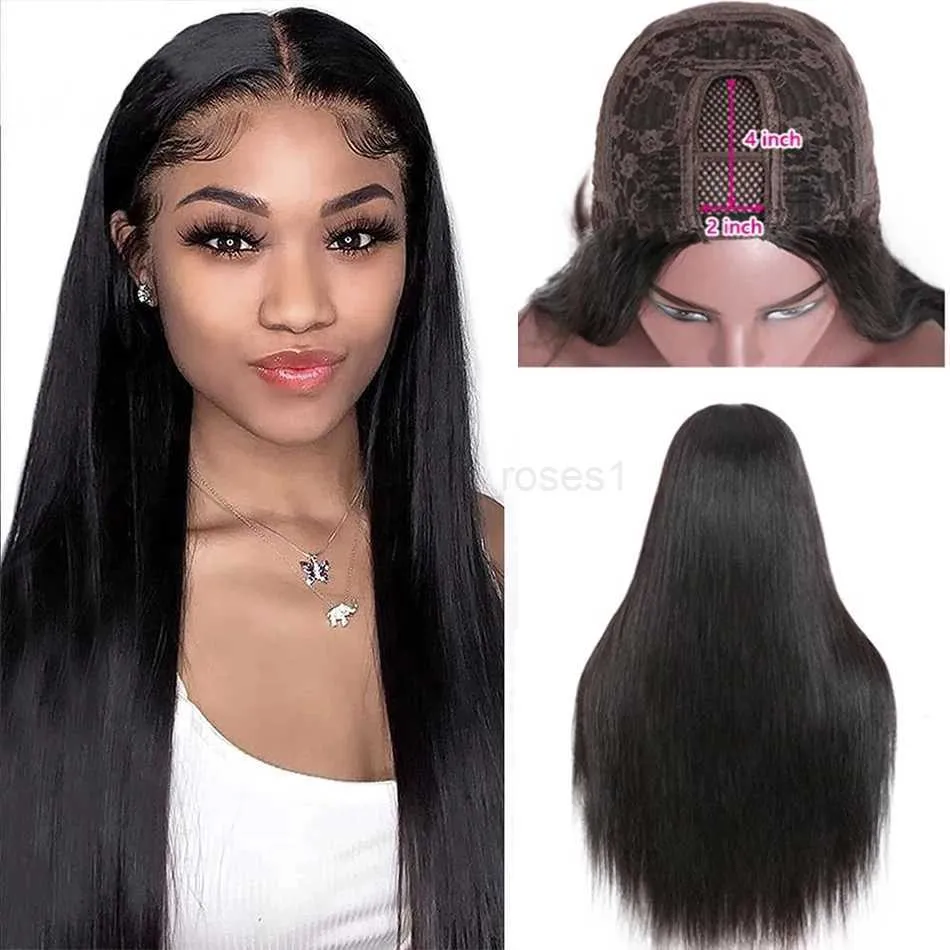
Closure: Small lace piece (4x4 or 5x5 inches) at crown/part only. Limited styling — middle part or side part only. Simpler install.
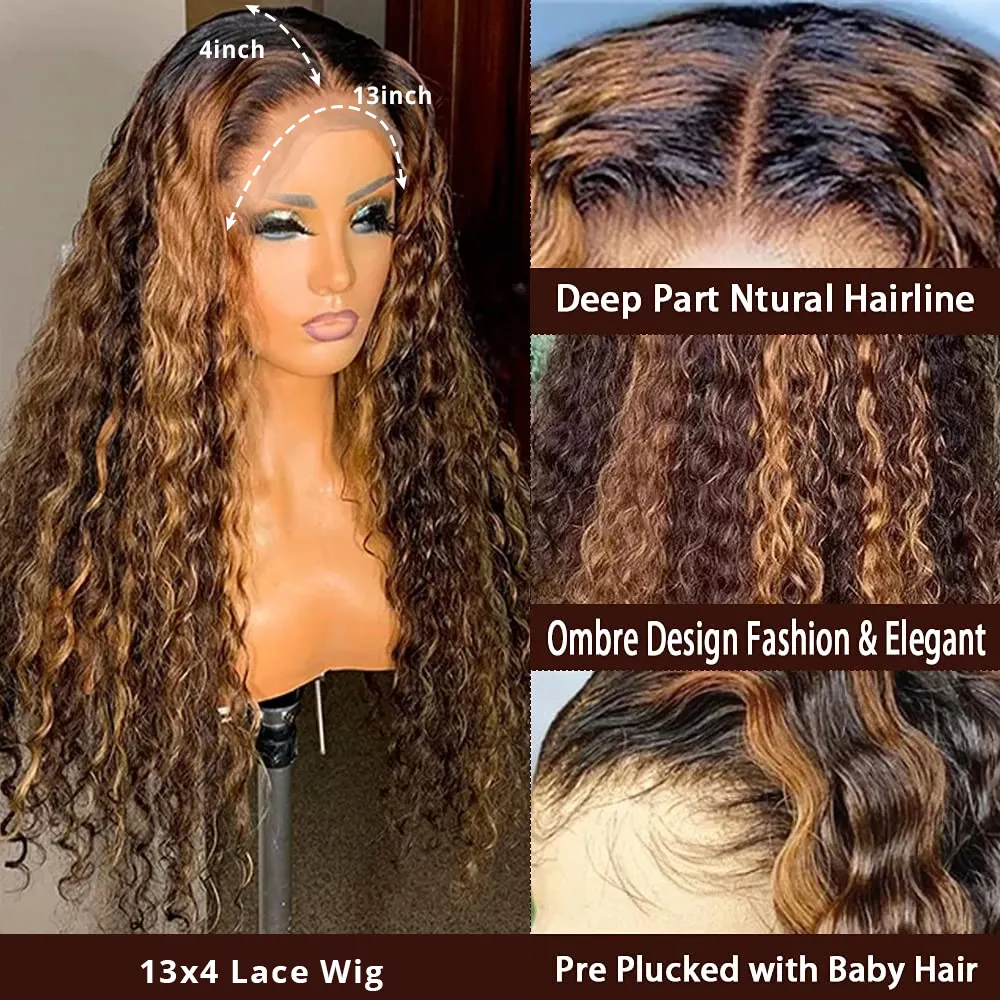
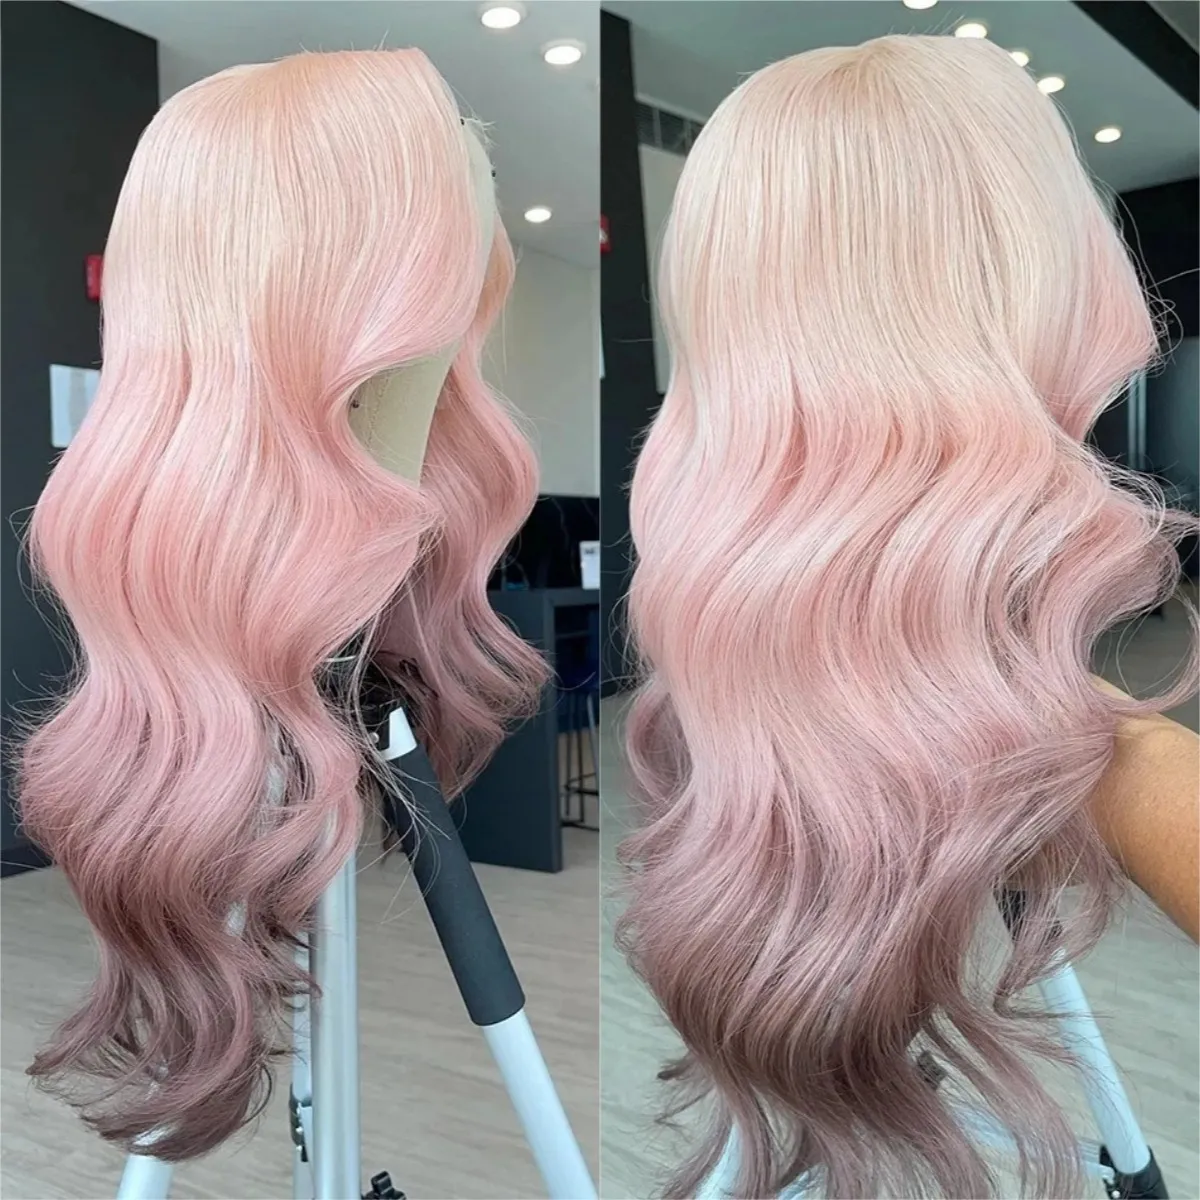
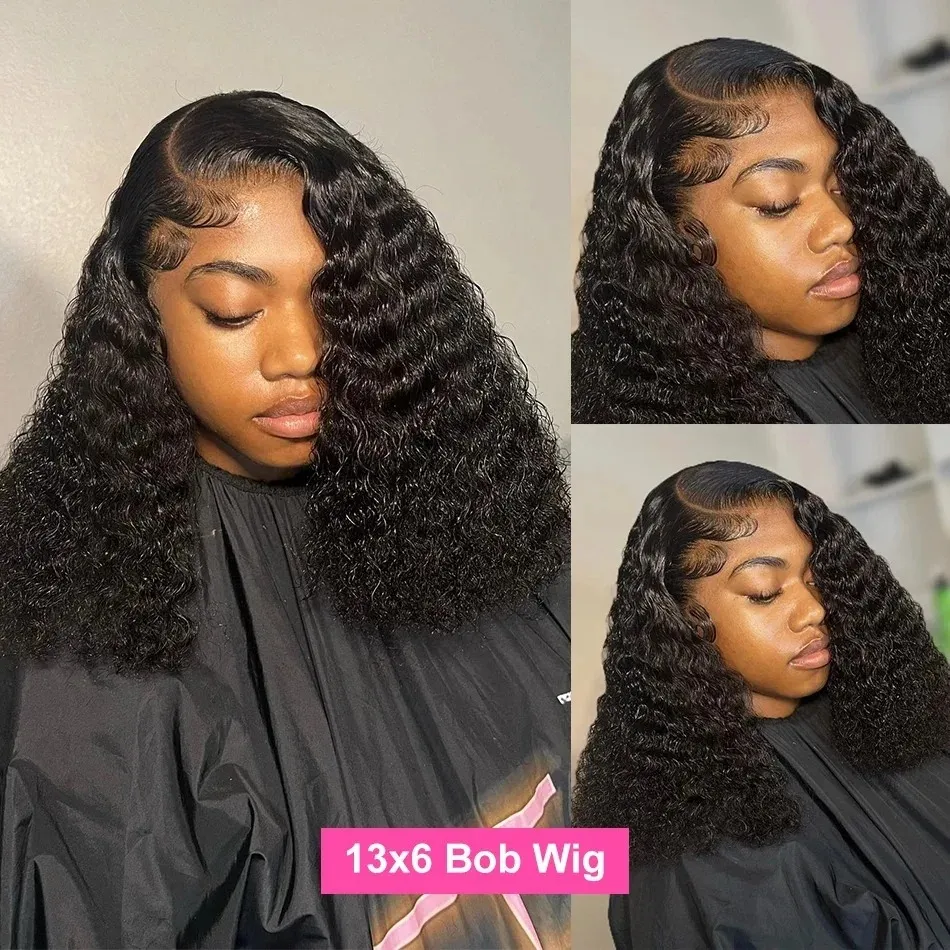
Frontal: Large lace piece (13x4 or 13x6 inches) spanning ear to ear across entire hairline. Full styling freedom. More complex install.
The Installation Process
1
Prep your natural hair. Braid it flat in cornrows going straight back. The flatter the braids, the smoother the wig sits. If you have long hair, cross the ends at the nape and pin them flat. Put on a wig cap that matches your skin tone. Tuck every stray hair inside.
2
Trim the frontal lace. Put the wig on to mark where your natural hairline meets the lace. Take it off. Cut the excess lace in a zigzag or scalloped pattern, leaving about 1–2mm of lace in front of the hairline for the adhesive to grip.
3
Bleach the knots (human hair only). Turn the wig inside out. Apply a mixture of bleach powder and 20-volume developer to the underside of the lace along the hairline. Check every 5 minutes until the knots turn honey-blonde. Rinse with cool water. This step makes the knots invisible against your skin. Skip for synthetic wigs — bleach melts synthetic fiber.
4
Apply scalp protector along your entire hairline — temple to temple. Let dry until tacky. This prevents adhesive from directly contacting your skin and makes removal significantly easier.
5
Apply adhesive in thin layers along your hairline. Two to three thin coats, each dried until clear before the next. The adhesive should cover from temple to temple — the full width of the frontal lace.
6
Place the wig. Start at the center of your hairline. Press the lace into the adhesive from the center outward — first to the right temple, then to the left. Use a rat-tail comb to press the lace flat, working out any air bubbles.
7
Tie it down. Wrap a silk scarf tightly around your hairline. The pressure bonds the lace to the adhesive. Leave for 15–20 minutes. This is not optional — skipping the tie-down results in a lace edge that lifts within hours.
8
Style and blend. Remove the scarf. Style the wig as desired. Create baby hairs along the hairline with edge control to hide any remaining visible lace edge. The frontal should now be undetectable — hairline to hairline.
🧠 Frontal vs Glueless: The Tradeoff
A glued frontal wig gives you the most natural-looking hairline possible and the most styling freedom. The tradeoff: time (30–45 minutes for a full install) and maintenance (adhesive must be removed and reapplied every 1–2 weeks). A glueless wig gives you 90% of the look in 10% of the time. Neither is better — they serve different needs. Know which one matches your lifestyle before you commit.
We stock 13x4 and 13x6 frontal wigs in synthetic and human hair, with pre-plucked hairlines and HD lace. Plus adhesives, scalp protectors, and silk scarves for the full install kit.
Jesica
Hi! I'm Jesica. As a 34-year-old African American woman, wigs have long been more than just a simple accessory to me—they are the ultimate tool for self-expression and boosting confidence. Over the past decade or so, I've purchased almost every type of wig on the market.
I've had my fair share of fails, but I've also gained an incredible amount of valuable experience along the way. My goal here at Rizzwigs.com is simple: with hundreds of gorgeous styles available, I am here to use my incredibly picky buyer's eye and extensive hands-on experience to guide you. Stick with me to avoid the pitfalls, and let's unlock your most stunning, versatile looks together!