





 Understanding this process won't teach you to do it yourself in an afternoon (it takes months to learn and years to master), but it will make you a dramatically smarter wig buyer. Once you know what goes into a well-constructed wig, you'll never look at a product page the same way again.
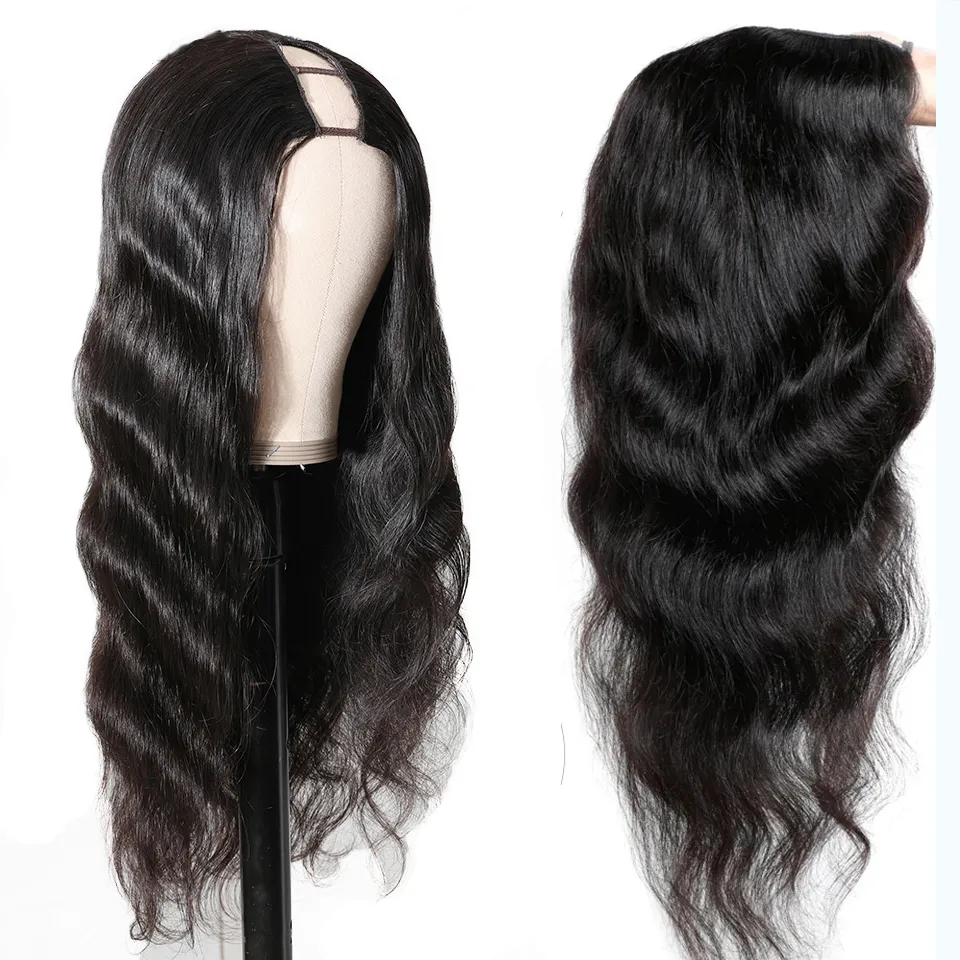
Every wig starts with the cap — the base that sits against your scalp and holds all the hair. The cap determines fit, comfort, breathability, and how the hair moves. There are four main construction types:
Machine-wefted cap (basic construction): Rows of hair wefts are machine-sewn onto a fabric or mesh base. The crown often has a "permatease" area — teased, crimped fiber at the top that creates volume and hides the cap underneath. These are the most affordable wigs and the least breathable. The hair can only fall in the direction of the wefts — usually straight down. No updos, no high ponytails.
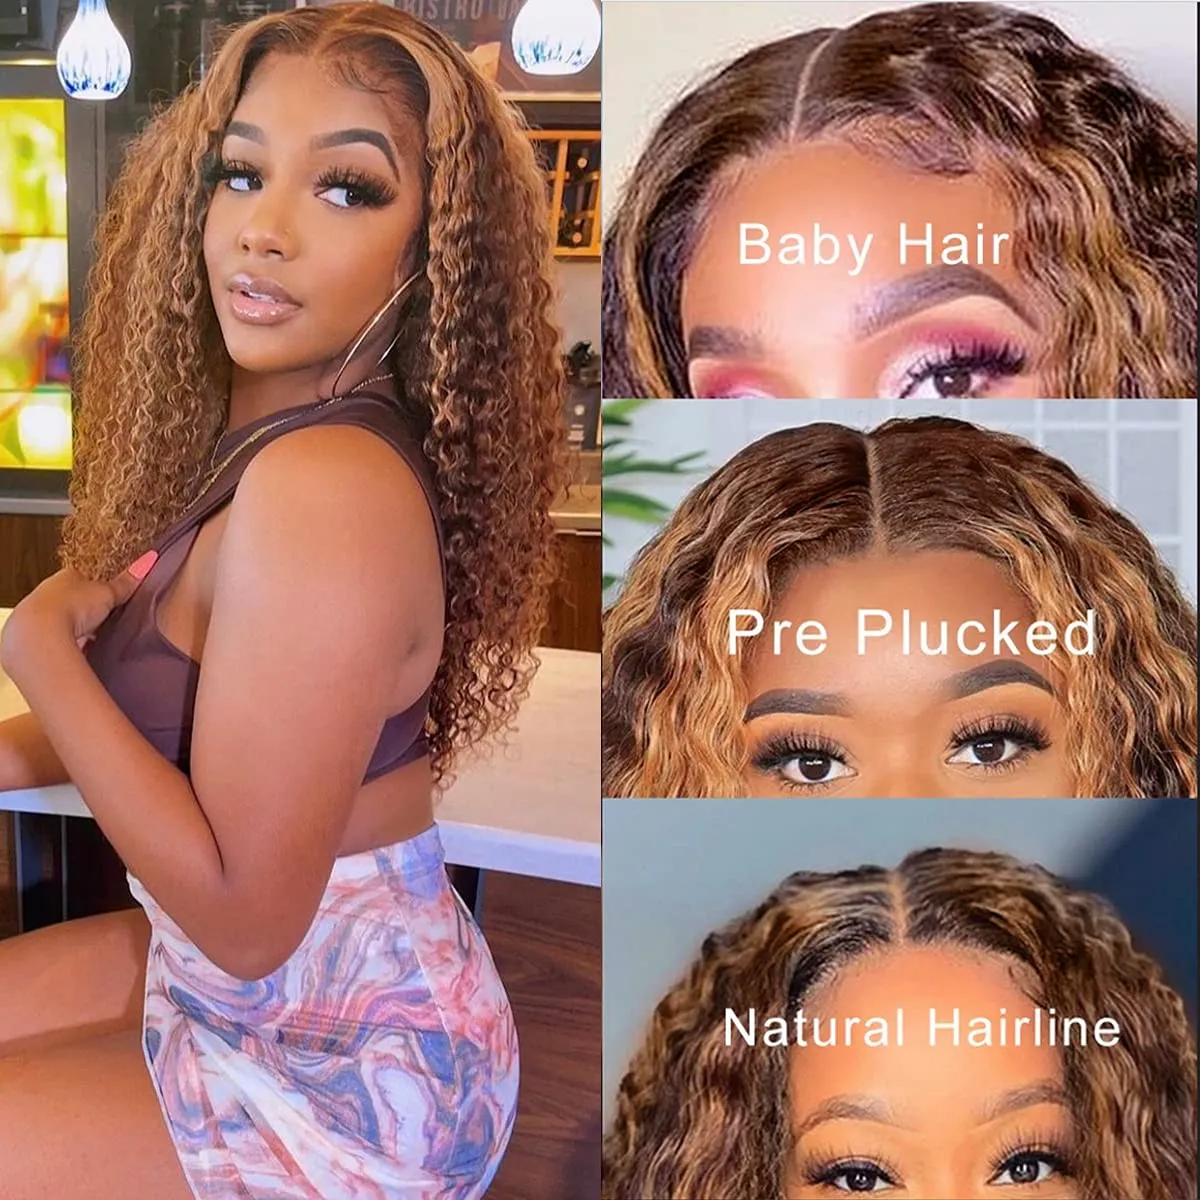
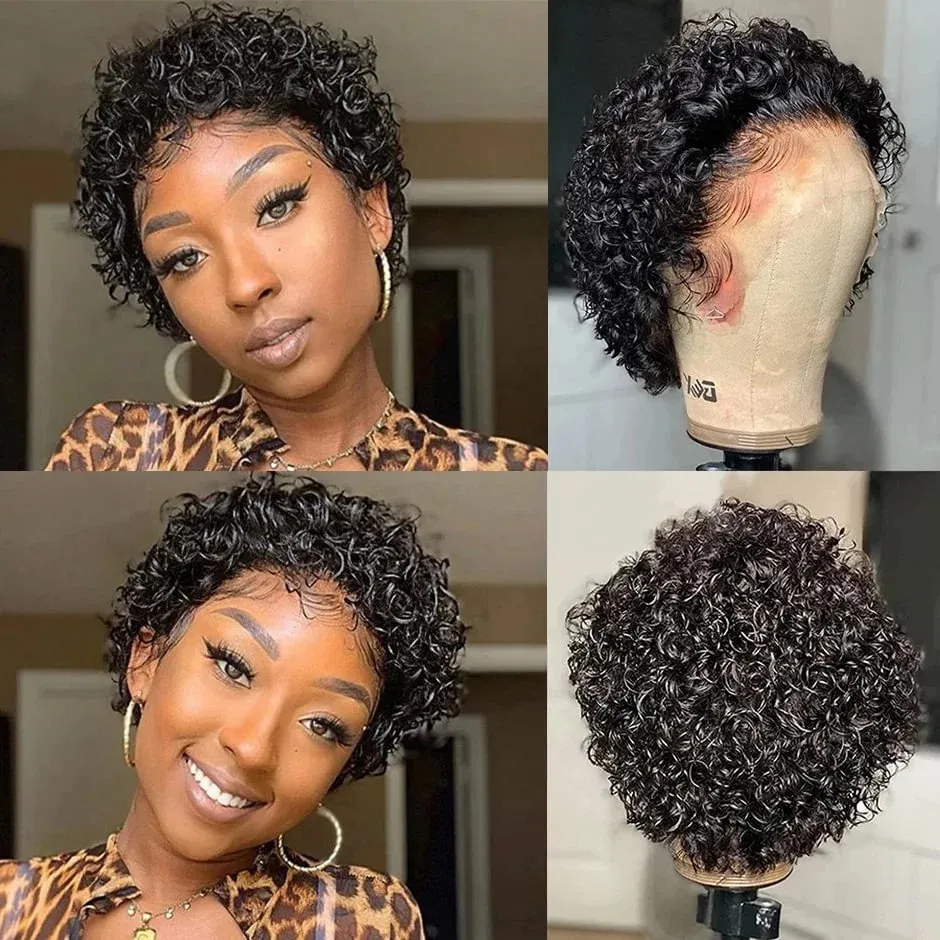
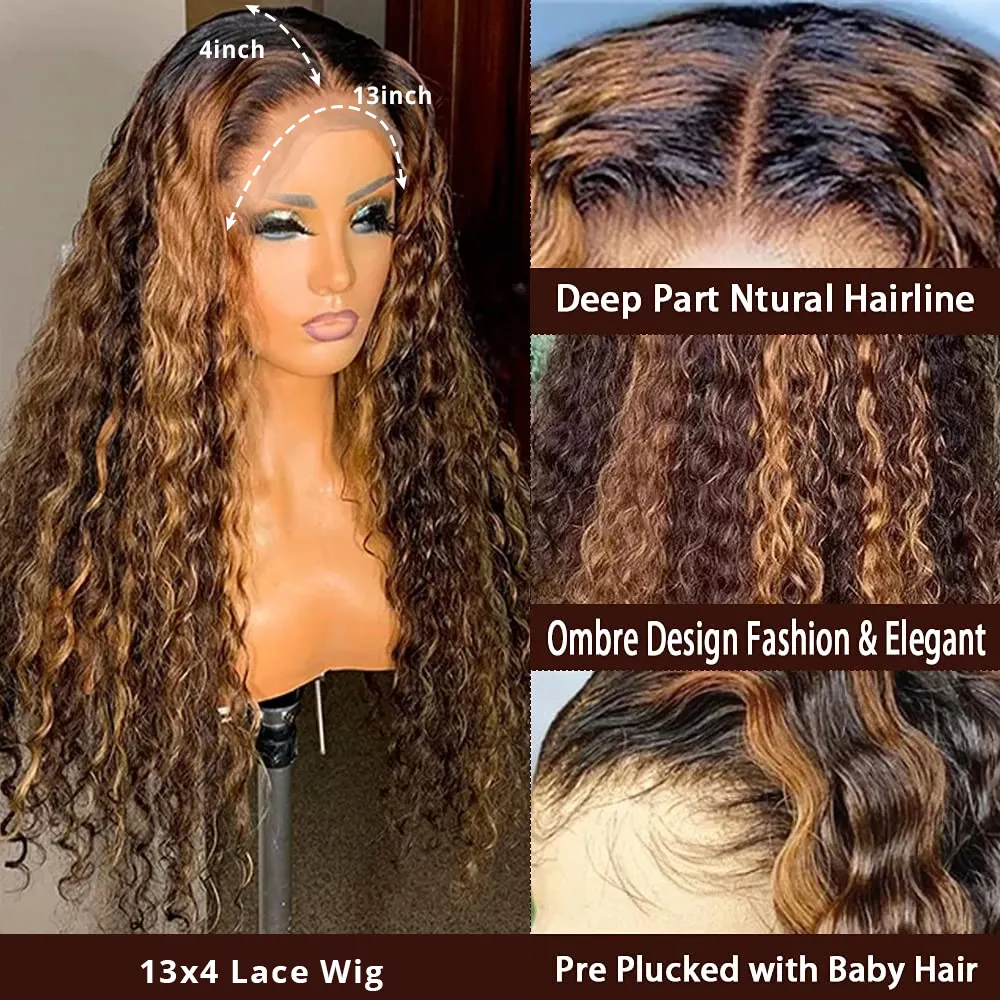
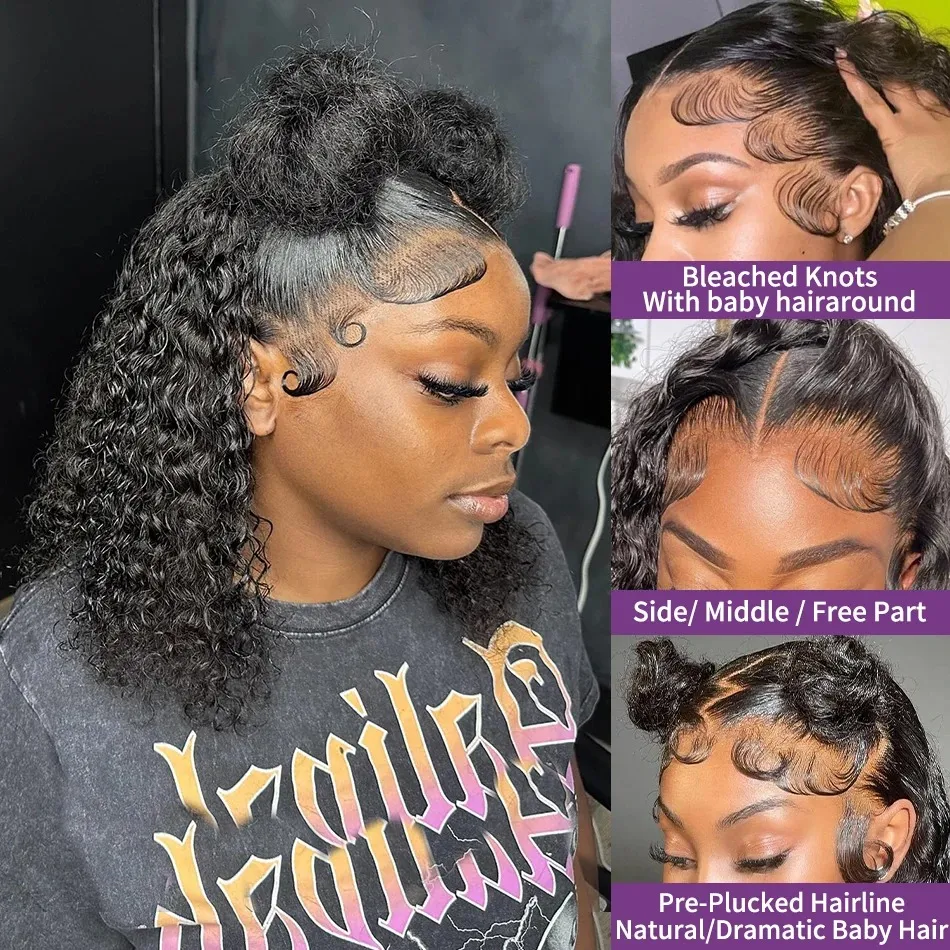
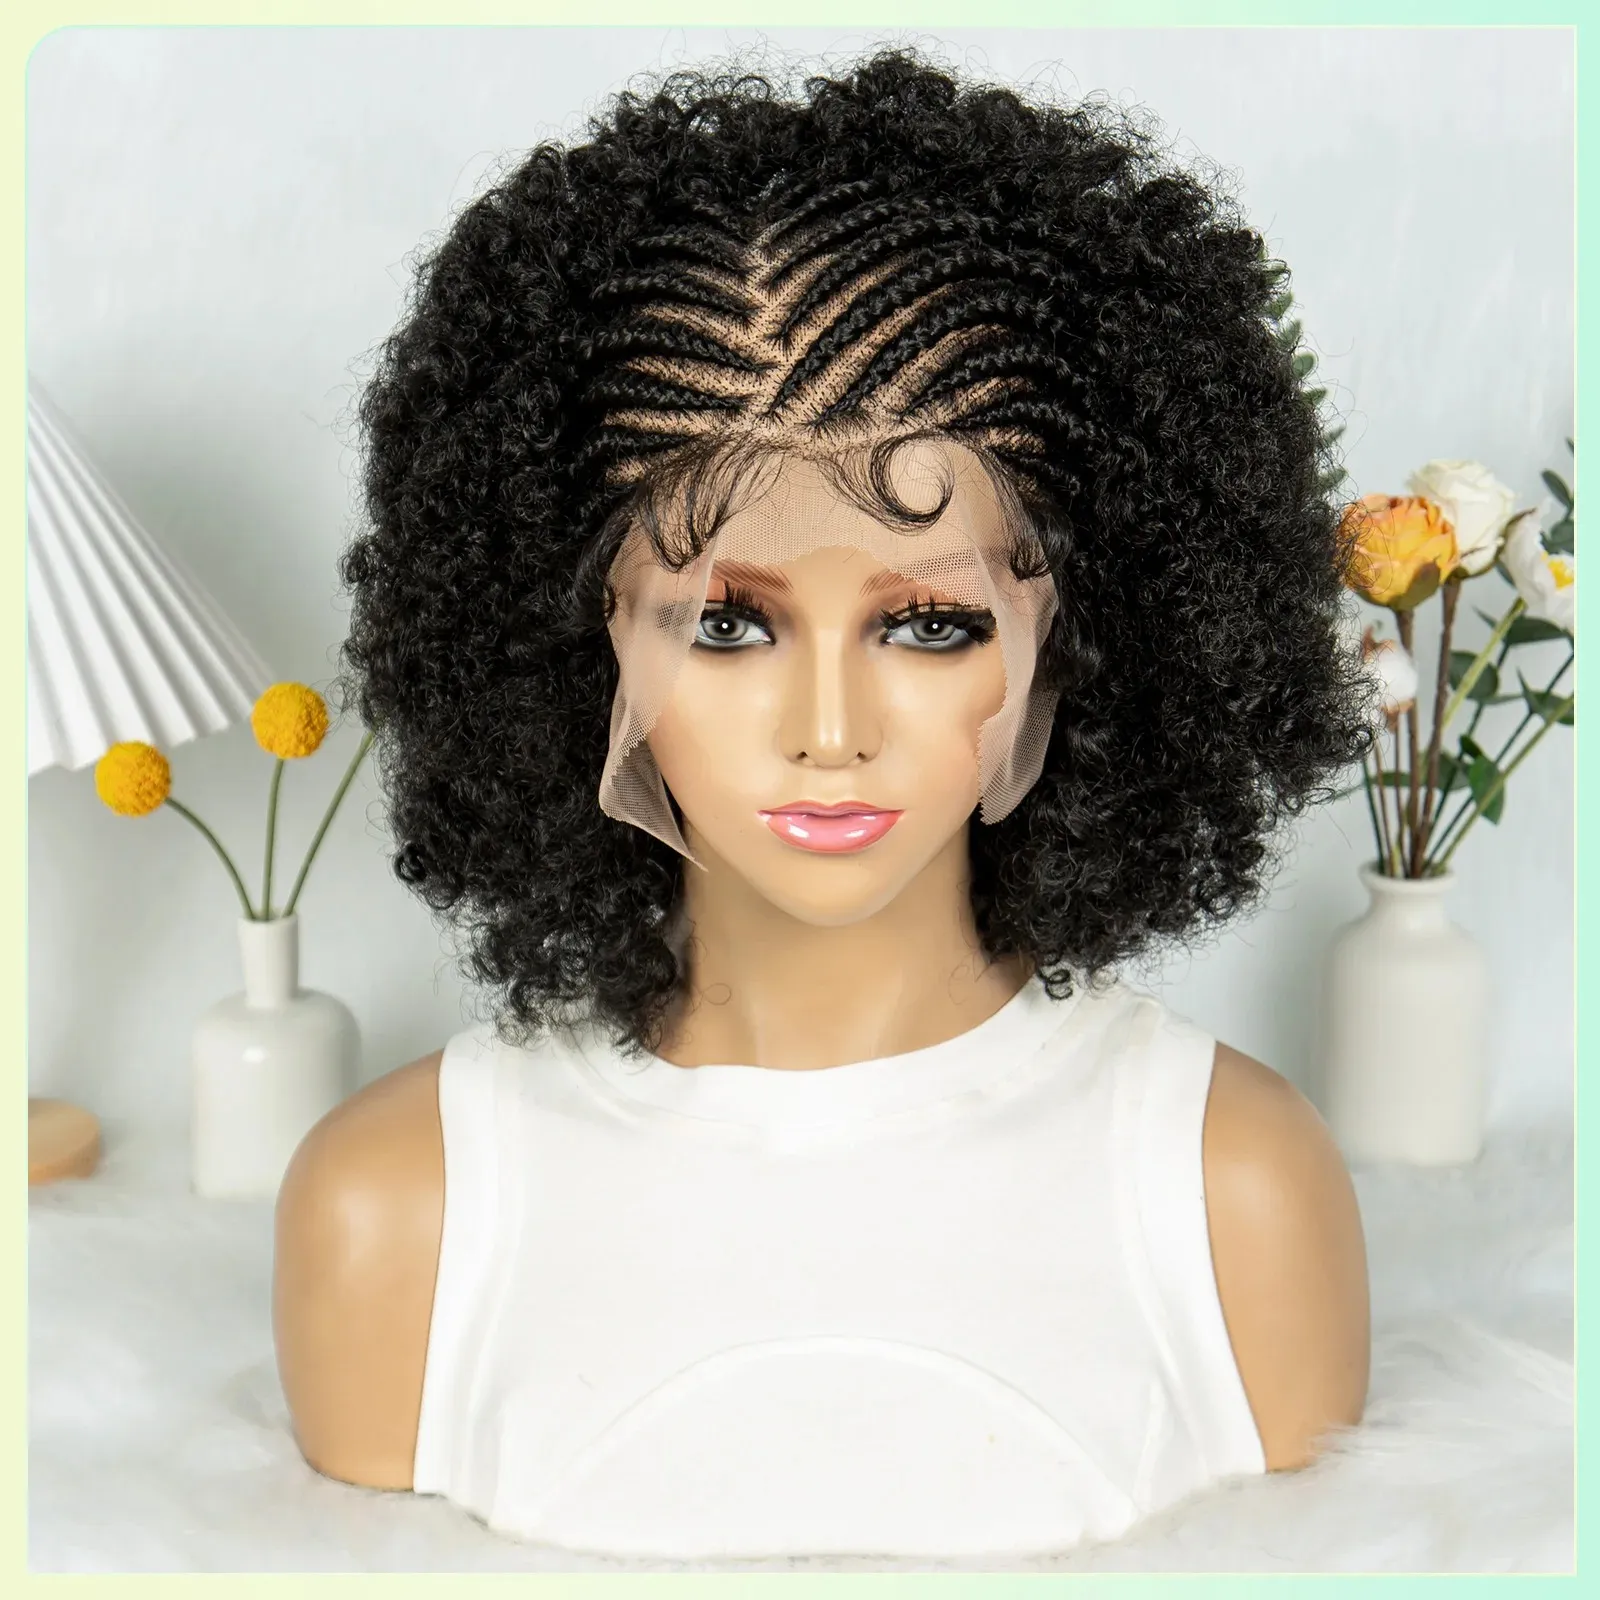
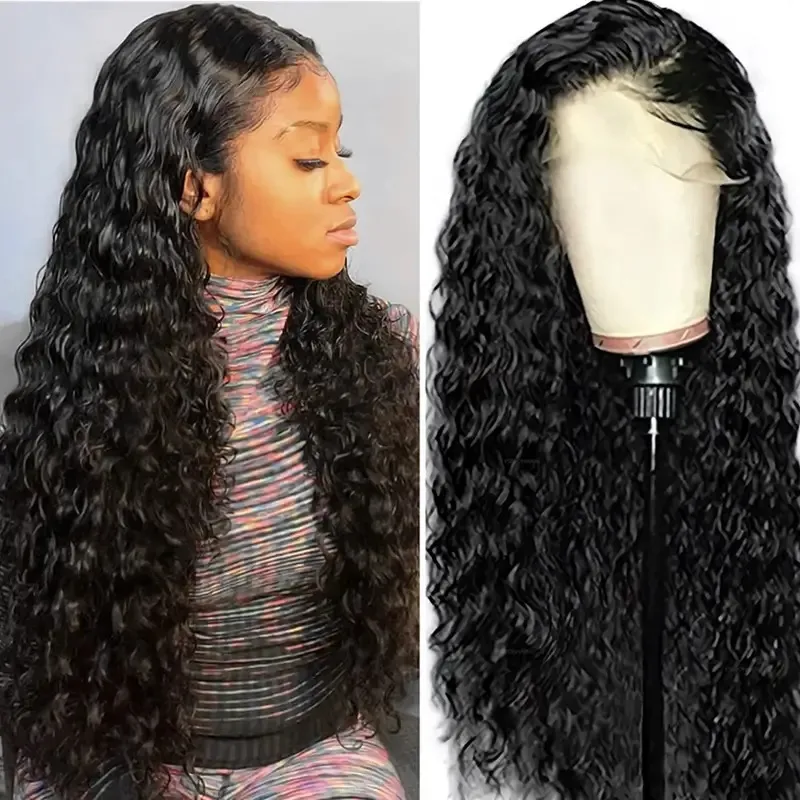
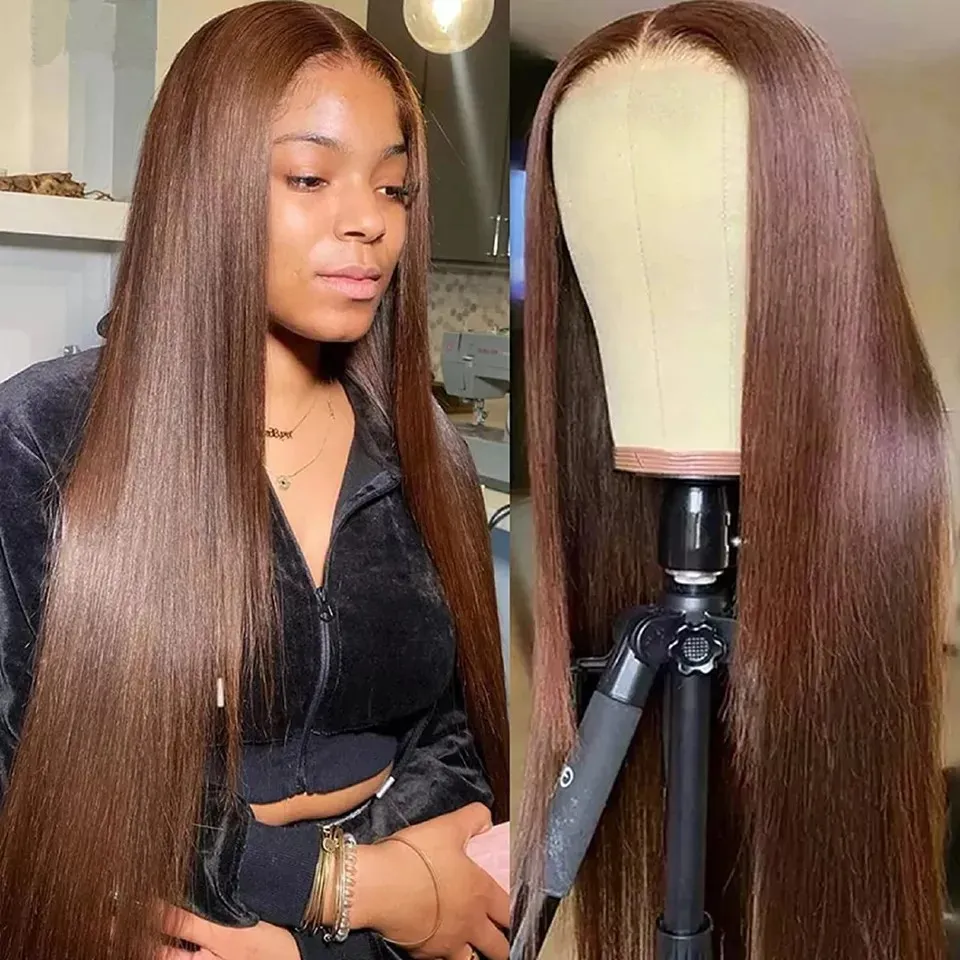
Lace front cap (partial hand-tied): A machine-wefted cap with a panel of hand-tied lace at the front hairline. The lace front gives you a natural hairline and parting flexibility. The rest of the cap is machine-wefted. This is the most common construction for mid-range wigs and the best balance of natural appearance and affordability.
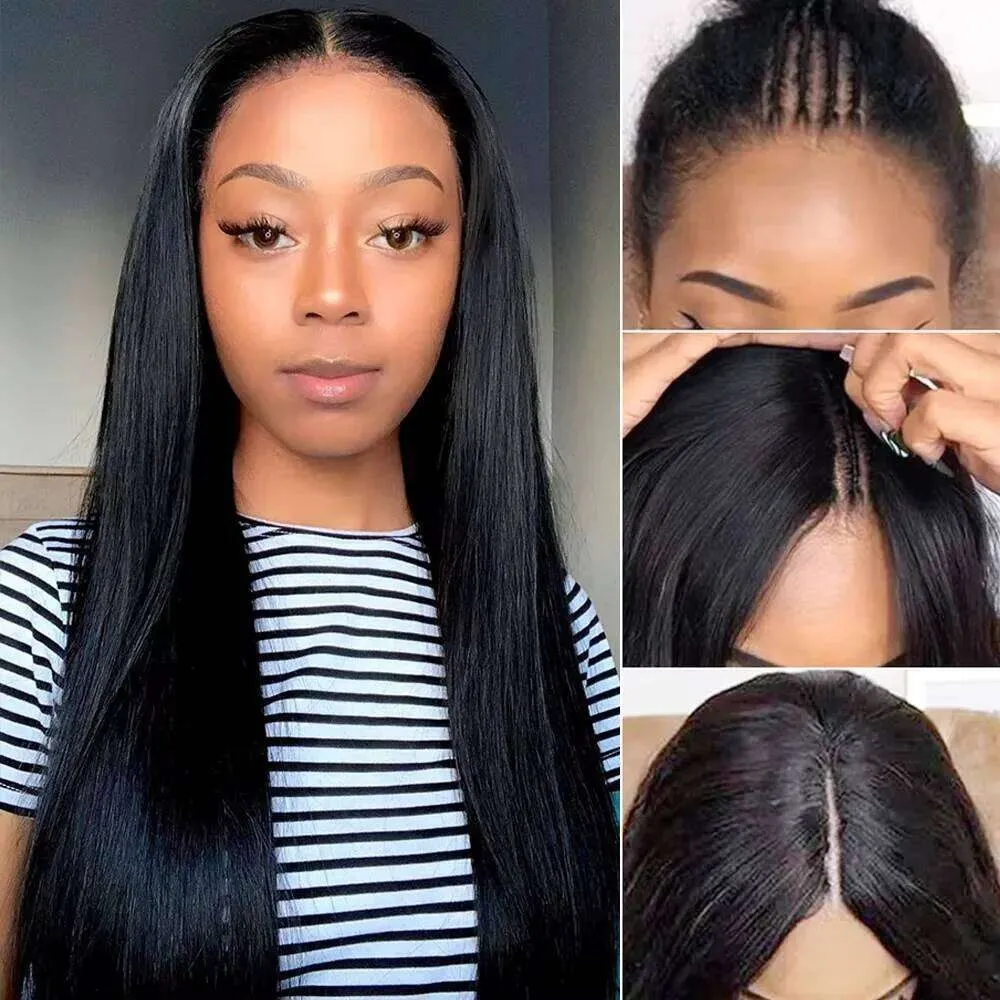
Monofilament cap (partial hand-tied): The top/crown area is made of a fine mesh material where individual hairs are hand-tied, allowing you to part the hair in any direction and revealing what looks like scalp underneath. The sides and back are usually machine-wefted. Mono caps are more expensive but look significantly more natural, especially at the part.
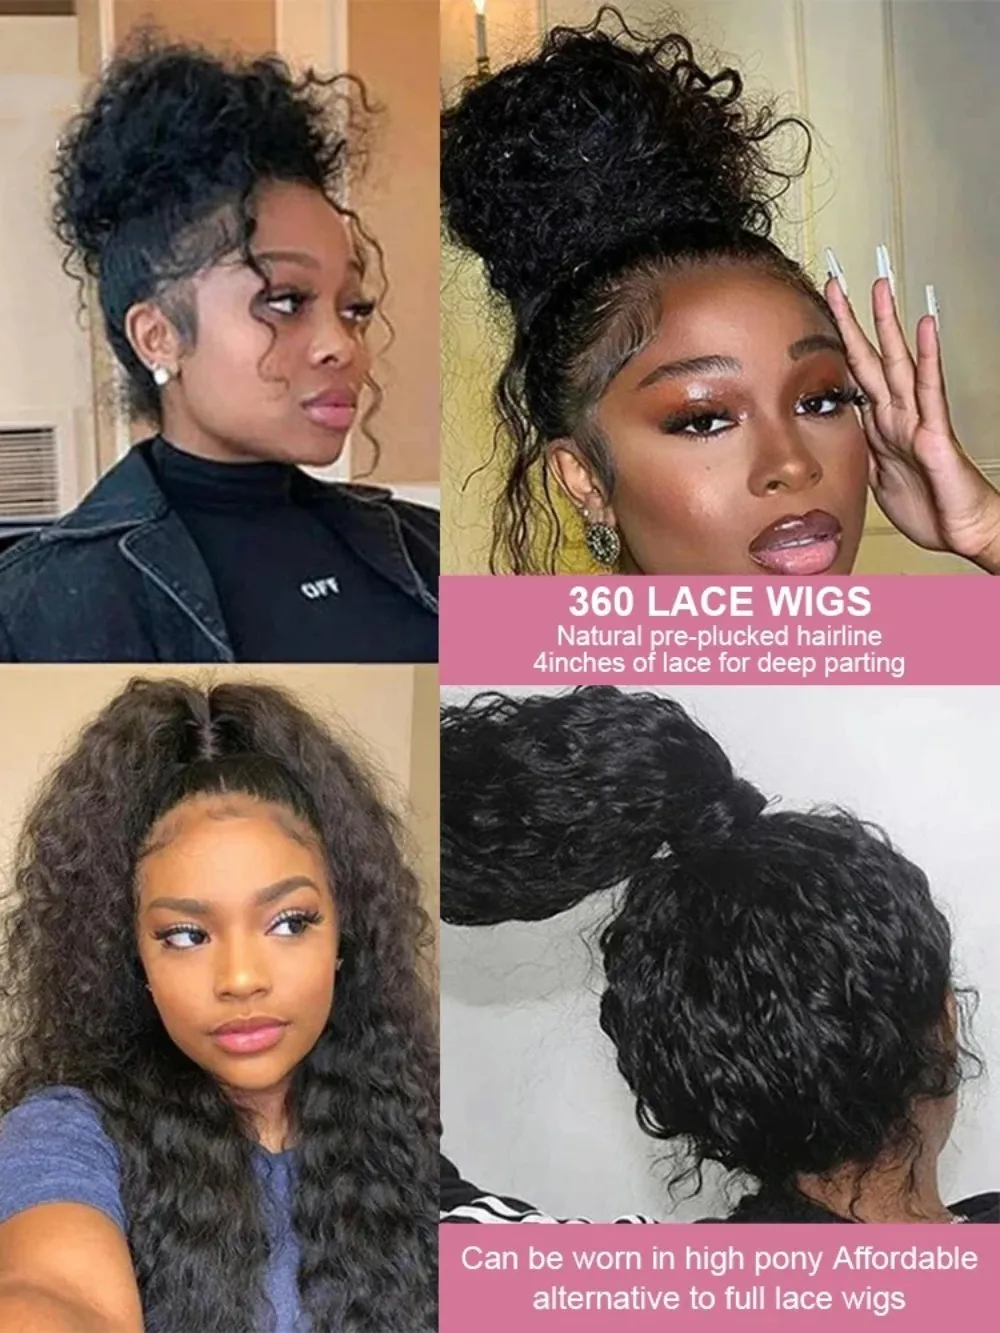
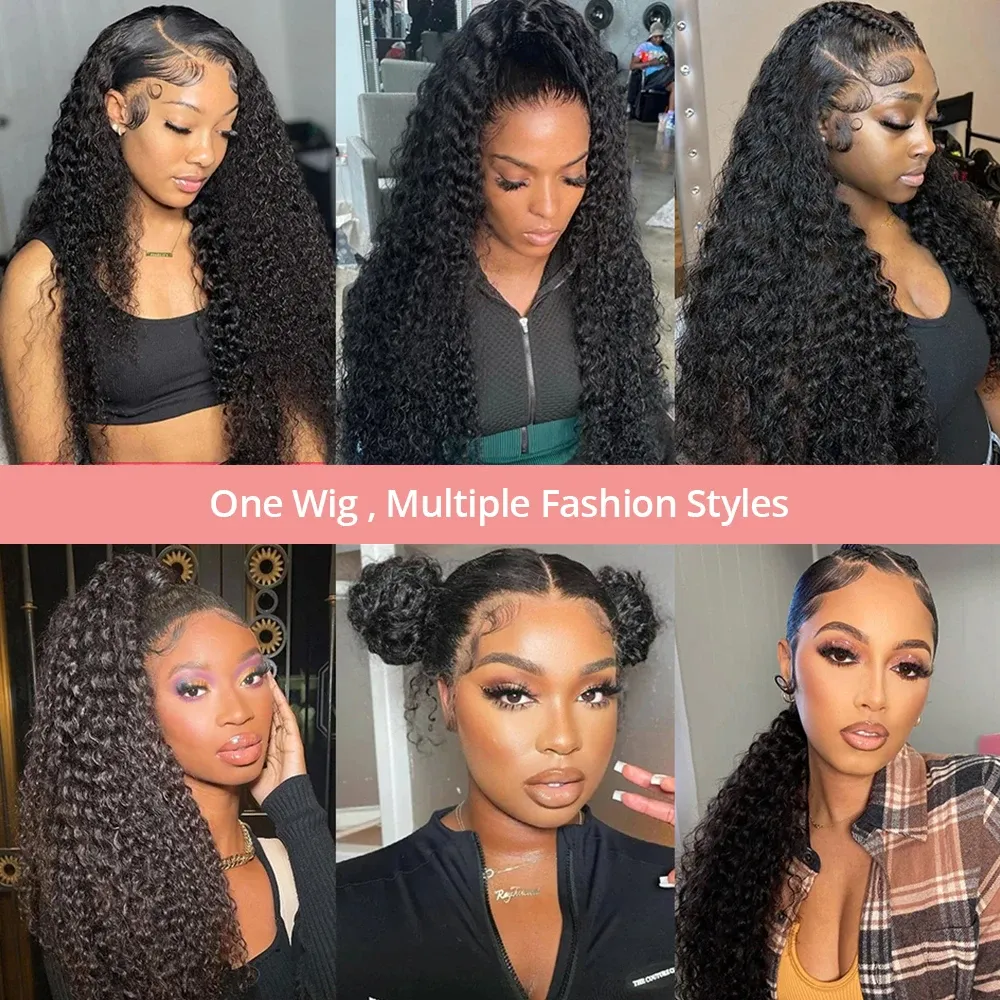
Full lace / 360 lace cap (fully hand-tied): Every single hair is individually tied by hand into a lace cap. This is the premium construction — breathable, invisible, and allowing complete styling freedom (high ponytails, updos, any part). It's also the most expensive and the most delicate. A full lace wig represents 40-60 hours of skilled labor.
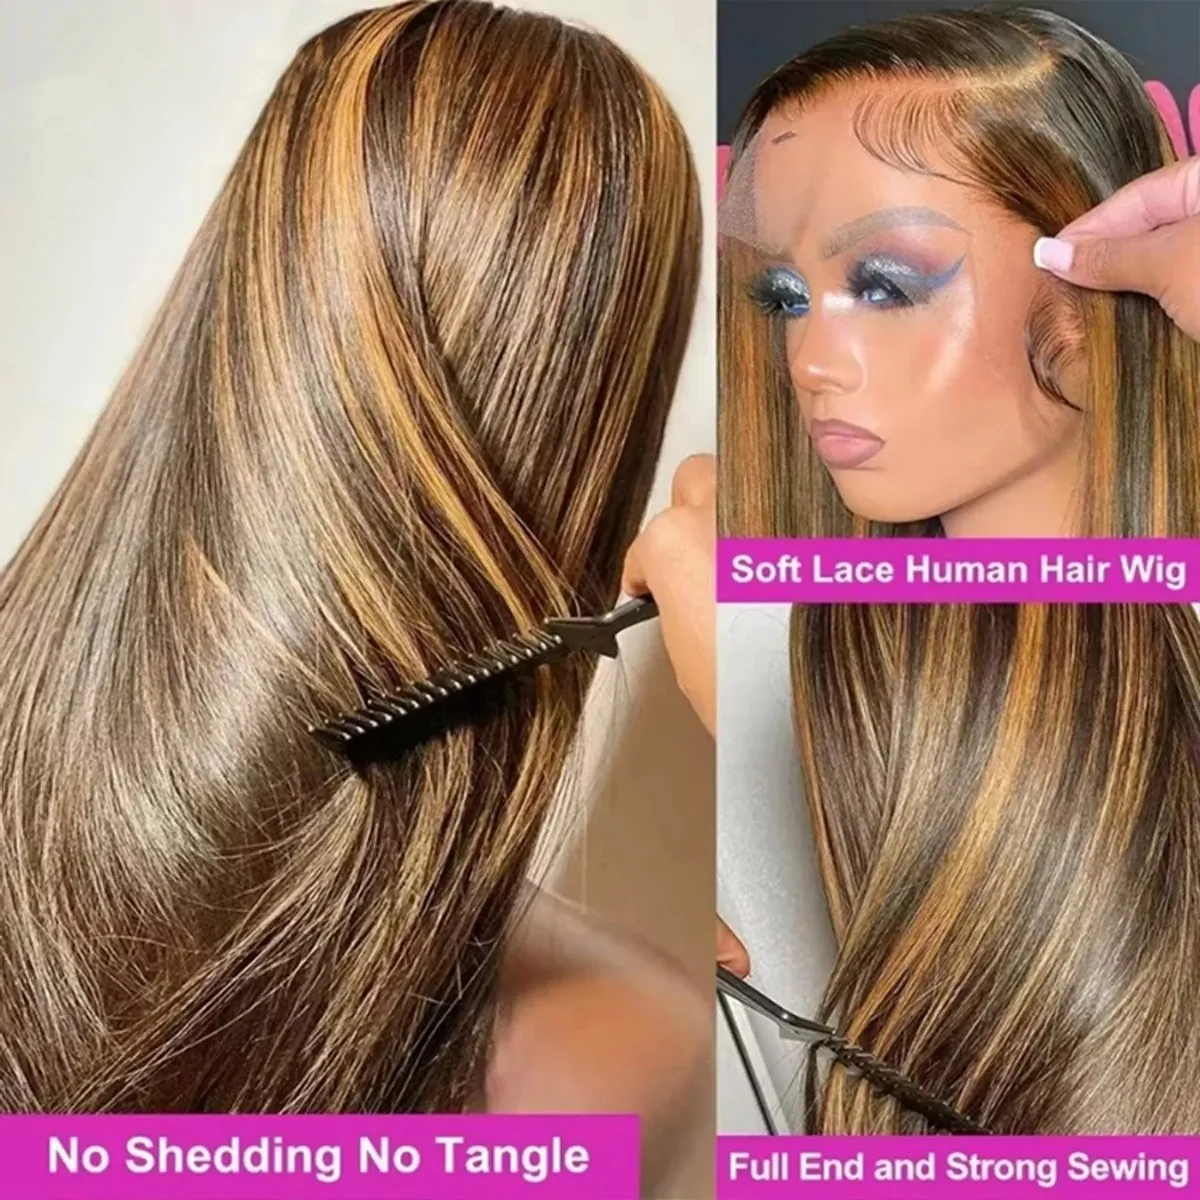
"Ventilating" is the process of knotting individual strands of hair into the lace or mesh cap using a tiny hooked needle. The ventilating needle pulls a few strands of hair through the cap material, ties a microscopic knot, and pulls it tight. This is repeated — literally — thousands of times. A single square inch of a well-ventilated wig contains 100-200 individually tied knots.
The direction of the ventilation determines how the hair falls. Hair ventilated straight down creates a flat look. Hair ventilated at an angle creates volume. The knot type matters too: a single knot is smaller and less visible (ideal for the hairline), a double knot is stronger but more visible (used further back where it won't be seen). The bleaching process — lightening the knots so they're less visible against the lace — is done after ventilation and is another skill entirely.
When a product page says "hand-tied lace front" — look closer. Is it just the front that's hand-tied, or the whole cap? "Hand-tied" on a $60 wig usually means just the part line. "Hand-tied" on a $300 wig means the entire front section. "Full hand-tied" on a $500+ wig means every strand.
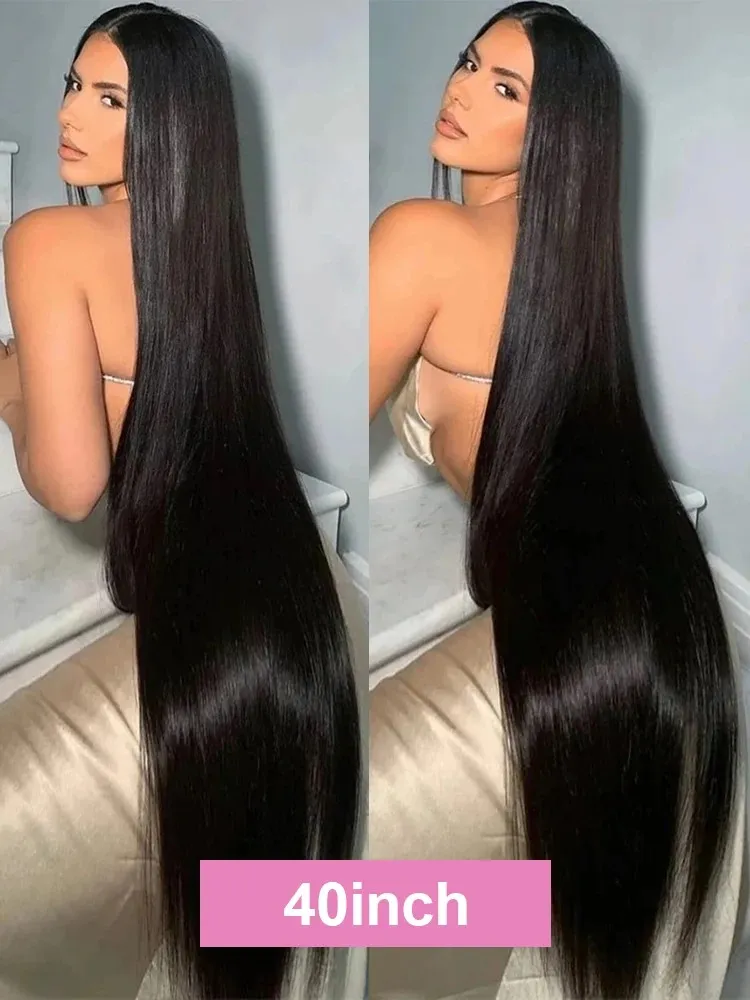
When the density is listed — 130%, 150%, 180% — that's telling you how much hair was ventilated in relative to a baseline. 130% is natural density (what most people's real hair looks like). 150% is full and lush. 180% is editorial/glamour level. The number matters, but so does the evenness of the ventilation. A cheap wig at 150% density may have clumpy ventilation that looks unnatural. A quality wig at 130% will look more natural than a cheap one at 180%.
We source wigs from manufacturers who know their craft. Every wig in our collection is inspected for construction quality before it reaches you — because a wig is only as good as what's underneath the hair.