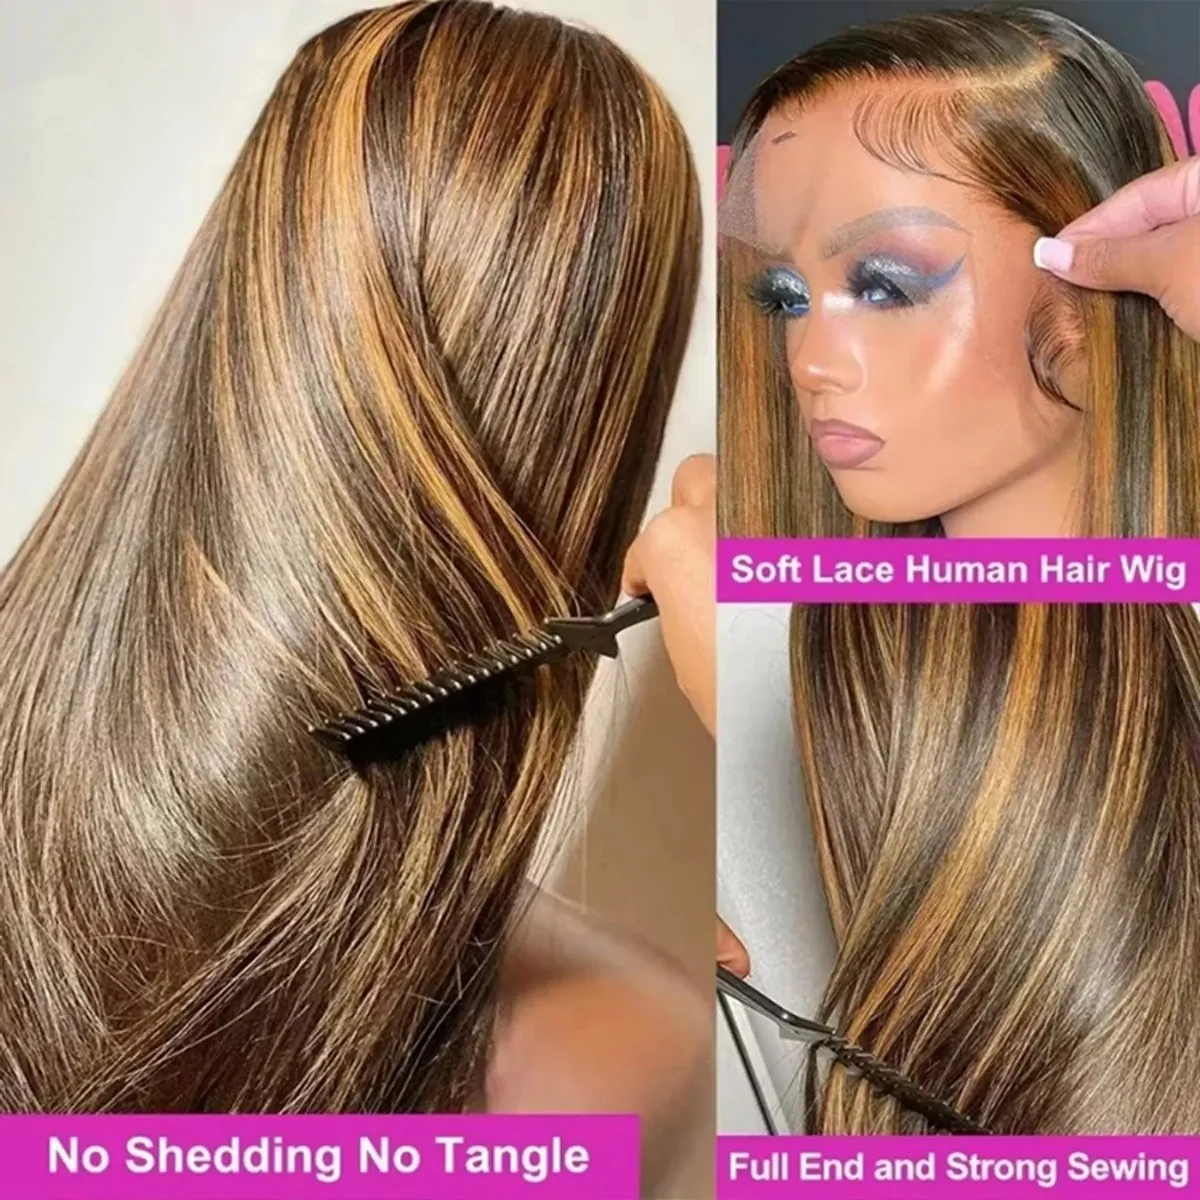
How to Glue a Lace Front Wig: The Adhesive Guide That Actually Stays Put
Gluing down a lace front wig is the step that separates "looks like a wig" from "is that your real hair?" When done correctly, the lace melts into your skin and the hairline becomes invisible. When done wrong — too much glue, wrong glue, glue on your hair instead of your skin — the result ranges from a lifting lace edge to a removal process that rips out your edges. Here is how to get it right the first time.
Step 1: Choose the Right Adhesive
Not all wig glues are the same, and using the wrong one for your situation is the most common cause of failed installs. The choice depends on how long you want the wig to stay on and how much you sweat.
| Adhesive | Hold Time | Best For | Water Resistance |
|---|
| Got2B Glued (spray or gel) | 1–2 days | Beginners, daily removal, sensitive skin | Low |
| Ebin Wonder Lace Bond | 2–4 days | Weekend holds, normal activity | Medium |
| Ghost Bond | 3–7 days | Longer holds, moderate sweating | High |
| Bold Hold Active | 1–2 weeks | Active lifestyle, heavy sweating, swimming | Very High |
Step 2: Prep Is Everything
Adhesive bonds to clean, dry, oil-free skin. Any residue from moisturizer, sunscreen, or yesterday's makeup creates a barrier between the glue and your skin that causes lifting within hours.
- Wash your hairline with an alcohol-free cleanser. Get all the way to the hairline — use a cotton pad if needed.
- Apply scalp protector (Walker Tape Scalp Protector or similar). This creates a barrier between your skin and the adhesive, preventing irritation and making removal easier. Let it dry for 30 seconds until tacky.
- If you have baby hairs or edges you want to leave out, gel them down with edge control NOW, before applying adhesive. Once glue is on your skin, you cannot style edges without getting product in the glue.
Step 3: Apply the Adhesive in Thin Layers
The biggest mistake beginners make: applying one thick layer of glue. Thick glue takes forever to dry, seeps through lace holes, and turns white and visible when you sweat. Thin layers dry faster, hold stronger, and stay invisible.
- Apply a thin layer of adhesive along your hairline — a strip about half an inch wide. Use a small brush or the applicator tip, not your finger. Your finger absorbs some of the glue and deposits skin oils.
- Let it dry until clear. Most adhesives go on white/milky and turn transparent when ready. This takes 2–5 minutes depending on humidity. Do not rush this step — the adhesive must be tacky, not wet.
- Apply a second thin layer on top of the first. Let it dry until clear again. Two thin layers create a stronger bond than one thick layer.
- For maximum hold, apply a third thin layer immediately before placing the wig.
Step 4: Place the Wig
- Position the lace at your hairline first. Get it exactly where you want it before pressing down. Once the lace touches the adhesive, repositioning is difficult and can create weak spots.
- Press the lace into the adhesive using the back of a rat-tail comb or your fingertip wrapped in a silk scarf. Work from the center outward toward the temples.
- Tie it down. Wrap a silk or satin scarf around your hairline, covering the entire lace area. The pressure holds the lace flat against the adhesive while it fully cures. Leave the scarf on for 10–20 minutes — longer if you have time.
- Remove the scarf and check the hairline. If any edges are lifting, apply a tiny dot of adhesive under the lifted edge with a cotton swab and press down.
⛔ The Glue-on-Hair Disaster
Adhesive must go on your SKIN, just in front of your hairline, not on your actual hair. Glue on hair bonds to the hair shaft and requires solvents to remove — solvents that damage the hair and irritate the scalp. If glue gets in your hair during application, remove it immediately with adhesive remover or oil before it dries. Never, under any circumstances, apply wig adhesive directly on top of your natural hair.
Step 5: Removal (Do Not Skip This Part)
The quality of your removal determines how healthy your hairline stays. Ripping a glued wig off your head will tear out your edges. Always dissolve the adhesive first.
- Apply adhesive remover (C-22 Solvent, Ghost Bond Remover, or 70% isopropyl alcohol for light adhesives) along the hairline. Saturate the lace — you should see it lifting.
- Wait 30–60 seconds for the remover to break down the adhesive.
- Gently lift the lace starting from one temple. If you feel resistance, apply more remover. Do not pull.
- Once the wig is off, clean any remaining adhesive residue from your skin with remover and a cotton pad. Wash your face. Moisturize your hairline.
We stock Got2B, Ghost Bond, Bold Hold, scalp protectors, adhesive removers, and silk scarves — everything you need for an install that stays put and removes cleanly.
Jesica
Hi! I'm Jesica. As a 34-year-old African American woman, wigs have long been more than just a simple accessory to me—they are the ultimate tool for self-expression and boosting confidence. Over the past decade or so, I've purchased almost every type of wig on the market.
I've had my fair share of fails, but I've also gained an incredible amount of valuable experience along the way. My goal here at Rizzwigs.com is simple: with hundreds of gorgeous styles available, I am here to use my incredibly picky buyer's eye and extensive hands-on experience to guide you. Stick with me to avoid the pitfalls, and let's unlock your most stunning, versatile looks together!