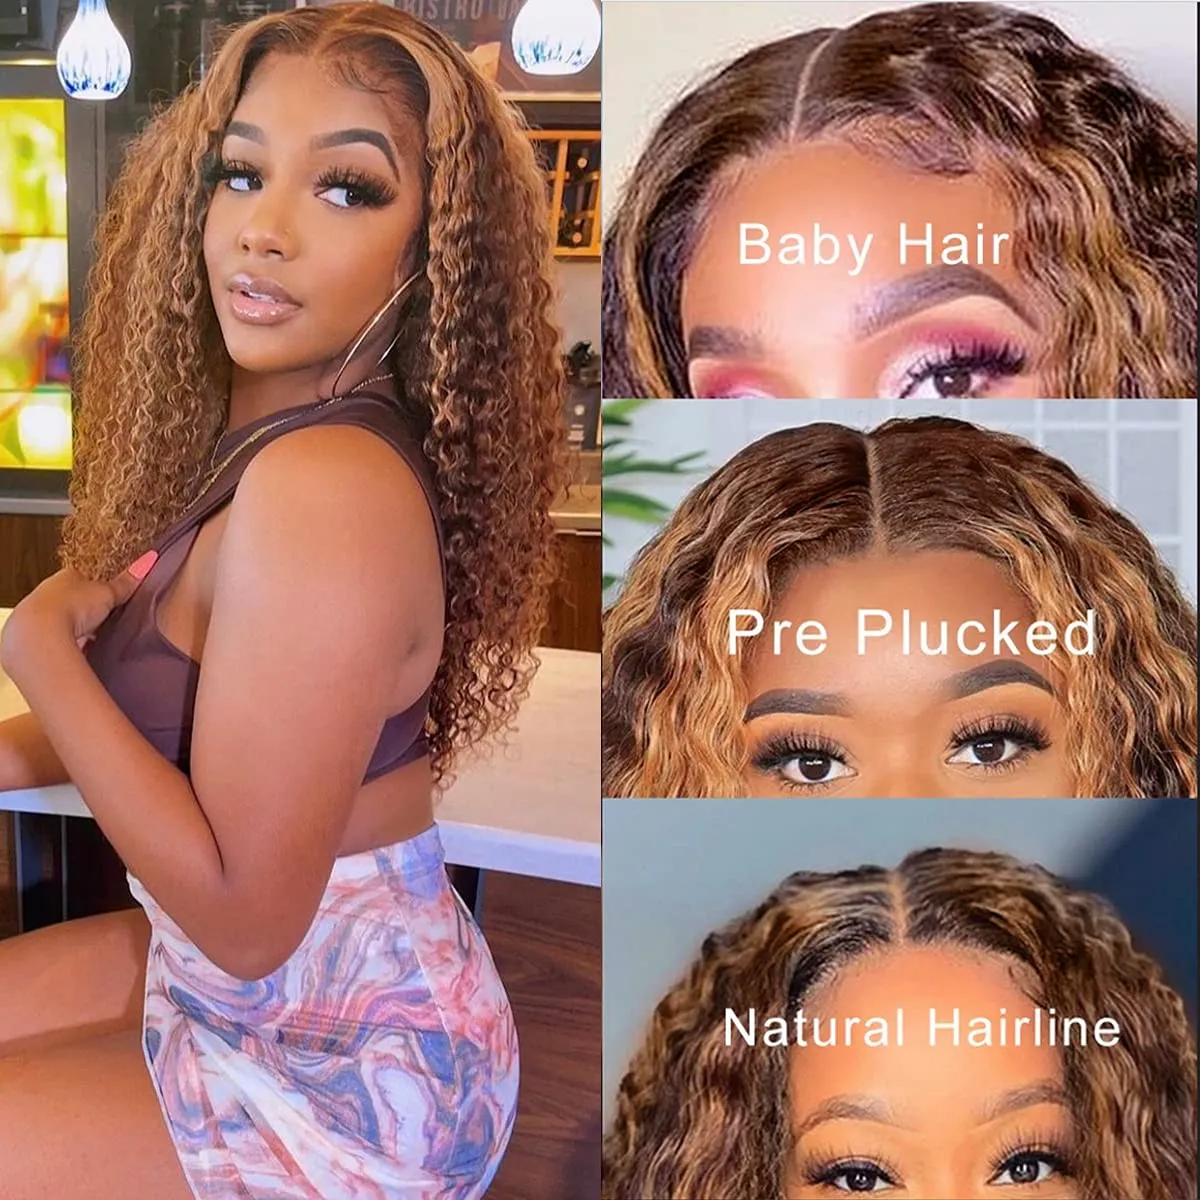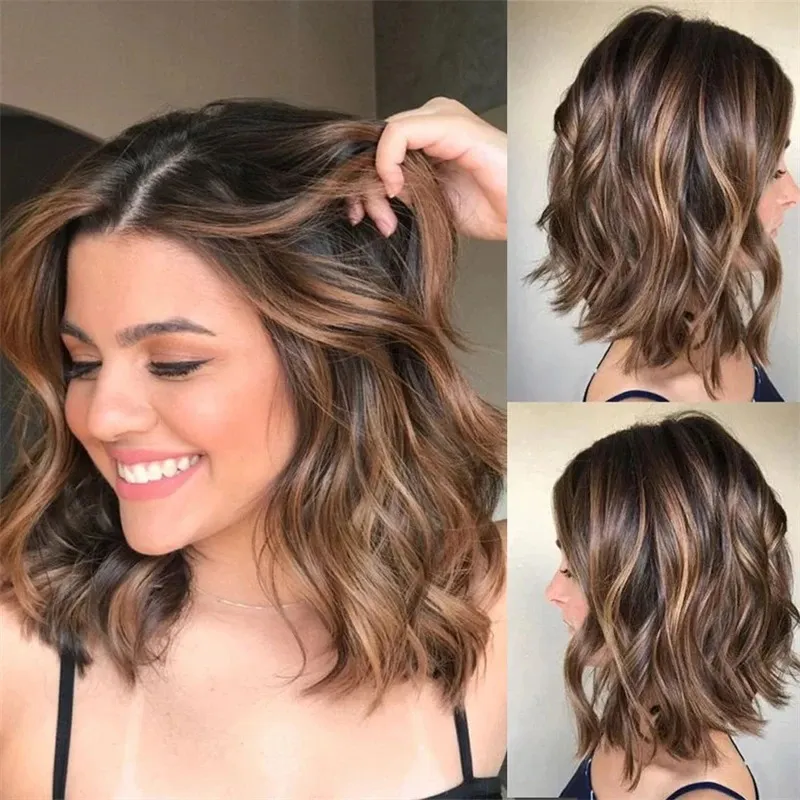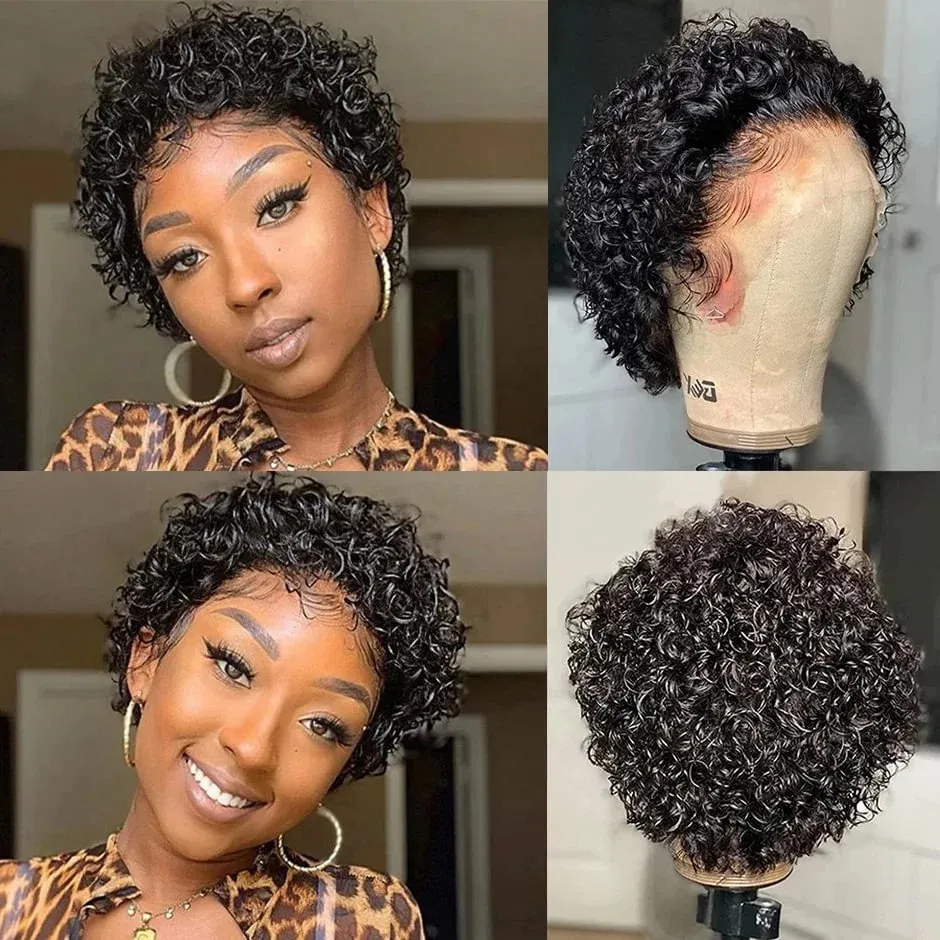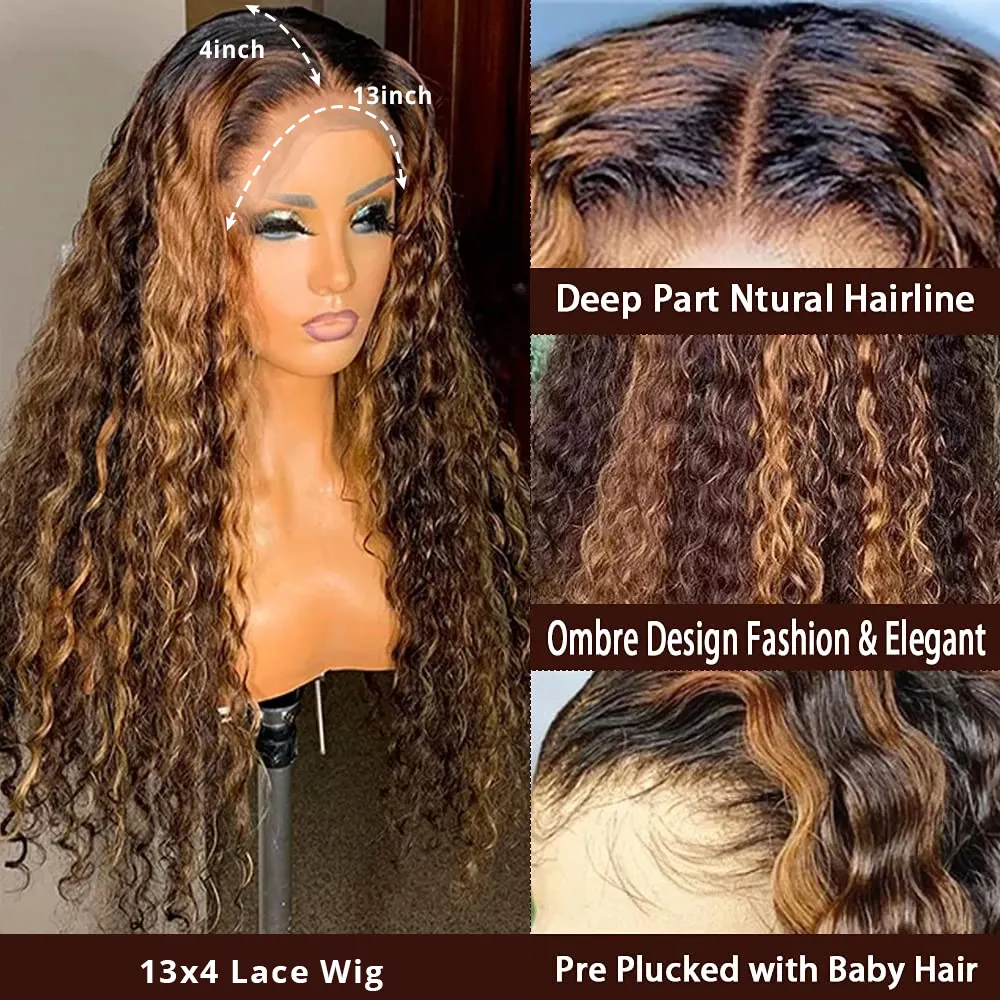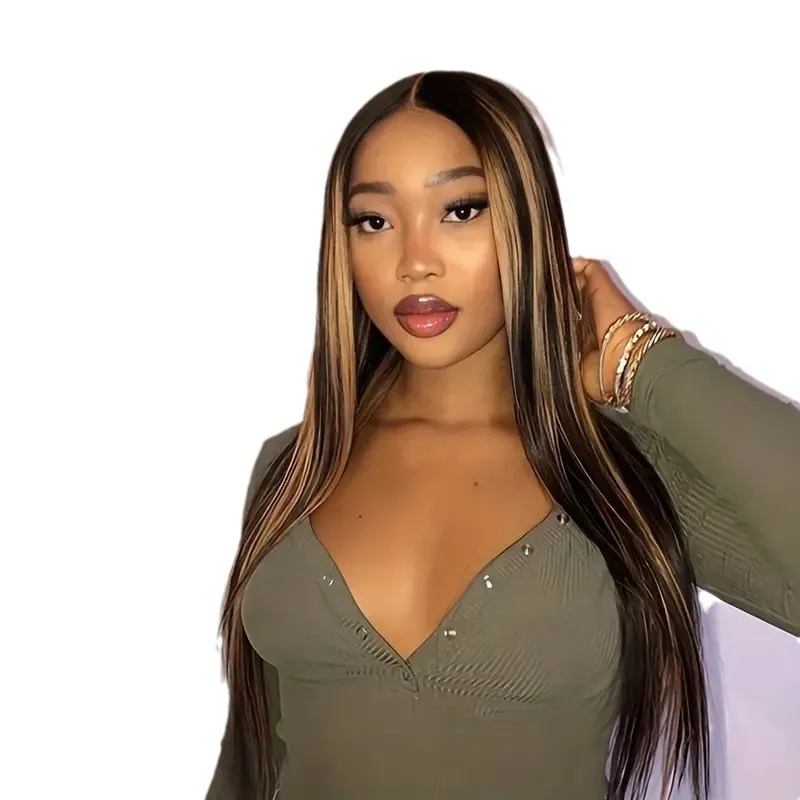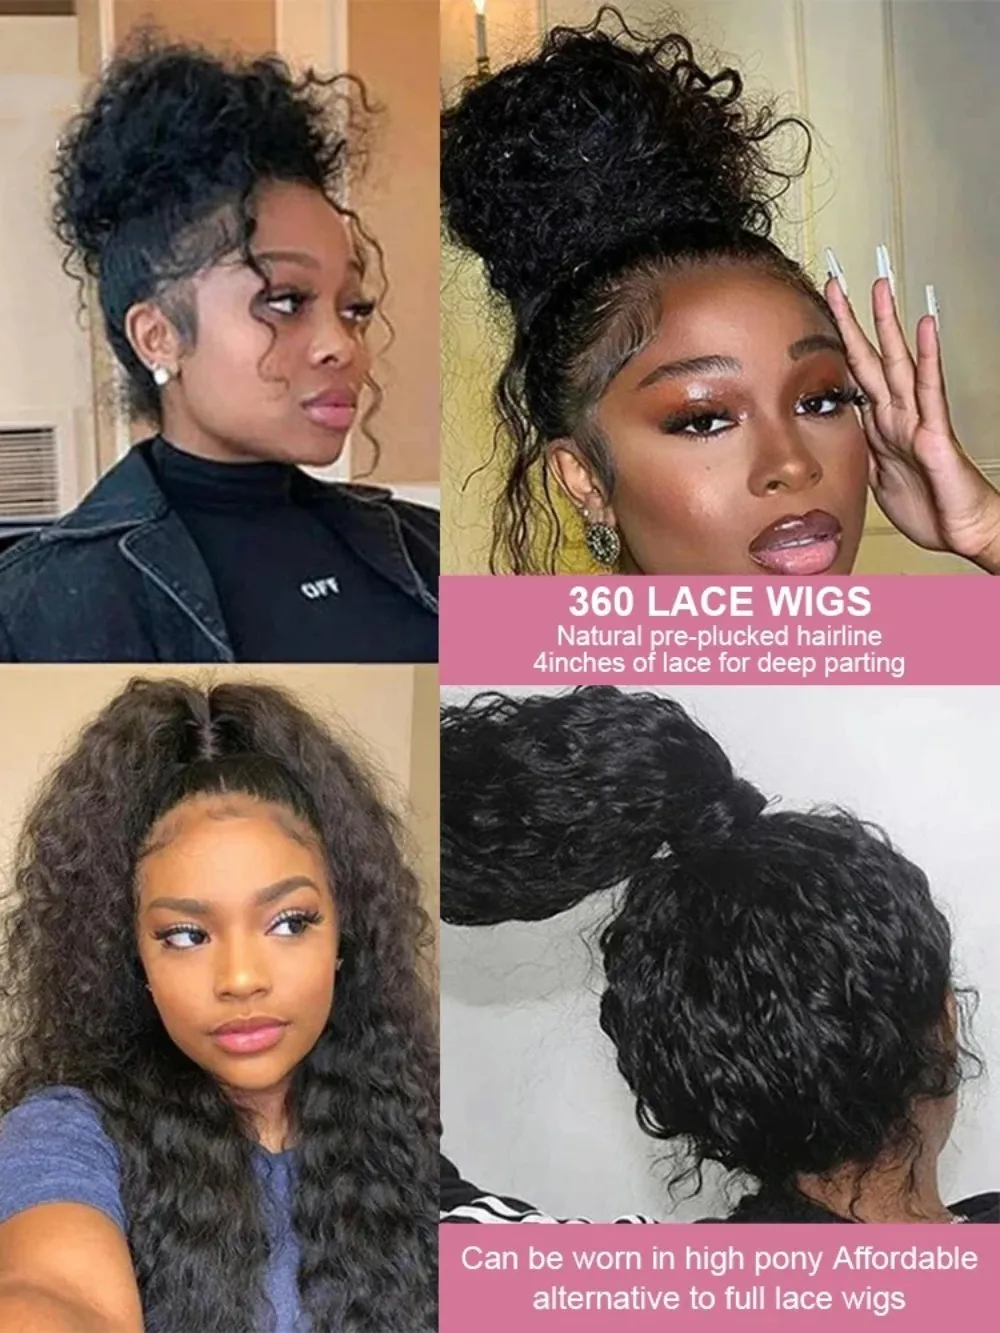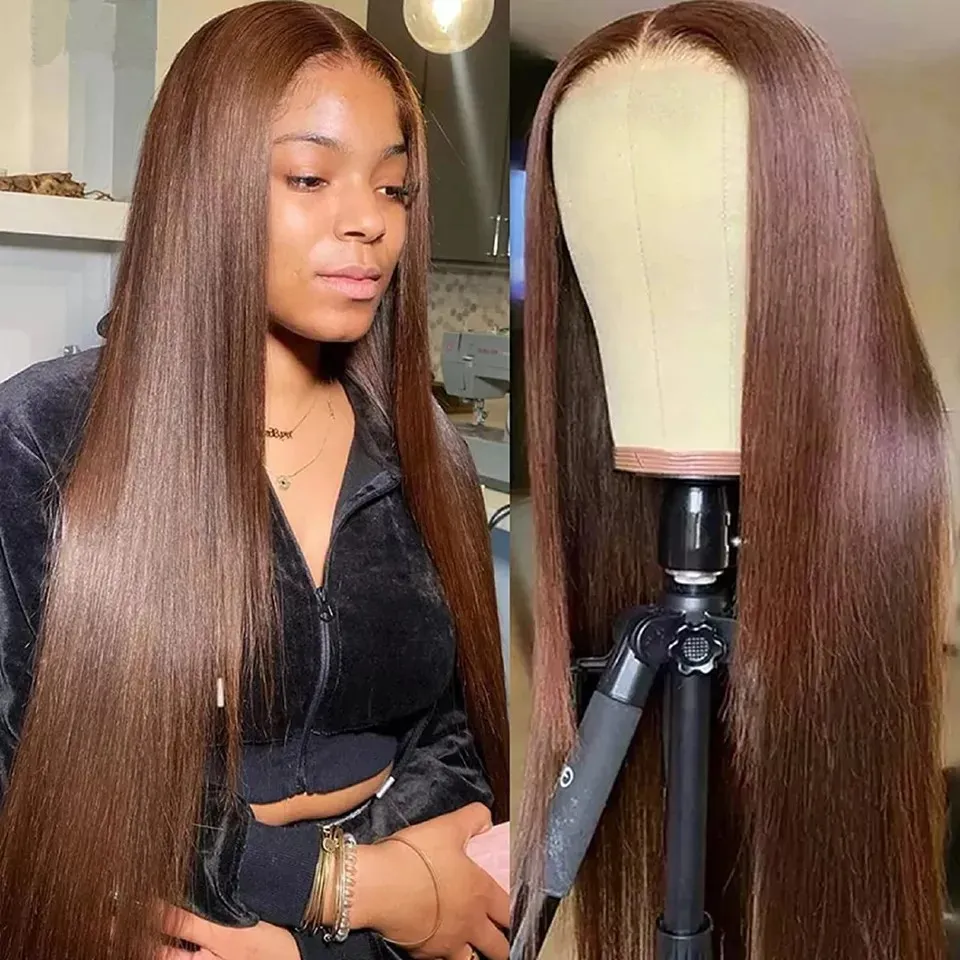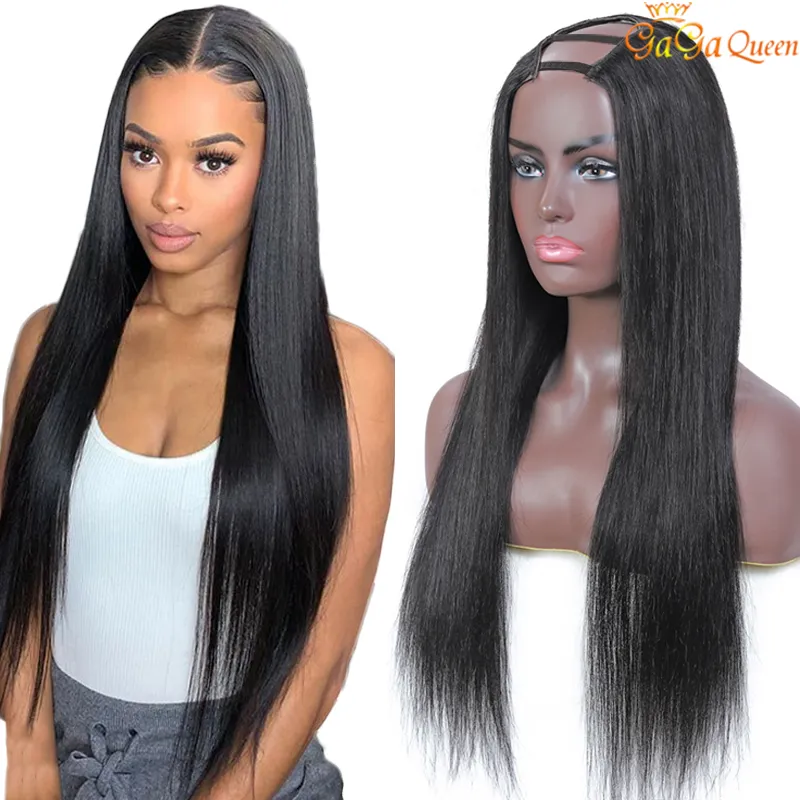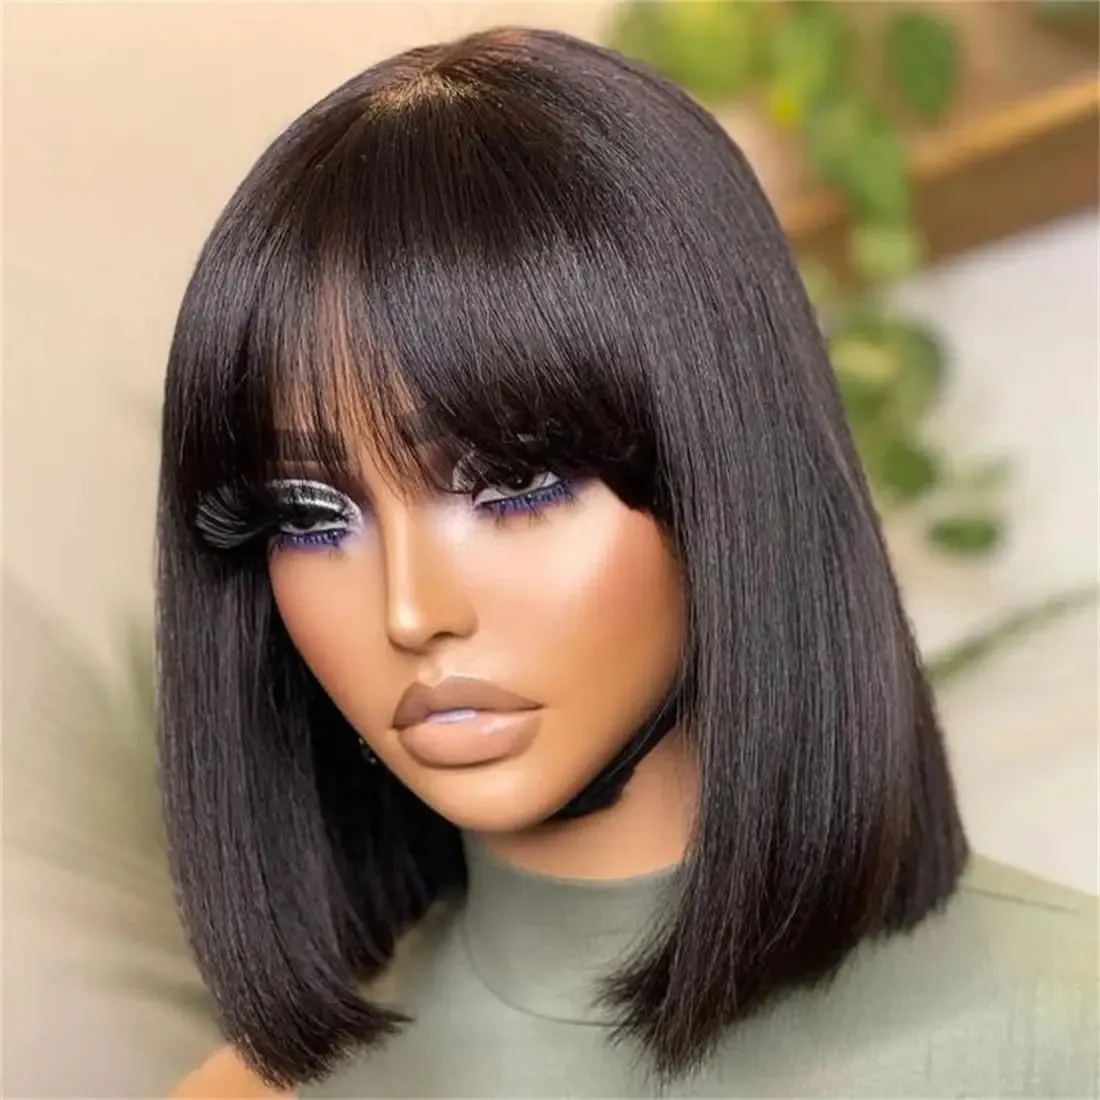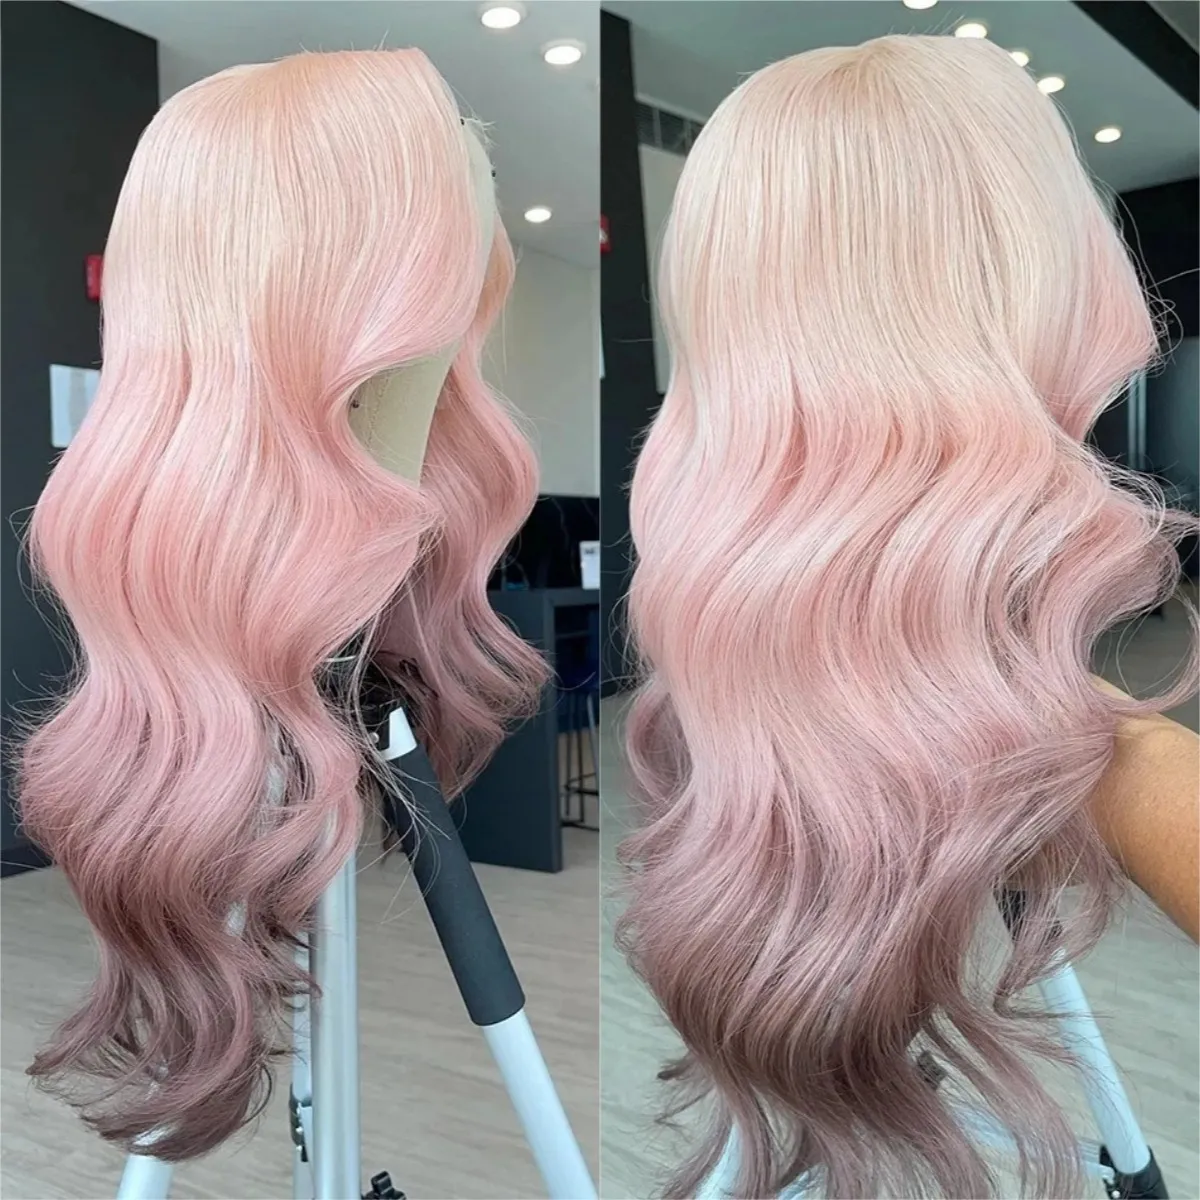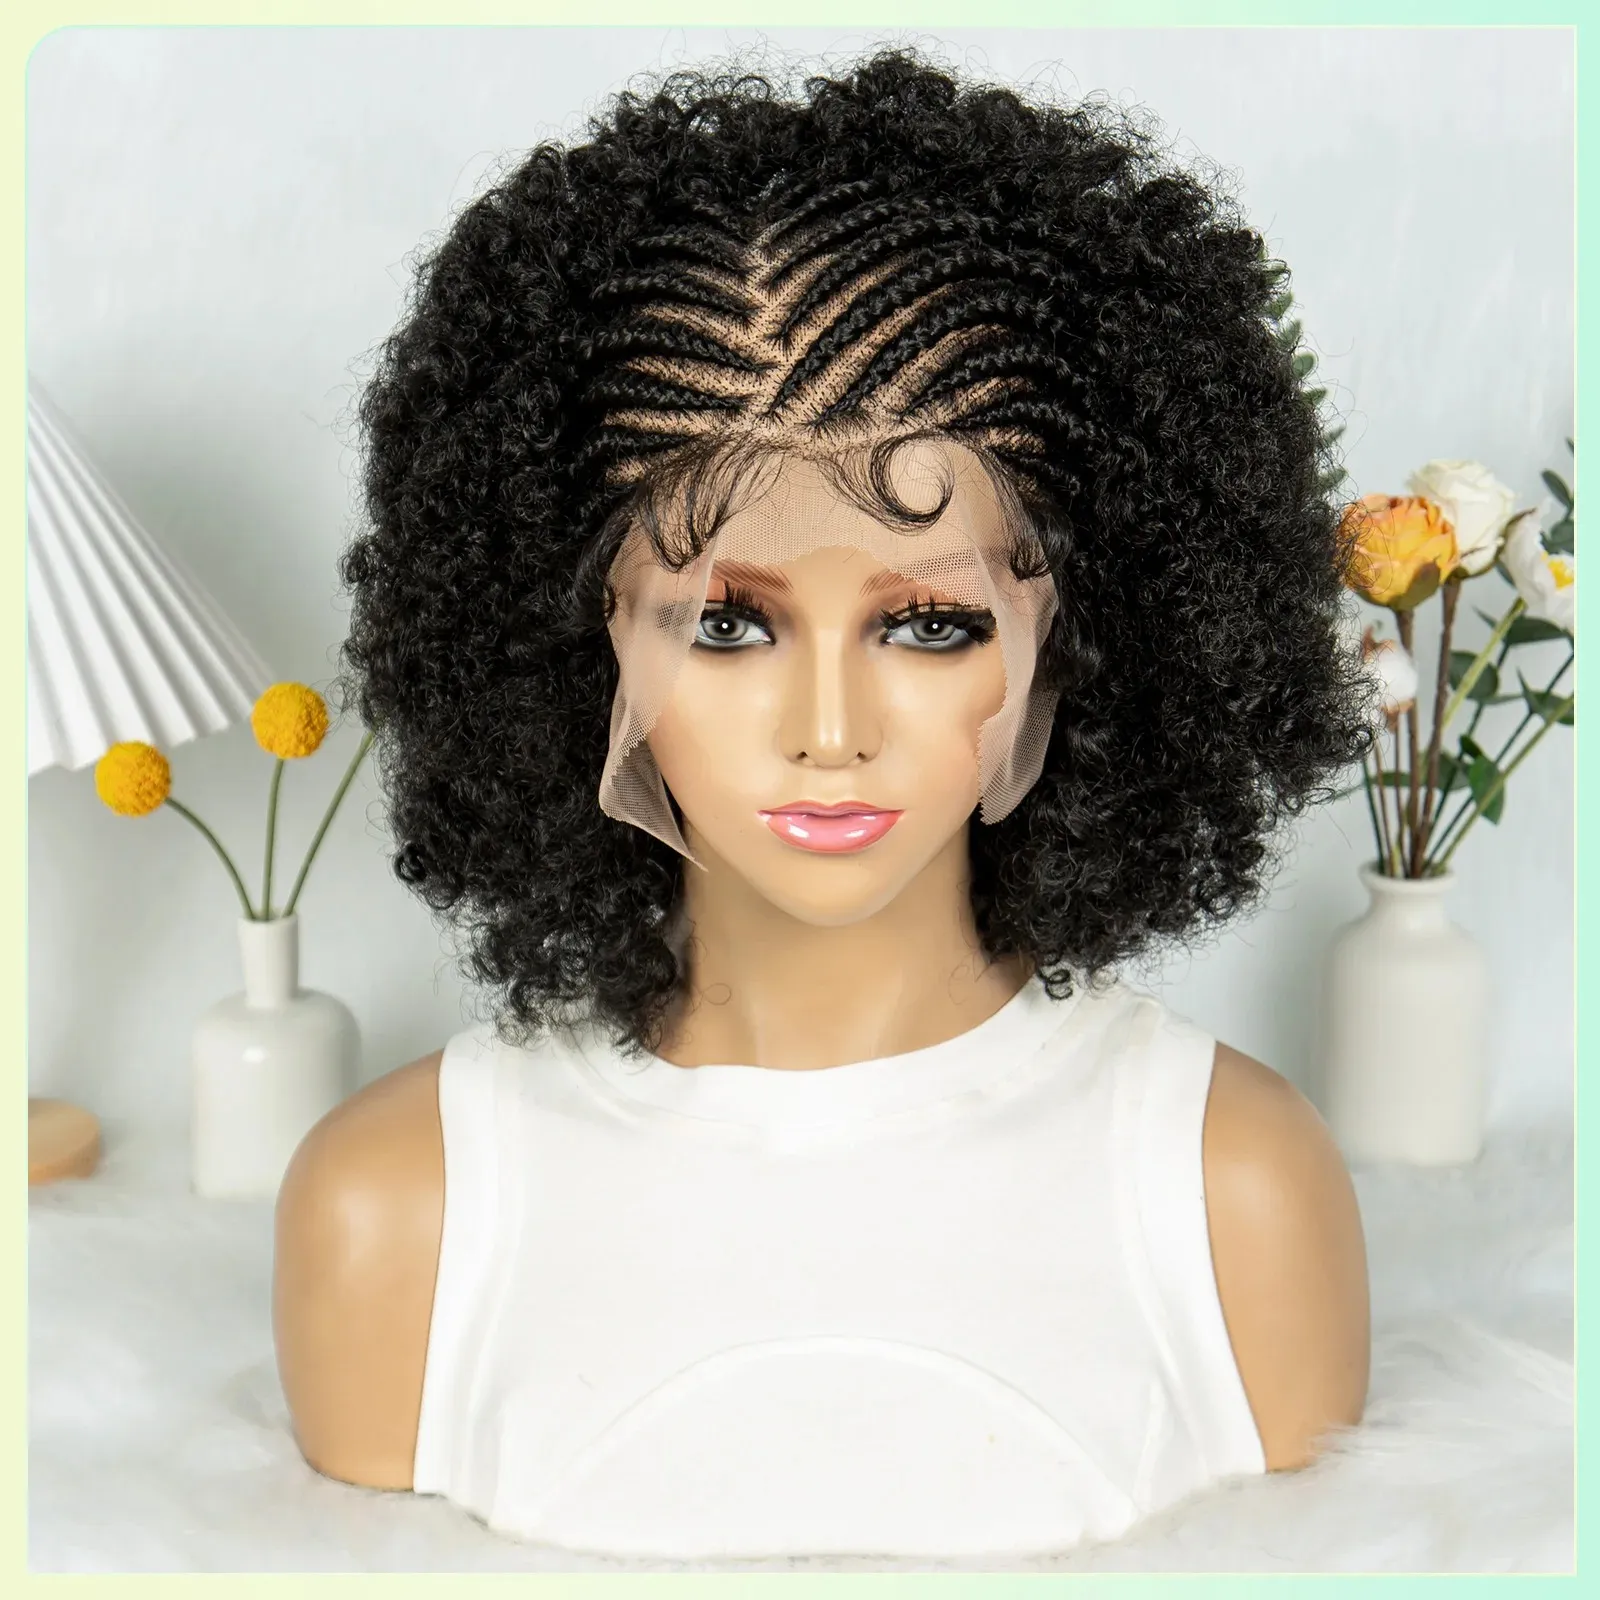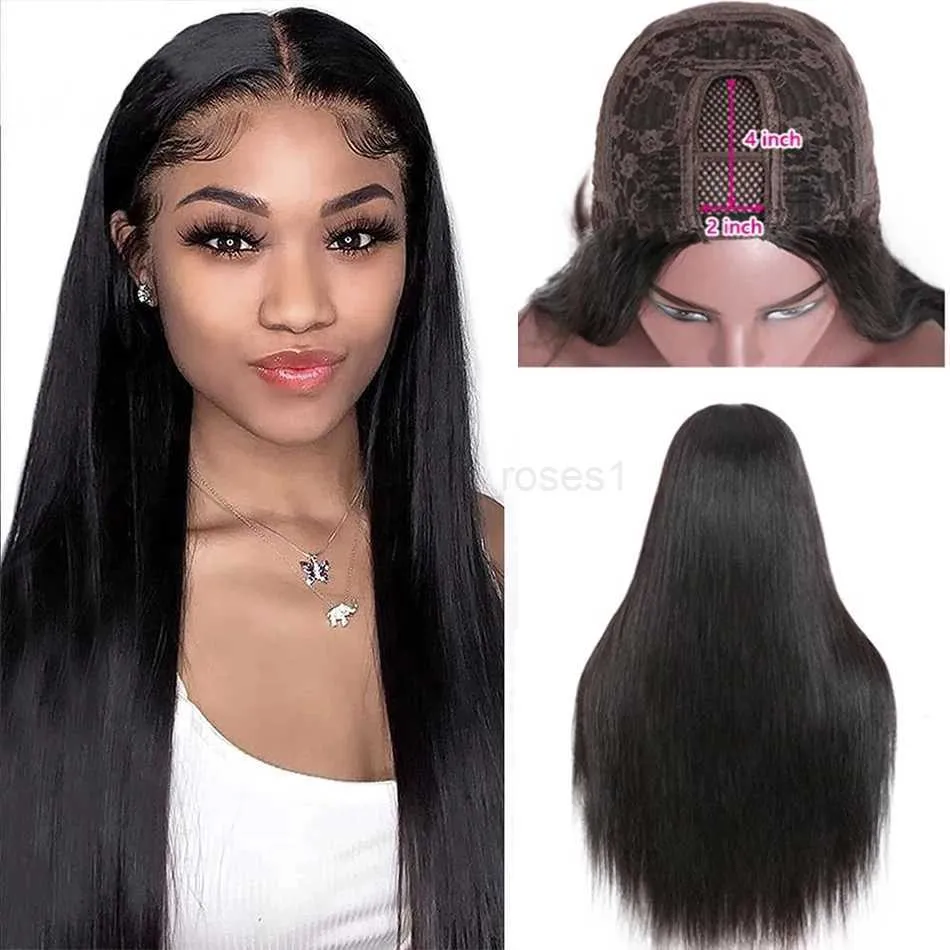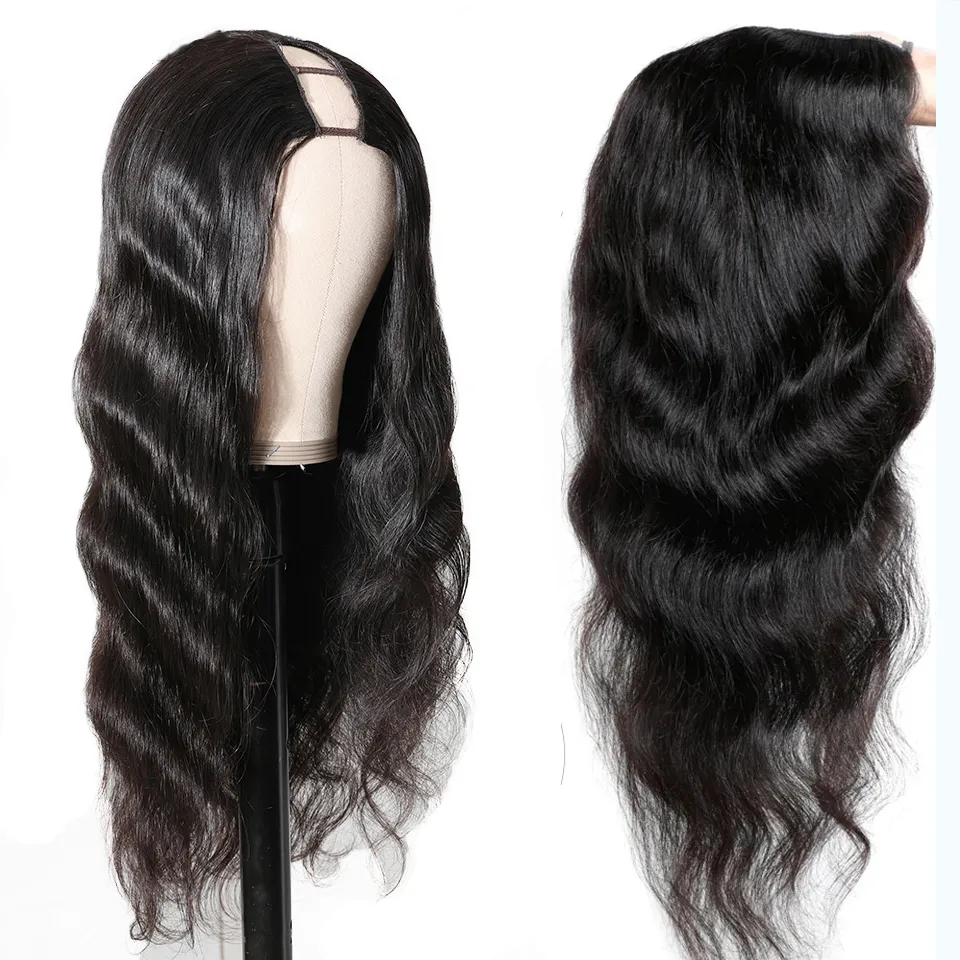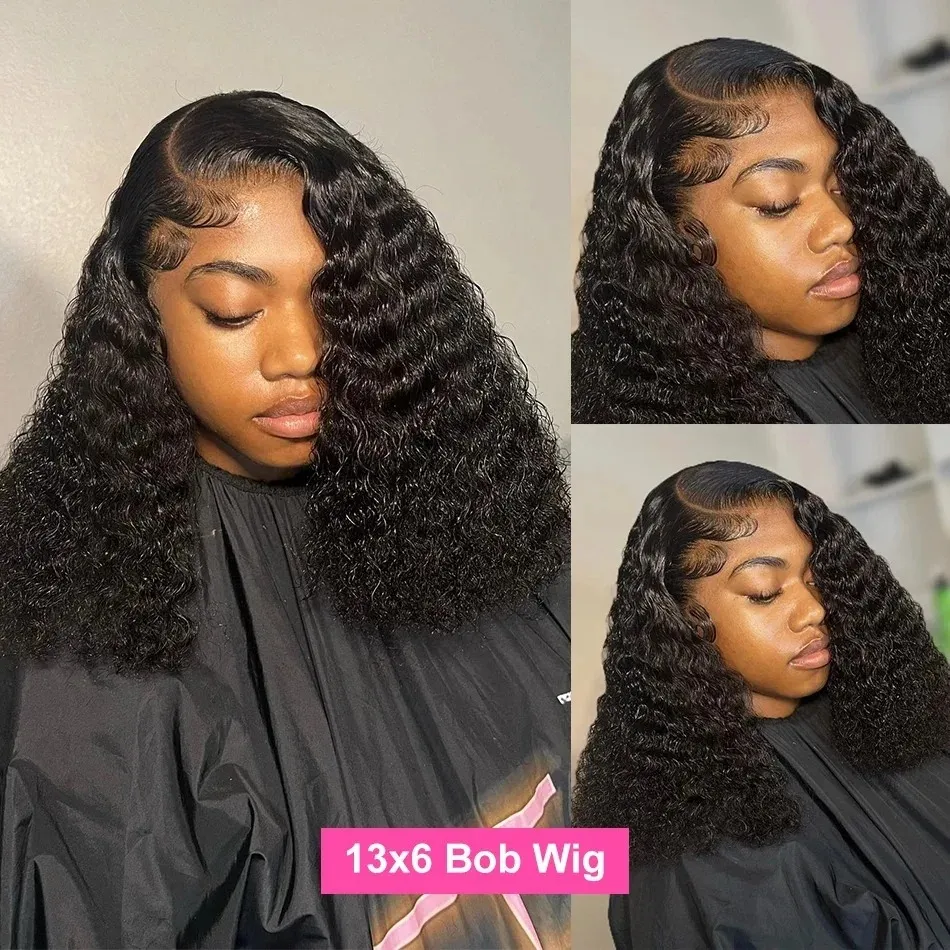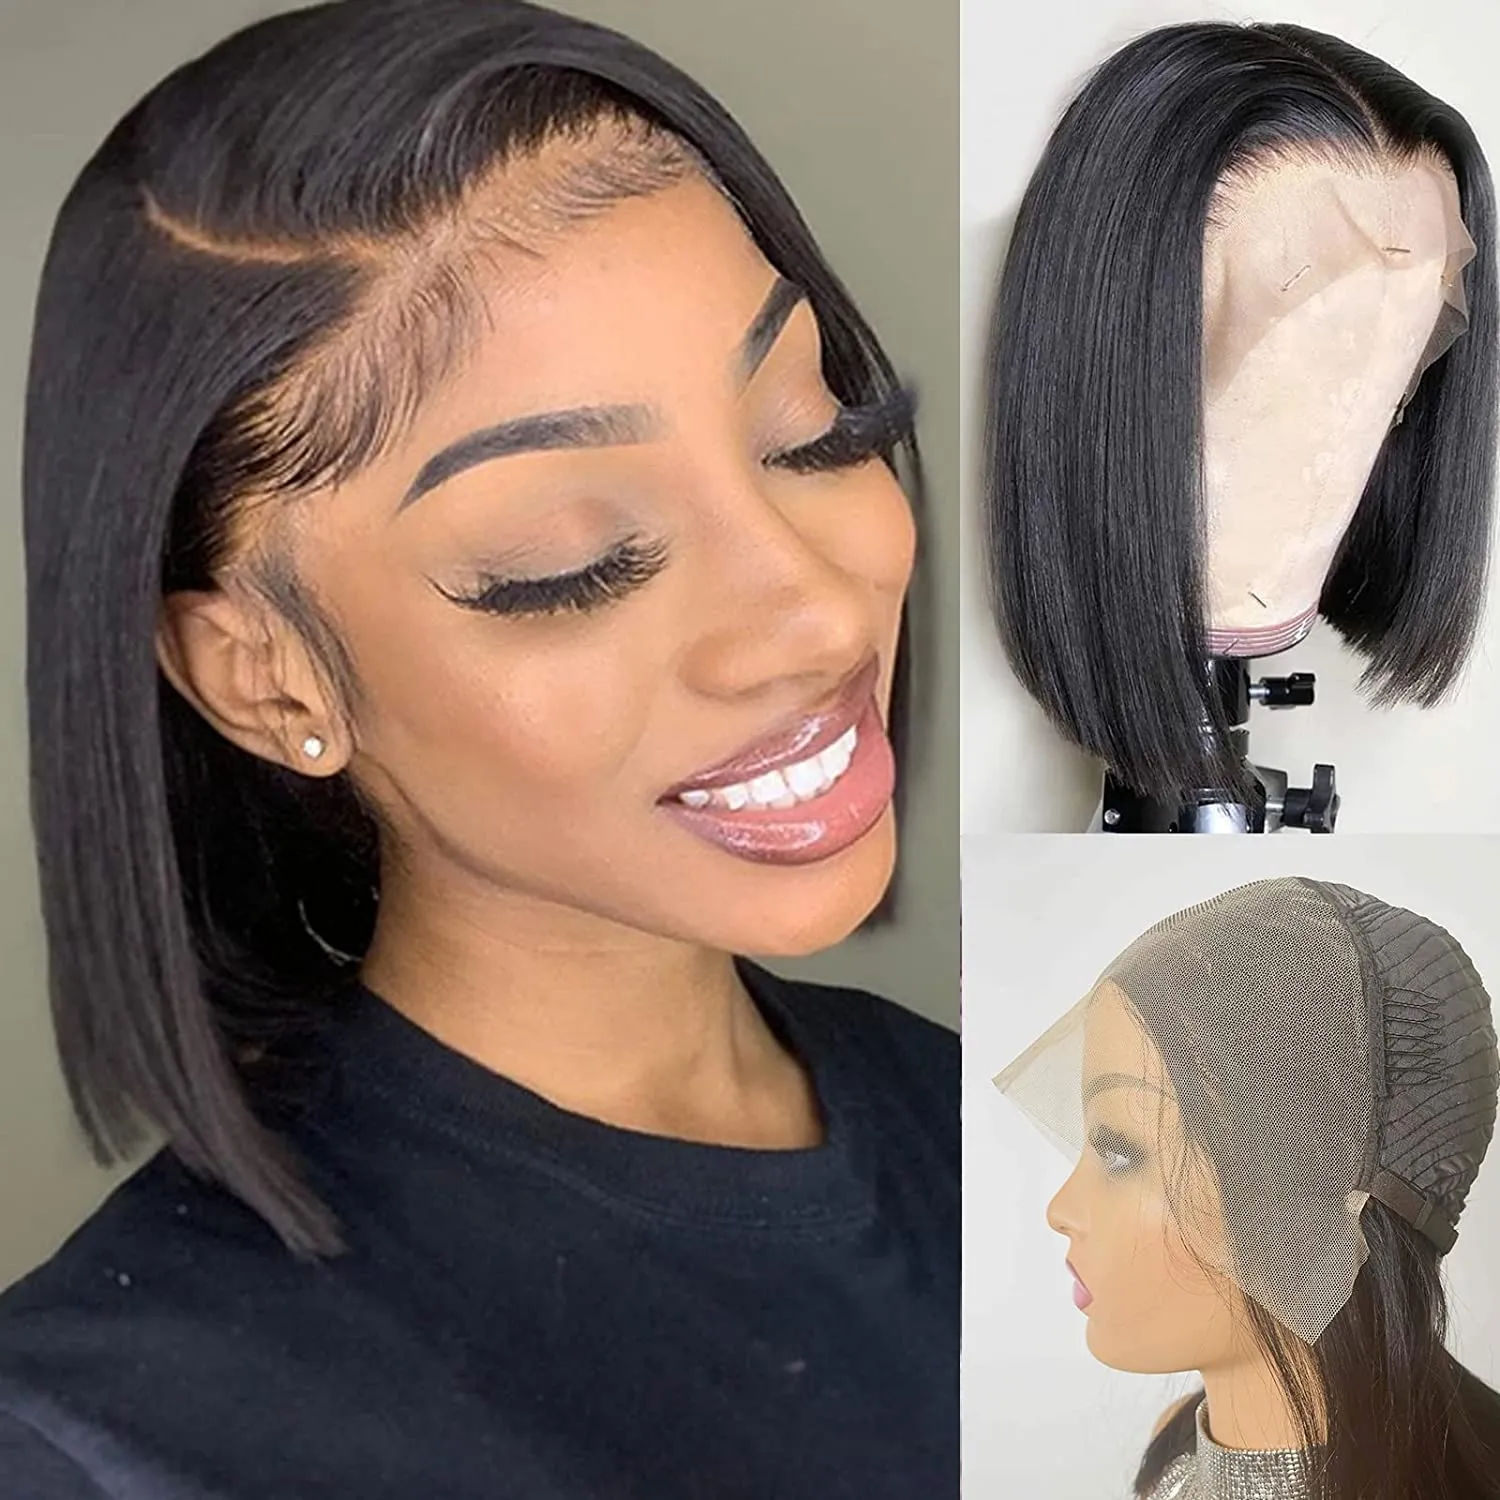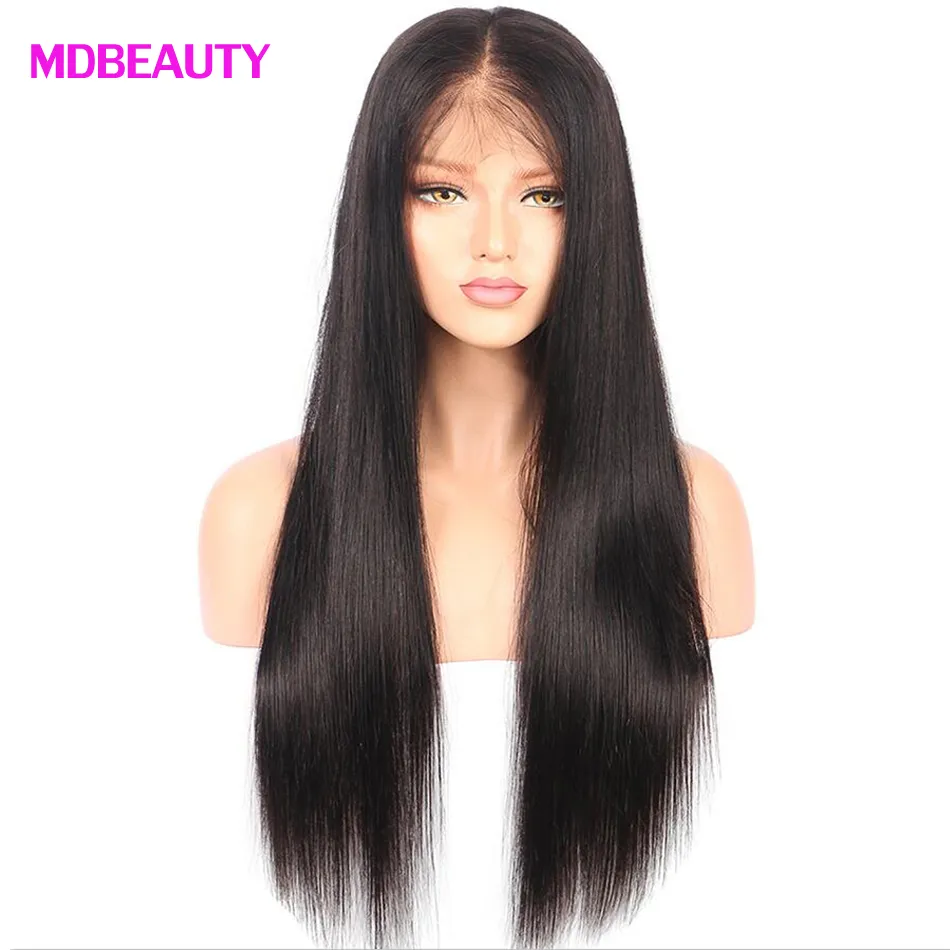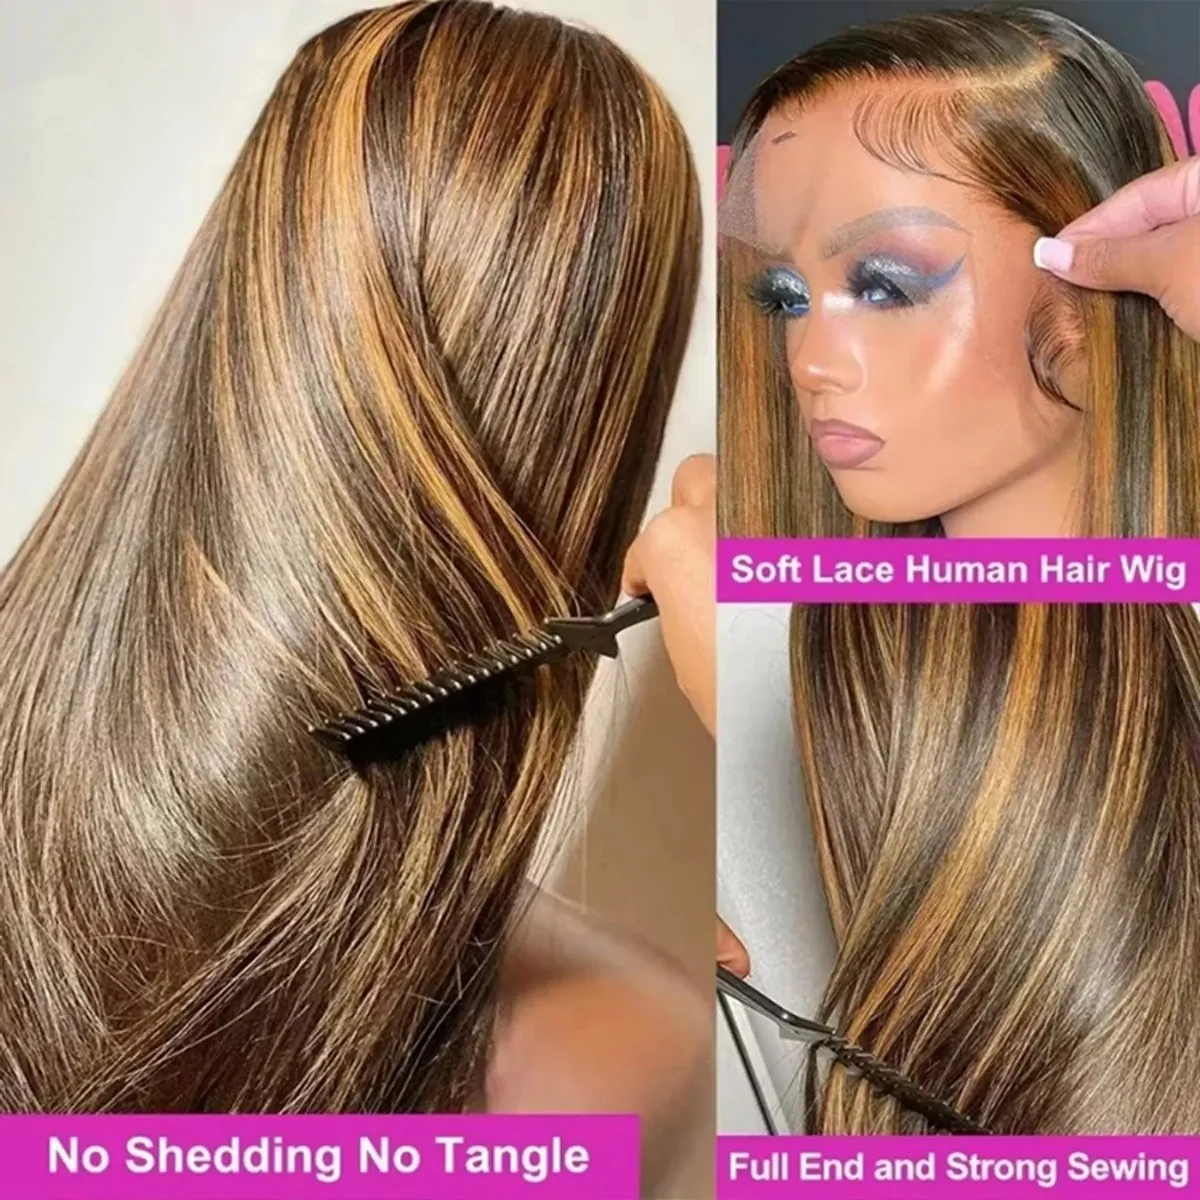



You just opened the box. There is a wig inside. It has combs and straps and a lace edge and possibly a part that looks too perfect and you are standing in front of a mirror with no idea what to do next. Every YouTube tutorial assumes you already know what a "melt" is and what "plucking" means. This guide does not. This is for your first wig, on your first try, when you have zero vocabulary and are genuinely worried you are going to ruin it.
Look at the product description or packaging. You need to know three things before you start:
| What to check | Why it matters |
|---|---|
| Synthetic or human hair? | Synthetic: do not apply heat unless labeled heat-friendly. Human hair: can be styled with hot tools but requires more maintenance. |
| Lace front or standard cap? | Lace front: you need to trim the lace and possibly use adhesive. Standard cap: just put it on — no lace trimming needed. |
| Glueless or requires adhesive? | Glueless wigs have combs and adjustable straps — they stay on without glue. Adhesive-required wigs need glue or tape to secure the lace. |
Braid your natural hair into flat cornrows or twists going straight back. If you cannot braid, make small, tight buns pinned flat against your head. The flatter the surface, the better the wig will sit. If your hair is very short or you are bald, skip this step — your scalp provides a smooth surface naturally.
A wig cap compresses your hair, provides grip for the wig's combs, and creates a barrier between your scalp and the wig's interior. Stretch the cap over your head, tuck every strand of hair inside, and make sure the cap sits just behind your natural hairline.
Loosen them to the widest setting before putting the wig on. You will tighten them after placement.
Hold the wig by the ear tabs. Tilt your head slightly forward. Place the front of the wig at your hairline first, then pull the back down over your head. Do not drag it — place it.
Make sure the ear tabs sit evenly on both sides. The front lace (if it is a lace front) should align with your natural hairline. Look in the mirror — does the wig look centered? Are the ear tabs at the same height?
Reach into the back of the wig. Locate the adjustable straps. Pull them tighter until the wig feels snug but not uncomfortable. The wig should stay in place when you shake your head gently. If it shifts, tighten further.
Slide the front comb into the wig cap at your hairline. Slide the back comb into the cap at your nape. If the wig does not have combs, use bobby pins to secure the edges to the cap.
If your wig is NOT a lace front — meaning the front edge is a solid cap, not mesh — congratulations. You are done. Style and go. If it IS a lace front, continue.
There is extra lace extending beyond the hairline. Put the wig on. Mark where your natural hairline meets the lace with a white eyeliner pencil. Take the wig off. Using small, sharp scissors, cut along the marked line in a zigzag pattern (not a straight line — zigzag edges blend better against skin). Leave about 1–2mm of lace in front of the hairline.
If your wig is glueless (has a silicone grip band inside), you do not need adhesive. The wig should stay in place with straps and combs alone. Skip to step 11. If your wig requires adhesive or you want the flattest possible lace melt, continue to step 10.
Apply a thin layer of wig adhesive (Got2B Glued gel is the beginner-friendly option) along your hairline. Let it dry until tacky — it should be clear, not white. Press the lace into the adhesive using a rat-tail comb. Tie a silk scarf around your hairline for 10 minutes to set the bond.
Comb through the wig gently with a wide-tooth comb — ends first, working upward. Style as desired. If you have baby hairs along the hairline, use a small amount of edge control to lay them down — this helps hide the lace edge.
Bathroom light hides lace. Natural light reveals it. Step near a window and check your hairline. If the lace is visible, adjust your baby hairs or apply a small amount of powder (matching your skin tone) along the lace edge to help it blend.
Your first wig should be easy. We stock beginner-friendly glueless wigs with pre-plucked hairlines and adjustable straps — because your first experience should not involve glue or scissors unless you want it to.