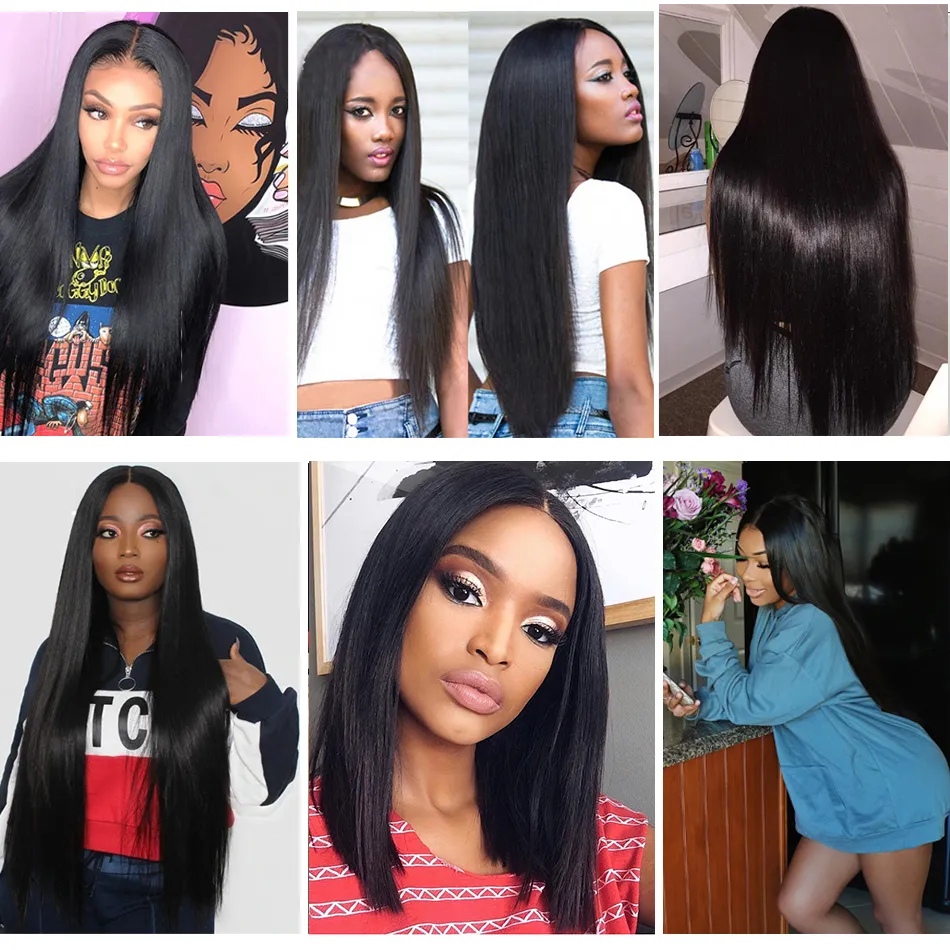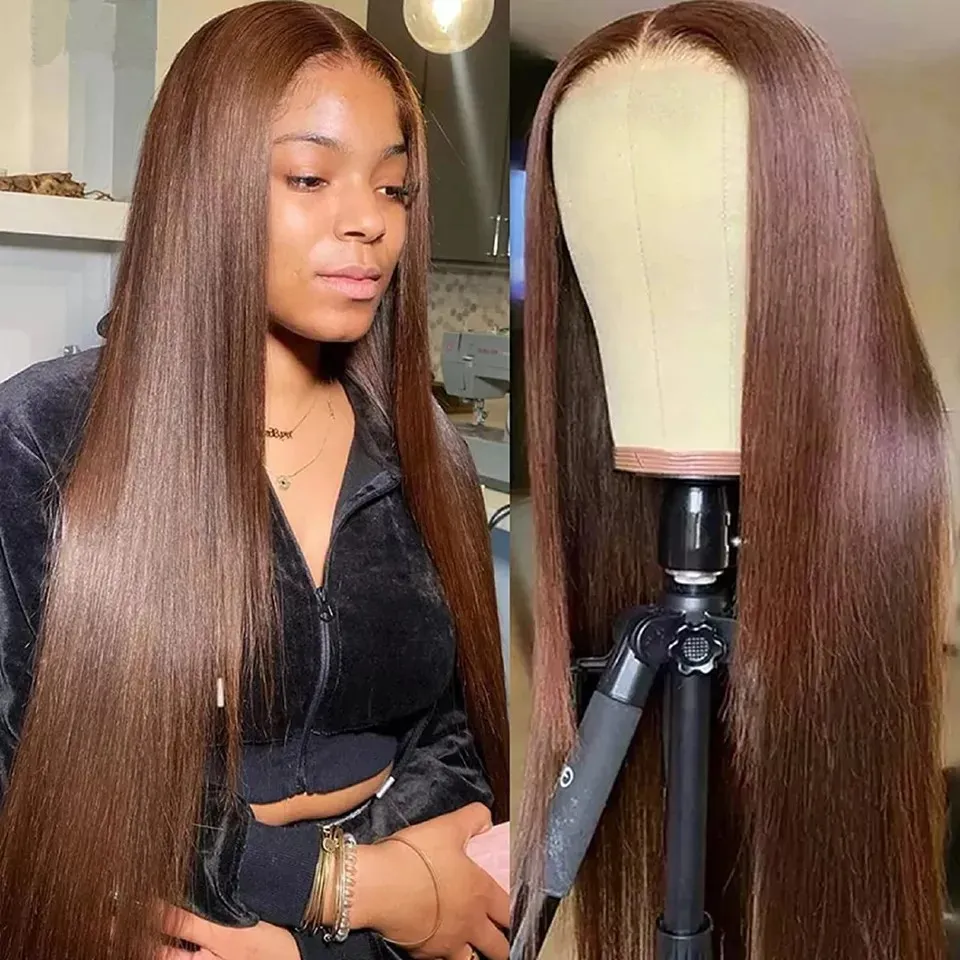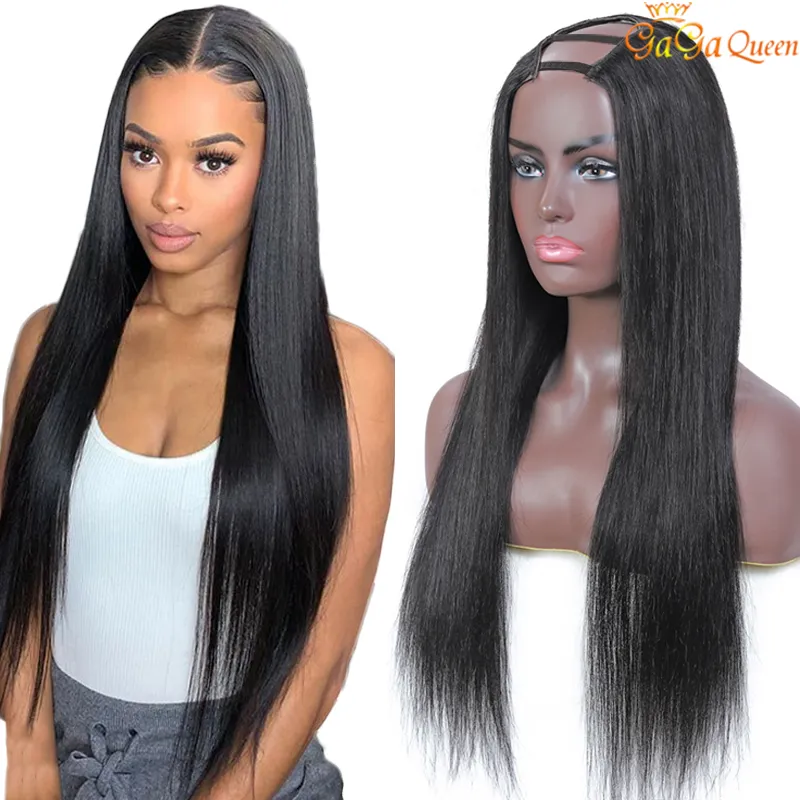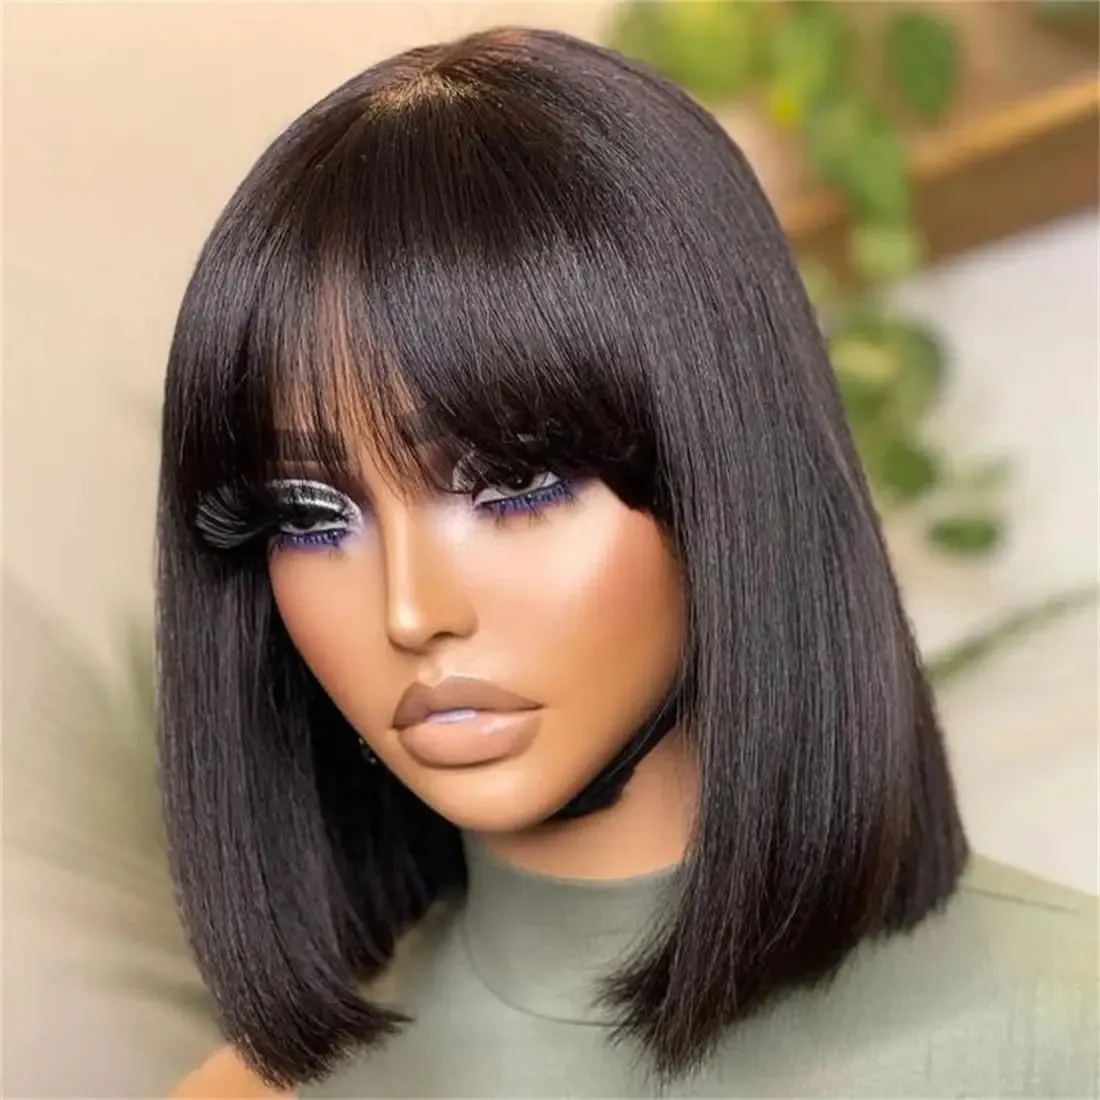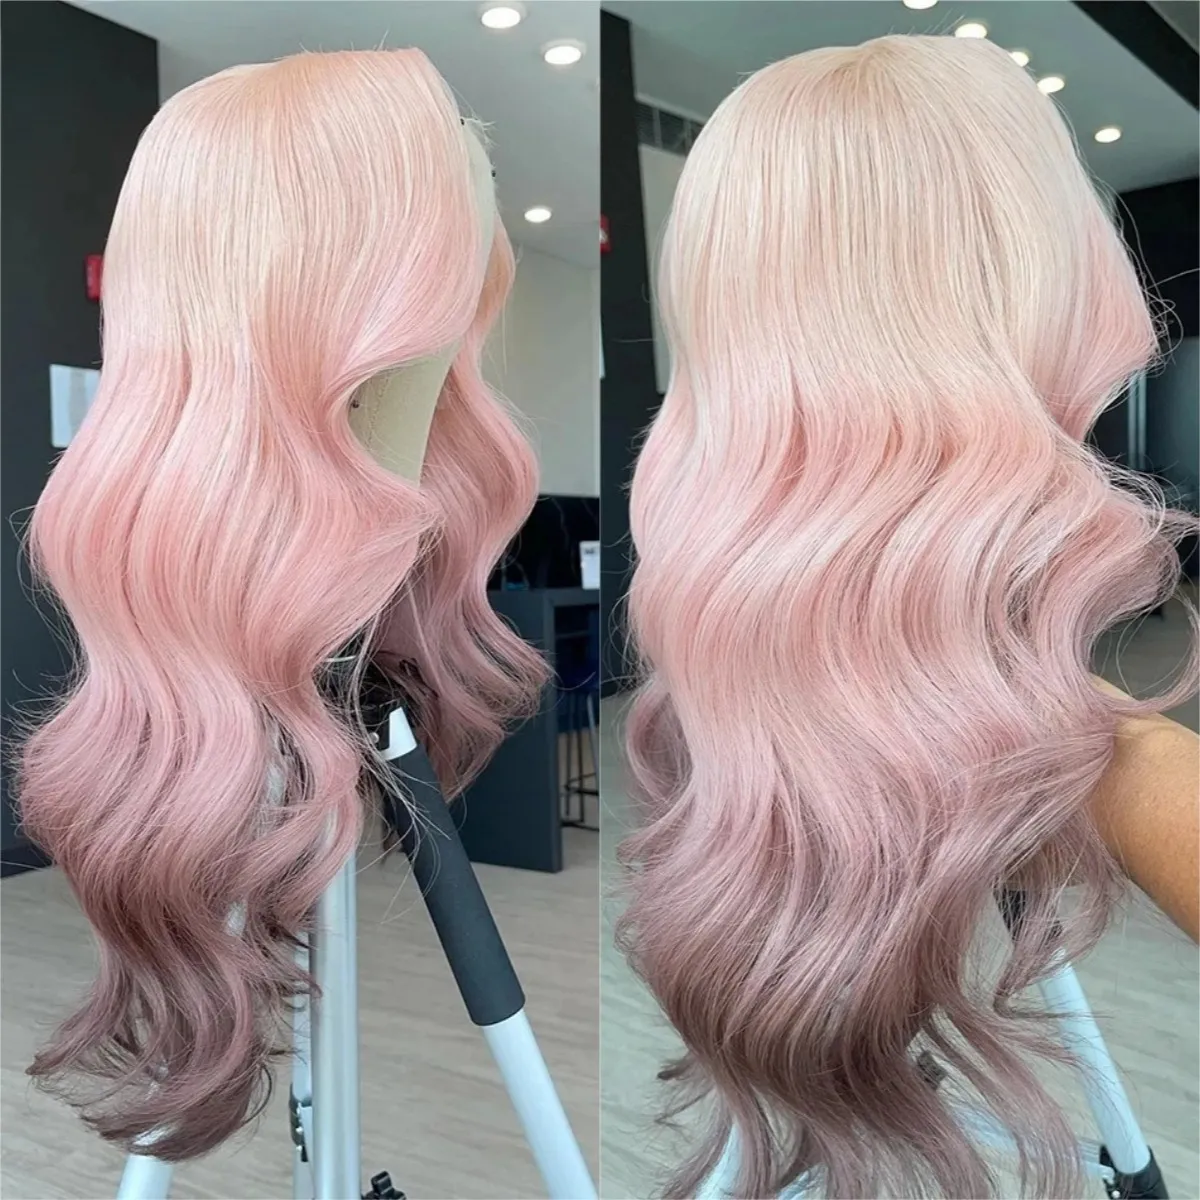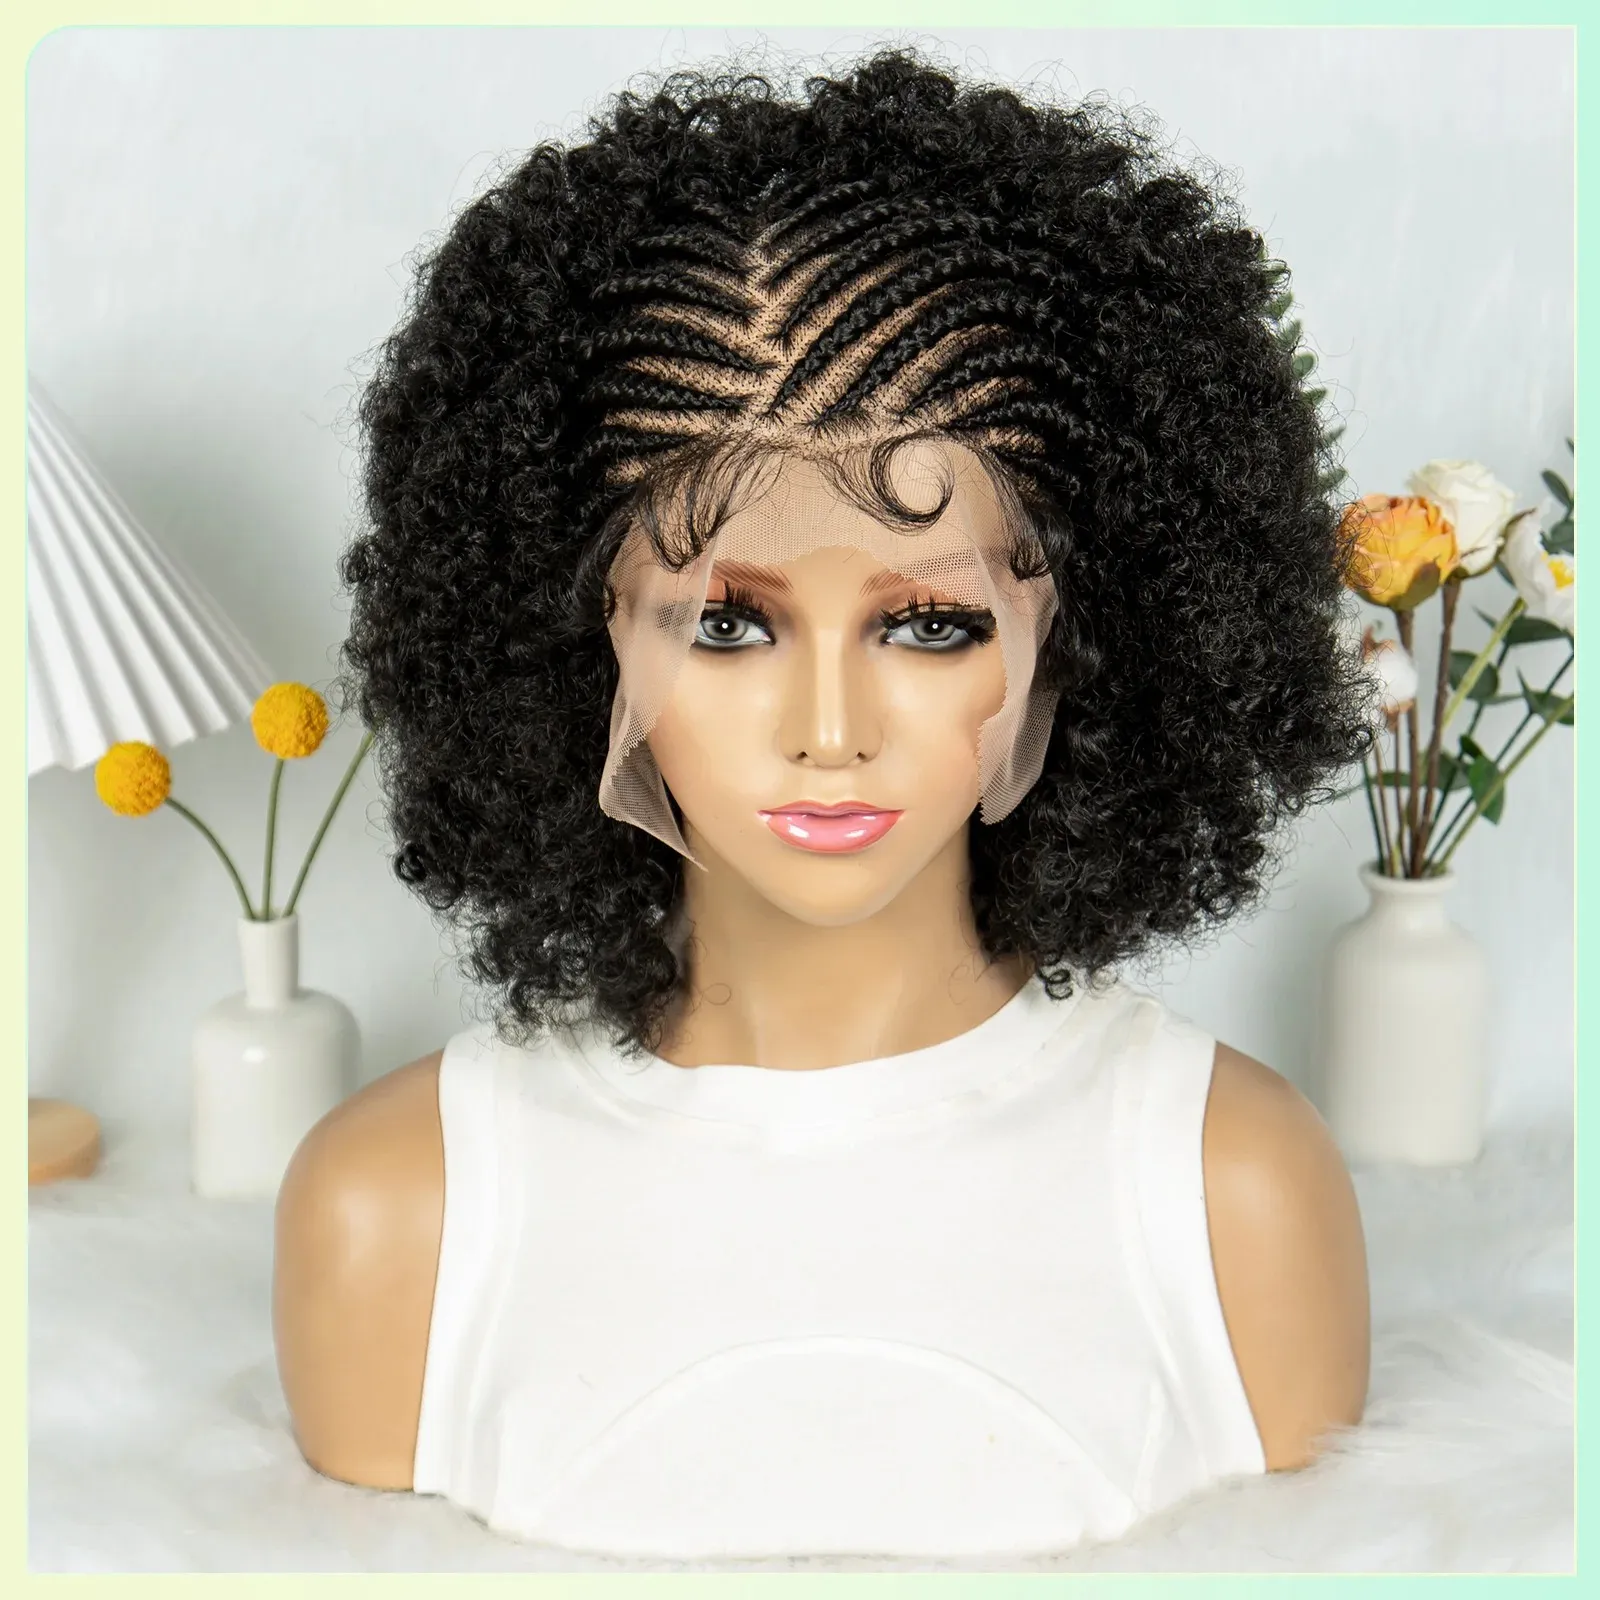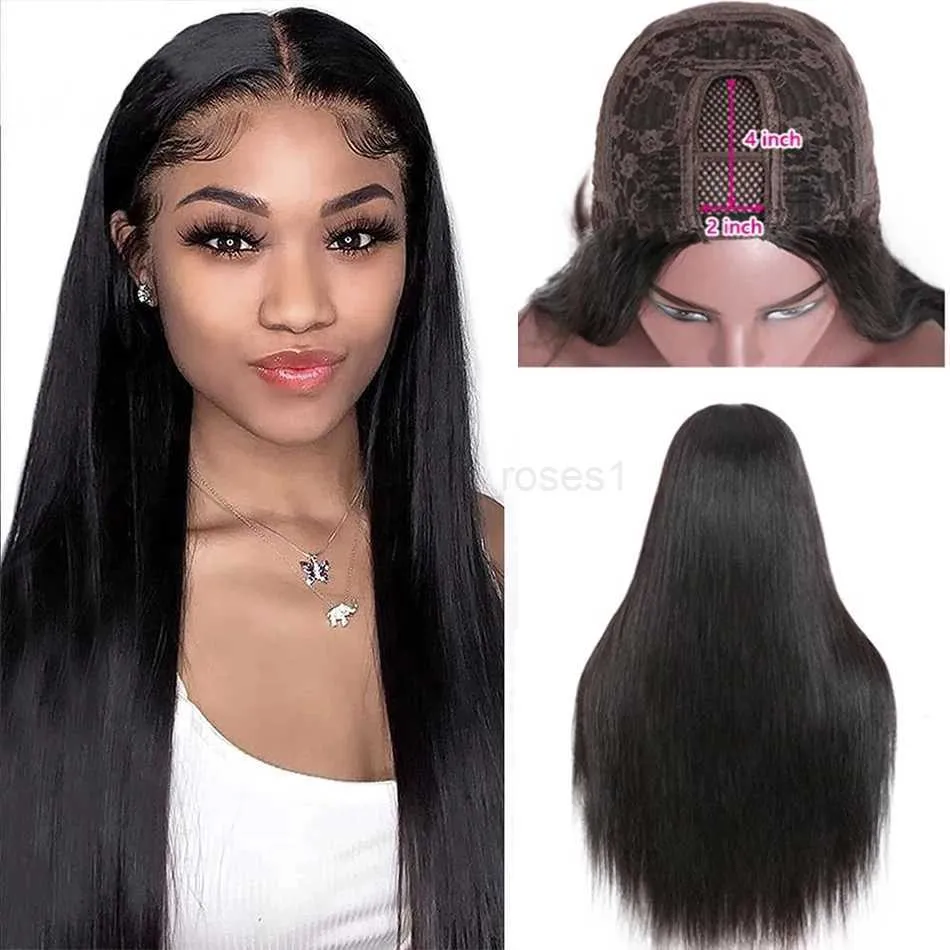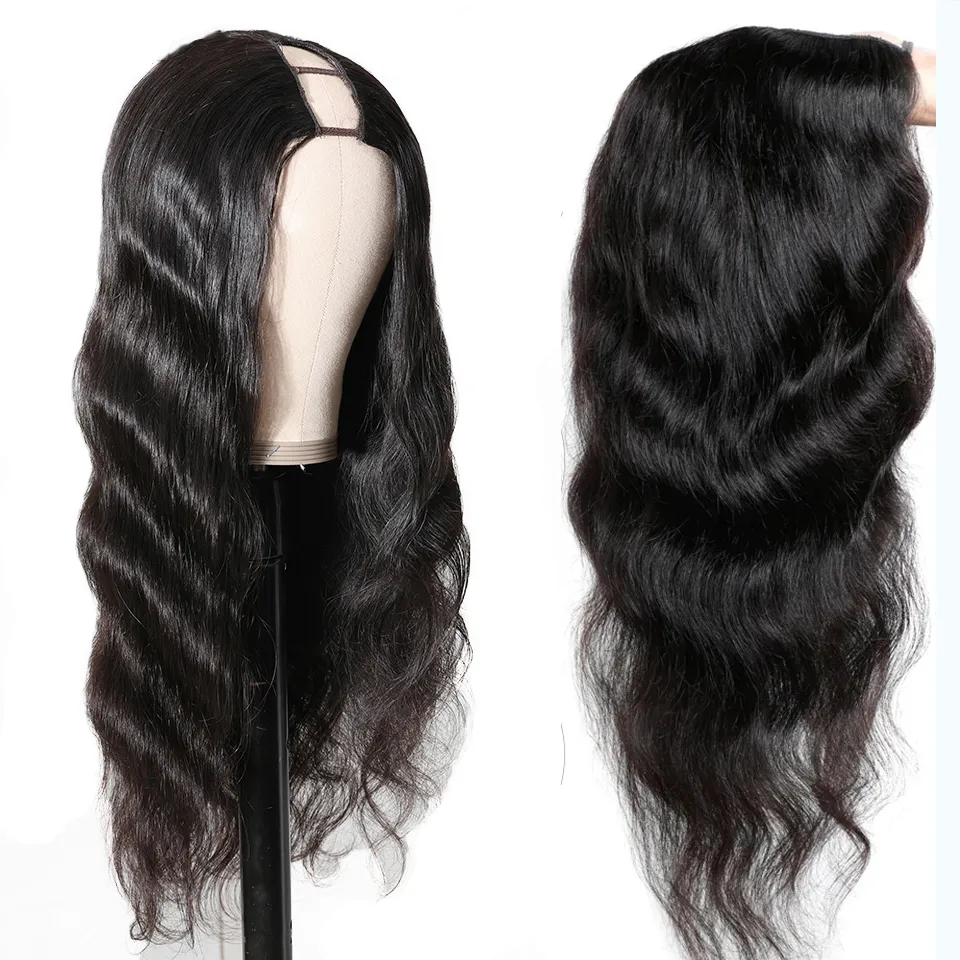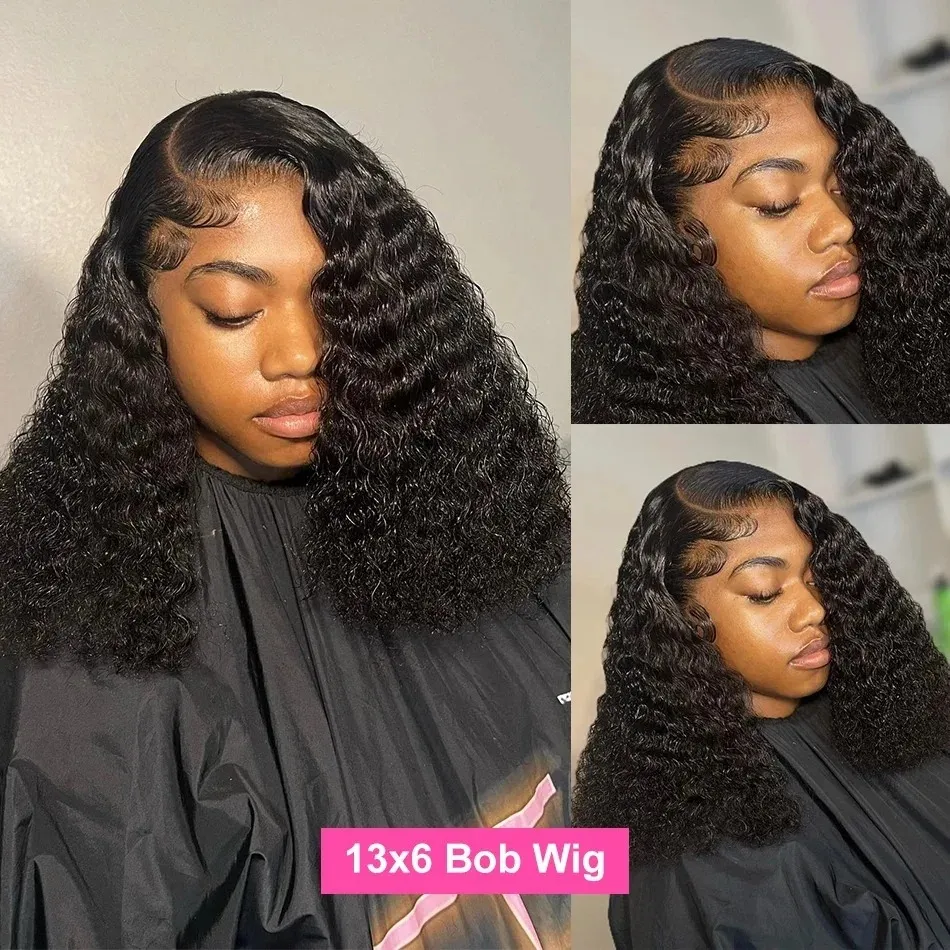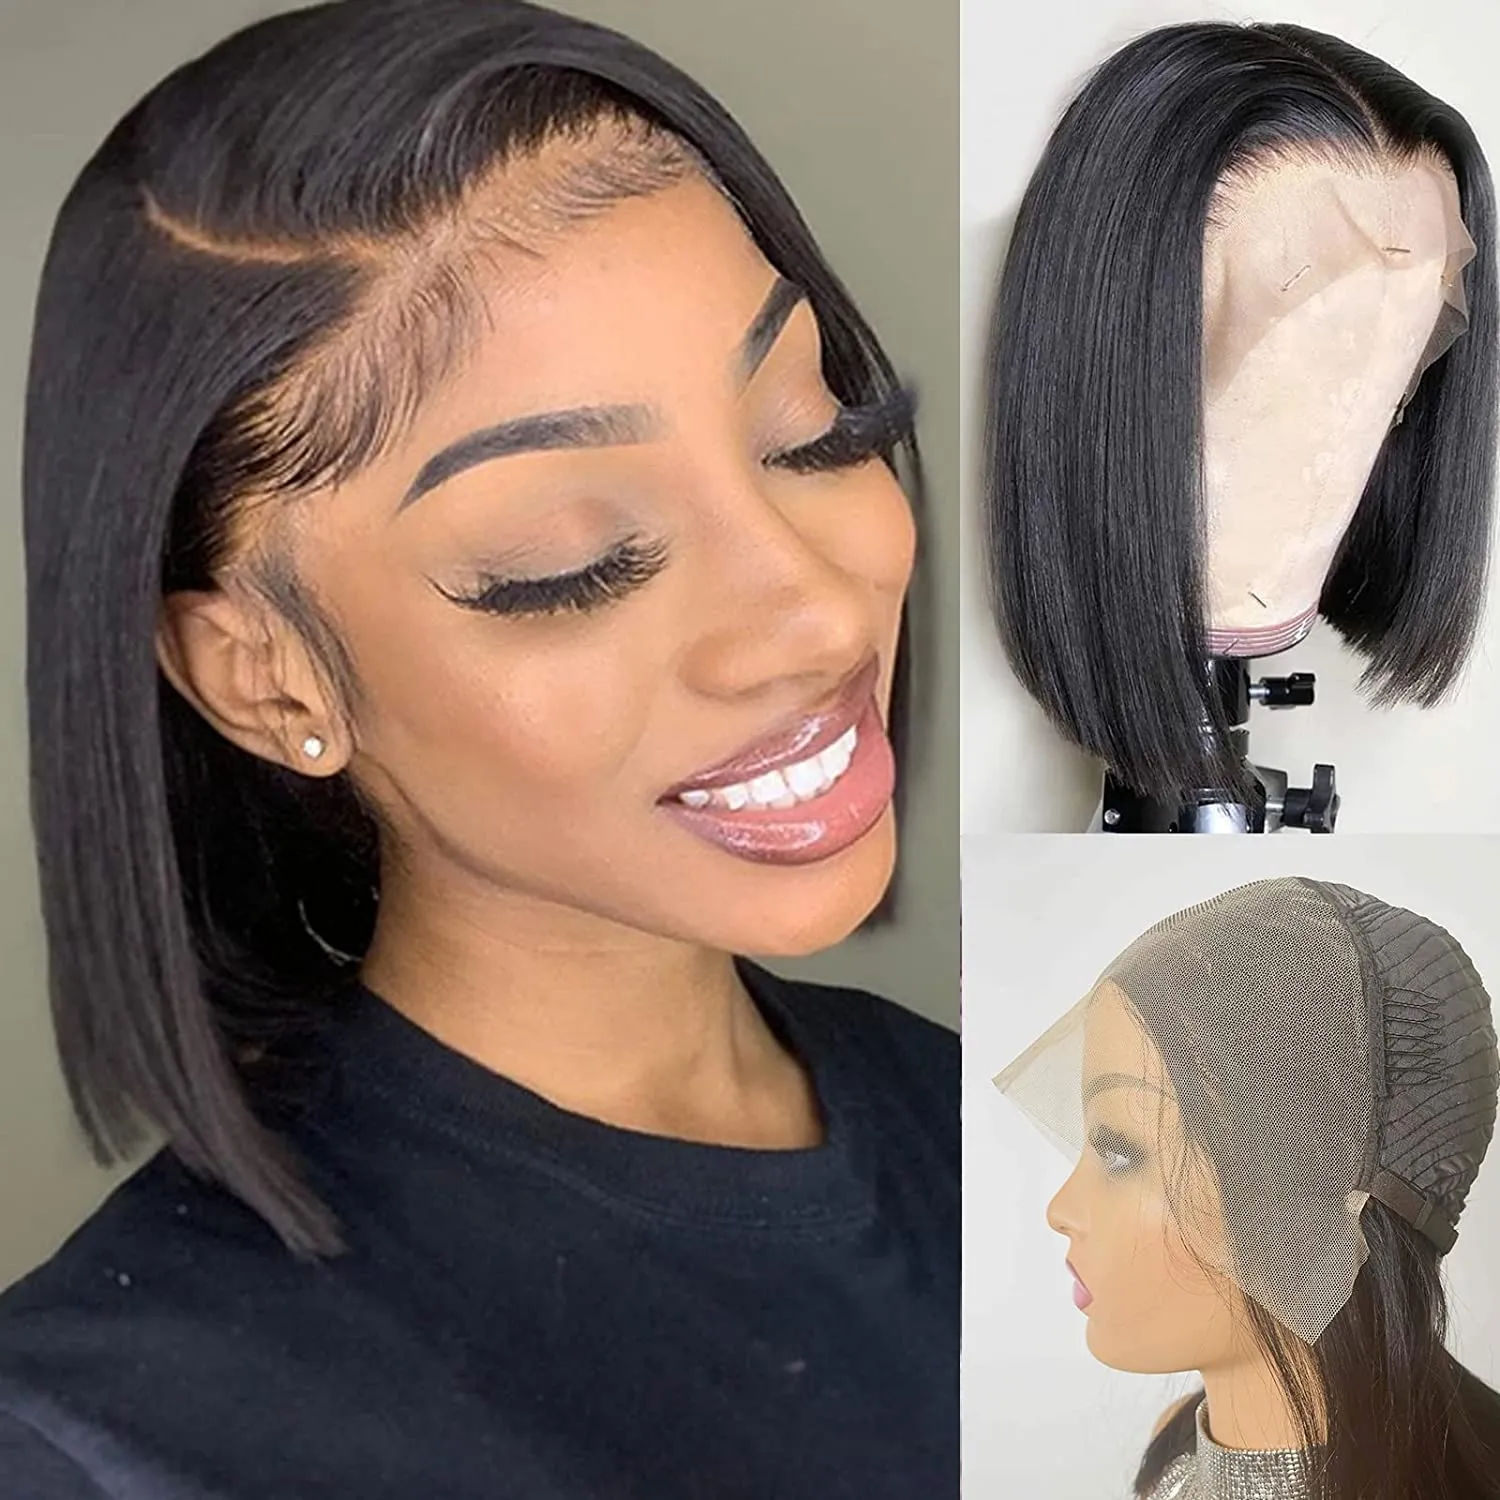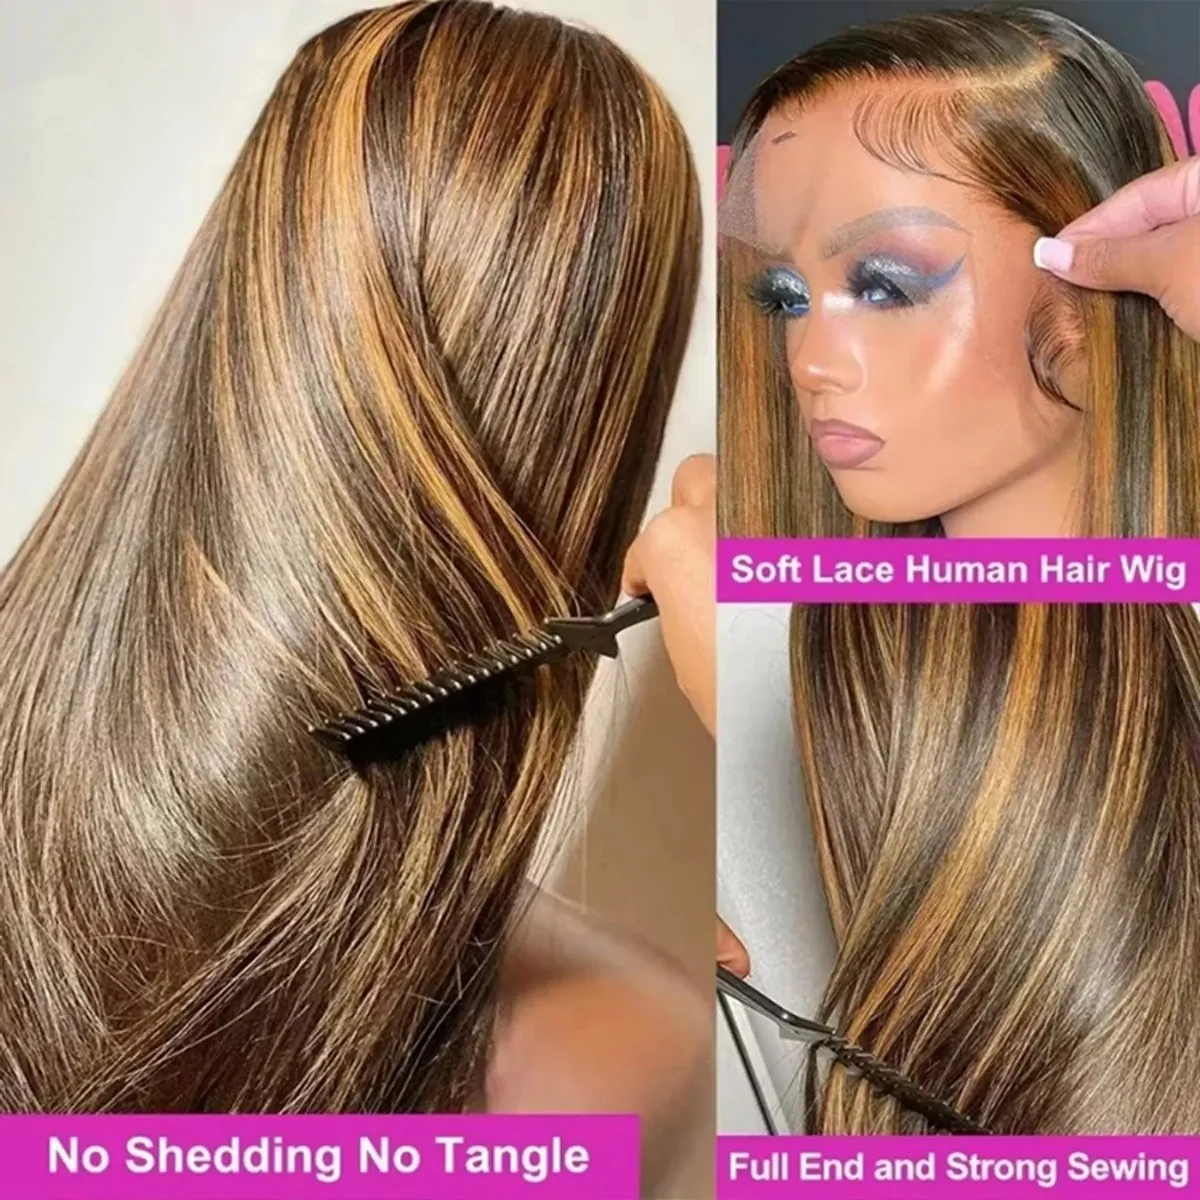






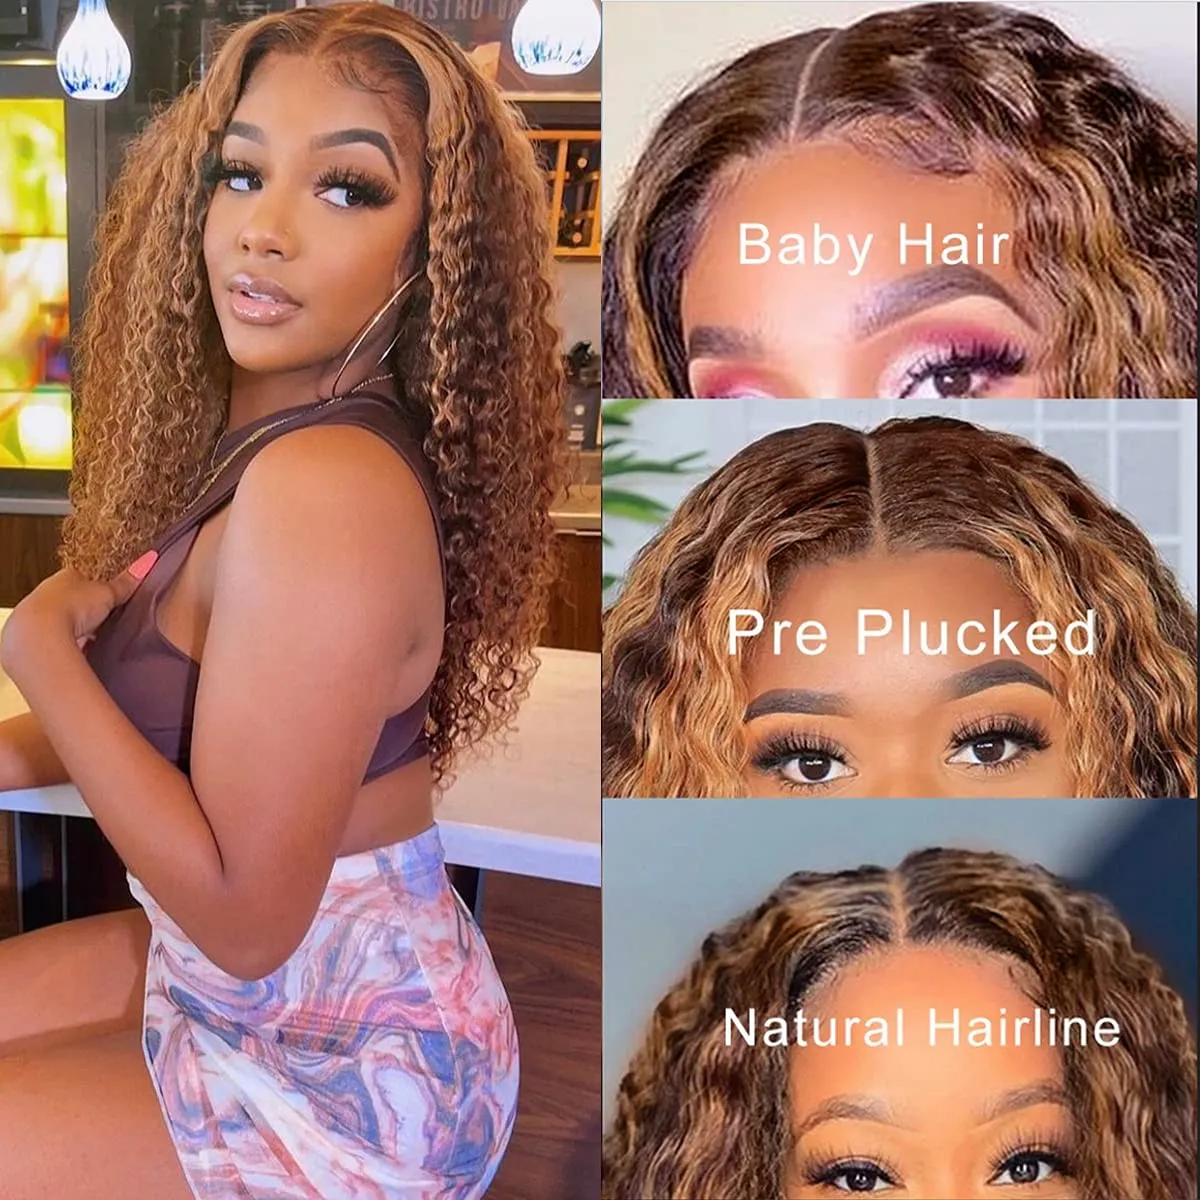
If you've ever stood in front of a mirror at 7:45 AM with a lace front wig in one hand and a bottle of Got2B in the other, wondering why the girl on YouTube made it look so easy â you're not alone. Applying a lace front wig so it looks like it's growing out of your scalp is a skill, not a magic trick. And the difference between "oh, she's wearing a wig" and "wait, is that her real hair?" usually comes down to four things: prep, placement, product, and patience.
Every tutorial starts with the wig already on. But the actual work happens before the lace touches your forehead. Your skin underneath needs to be flat and oil-free. Not "I just washed my face" clean â I'm talking rubbing alcohol on a cotton round, pressed along your entire hairline, until that pad comes back with nothing on it. Your natural oils will break down adhesive faster than anything else you do wrong. If you have edges or baby hair you're trying to protect, a thin layer of scalp protector serum is worth the extra 60 seconds.
For the hair underneath: cornrows going straight back are the gold standard. Not angled, not zigzag â straight back. Every bump or braid ridge will telegraph through the lace once you press it down. If you've got a lot of hair, two flat french braids pinned down tight work. The goal is a surface as smooth as a tabletop.
Walk into any beauty supply store and you'll see 20 different adhesives. Here's what actually matters:
Got2B Glued spray (the yellow can): The beginner's best friend. It holds for a full day, maybe two if you're not sweating. It washes out with water. It's forgiving â if you mess up the placement, you can lift and re-press. Downside: humidity is its enemy. If you live somewhere with real weather, this isn't your all-day solution.
Liquid adhesives (Ghost Bond, Bold Hold, Ebin): These are the real deal for 3-7 day holds. The key most people miss: you have to let it get tacky. Apply a thin layer, fan it or hit it with a cool blow dryer until it goes from wet-shiny to clear-sticky, then apply a second thin layer and do the same thing. Two thin layers > one thick layer, every single time. Thick layers slide.
Wig tape (the blue roll from the beauty supply): Underrated, honestly. Tape around the perimeter gives you a clean line and doesn't seep through the lace the way liquid can. The downside is the edge can sometimes be visible if the lace isn't HD transparent. For everyday wear, tape plus a light adhesive layer is the combo a lot of professional stylists use but never mention on camera.
Do not â I repeat, do not â cut the lace in a straight line with regular scissors. You need pinking shears (the ones with the zigzag blades) or at minimum, cut in small jagged motions. A straight cut creates a harsh line that your eye will always catch. A zigzag edge blends into your skin. Leave about an eighth of an inch of lace beyond where your hairline actually sits. You can always trim more. You cannot un-cut lace.
Before any adhesive goes on, put the wig on your head with no product. Align the lace edge exactly where you want your hairline. Check it in natural light if you can â bathroom lighting lies. Take a selfie from straight on, from the side, from above. Once you know where "perfect" is, memorize where the lace hits relative to your eyebrows. Then take it off and start applying adhesive to your skin at that exact line.
The moment you press lace into cured adhesive, you've committed. There's no sliding it around. If you're off by a quarter inch, that's your hairline for the day. This is why the dry-fit step matters so much.
Once the lace is down on the adhesive, wrap a satin scarf tight around your perimeter and leave it for at least 15 minutes. Twenty is better. This is the step people skip because they're in a hurry. The scarf applies even pressure while the bond fully sets. If you skip this, your lace is going to lift at the temples by lunchtime. I don't care what adhesive you used.
The lace itself â even HD transparent lace â has a slight texture that catches light differently than skin. Here's what actually works:
When it's time to take it off, do not pull the lace. Ever. Saturate the hairline with adhesive remover or plain baby oil â and I mean saturate. Let it sit for a full minute. The lace should lift with basically no resistance. If you're tugging, you haven't used enough remover. The wig is an investment; treat the lace like it's delicate because it is.
Your first lace front application is going to take 45 minutes and it's going to look... fine. Your tenth application will take 20 minutes and look great. By the time you've done it 50 times, you can do it in 10 minutes with your eyes half closed. This is a craft. Give yourself grace while you learn it.
We put together this guide because we've been through the learning curve ourselves â and we sell wigs to women who are on every step of that curve. Whether you're buying your first lace front or your fifteenth, the right wig makes the application worth the effort.