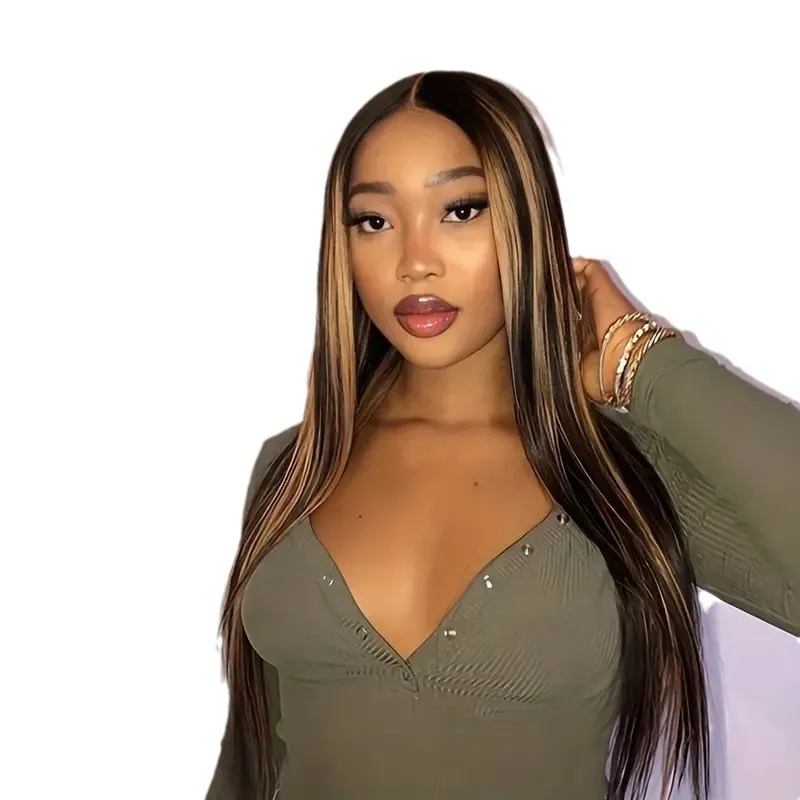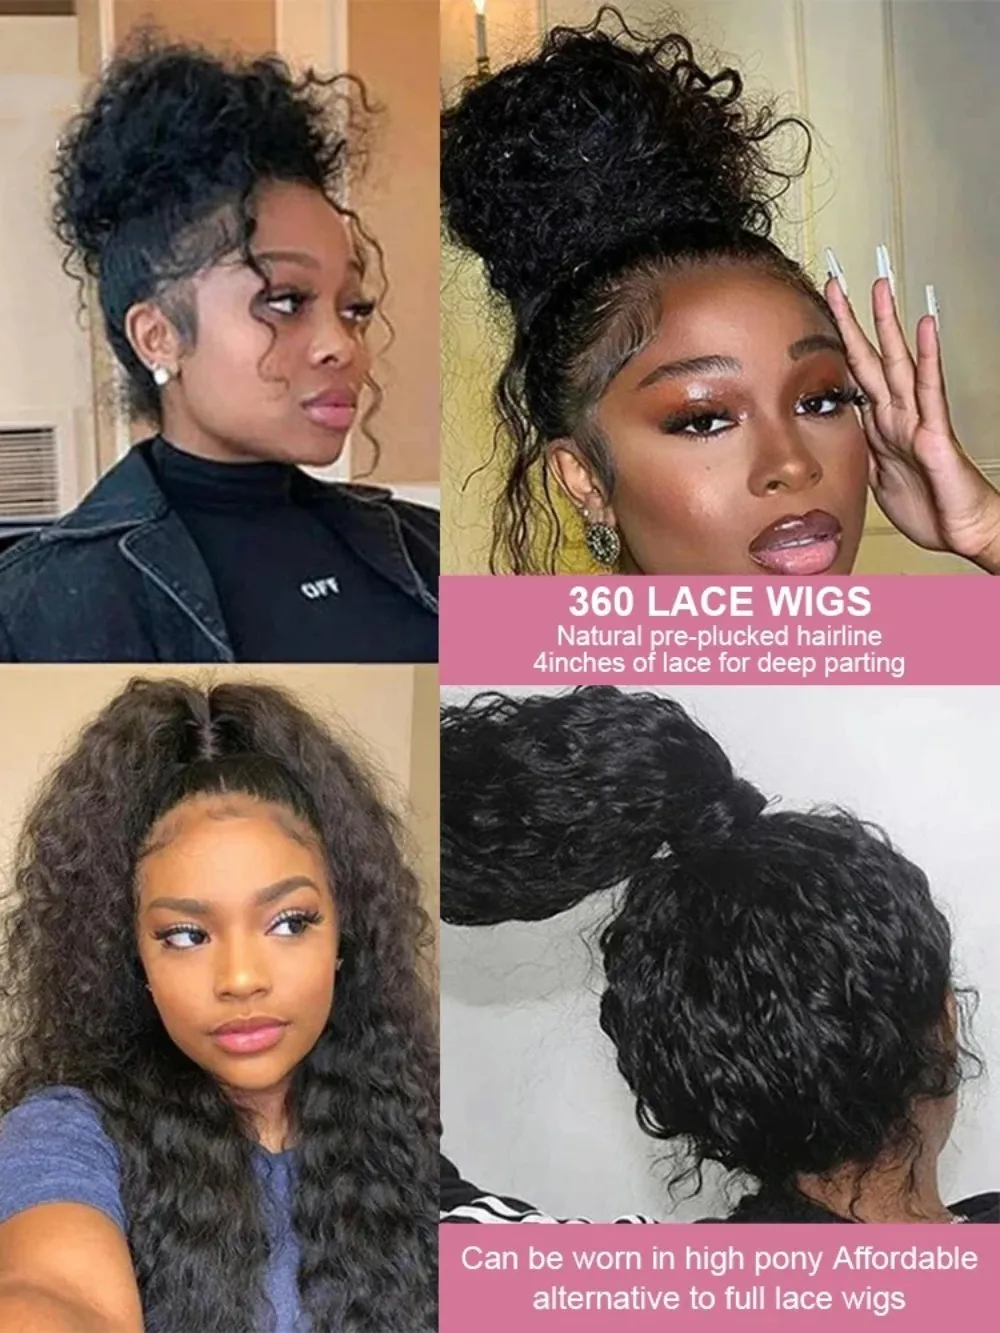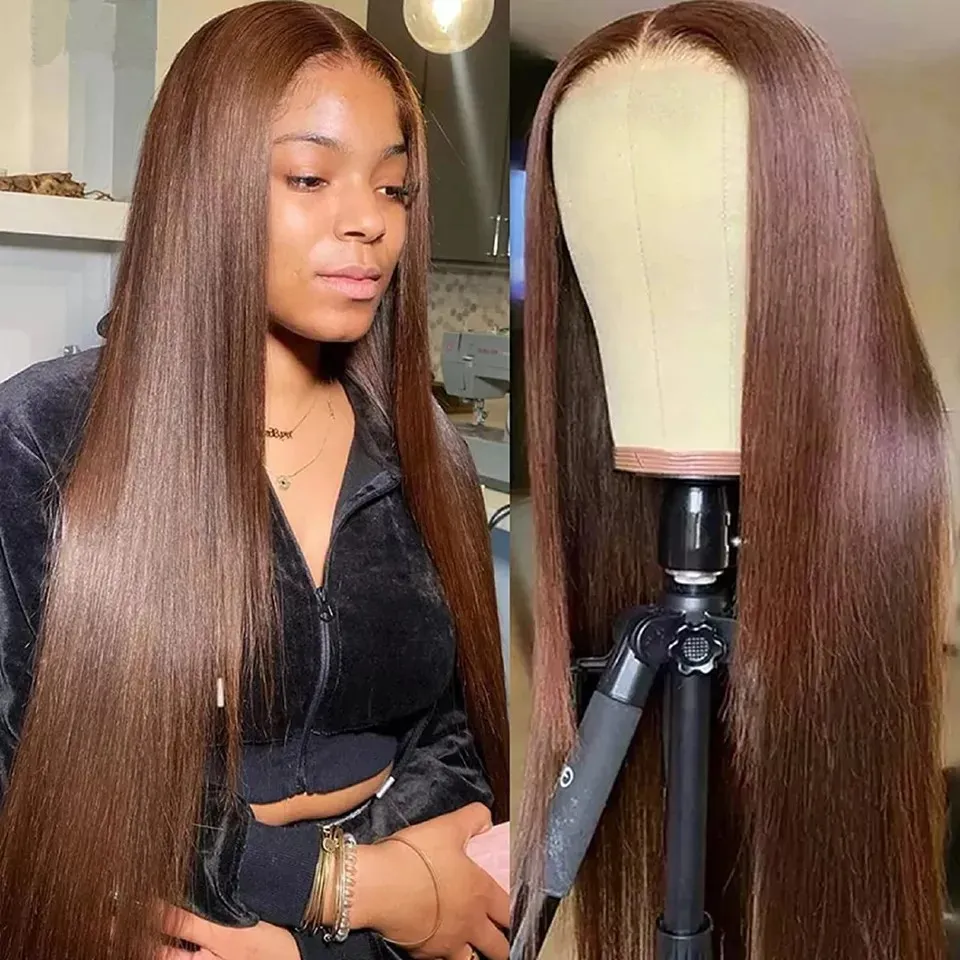






Making your own wig is the most advanced skill in the wig world. It takes 20–40 hours of handwork for a full lace wig, costs $100–300 in materials for your first attempt, and has a steep failure curve — most people's first DIY wig is not wearable. But if you want a wig that fits your exact head shape, uses the exact hair you choose, and costs one-third of what a custom wig maker charges, making it yourself is the only path. Here is the process, from measuring to finishing, designed for someone who has never ventilated a strand in their life.

You need six measurements. These determine every dimension of the wig cap. Write them down. Do not rely on memory.
The cap is the foundation. A poorly constructed cap will never fit correctly regardless of how good the hair is. You have two options:
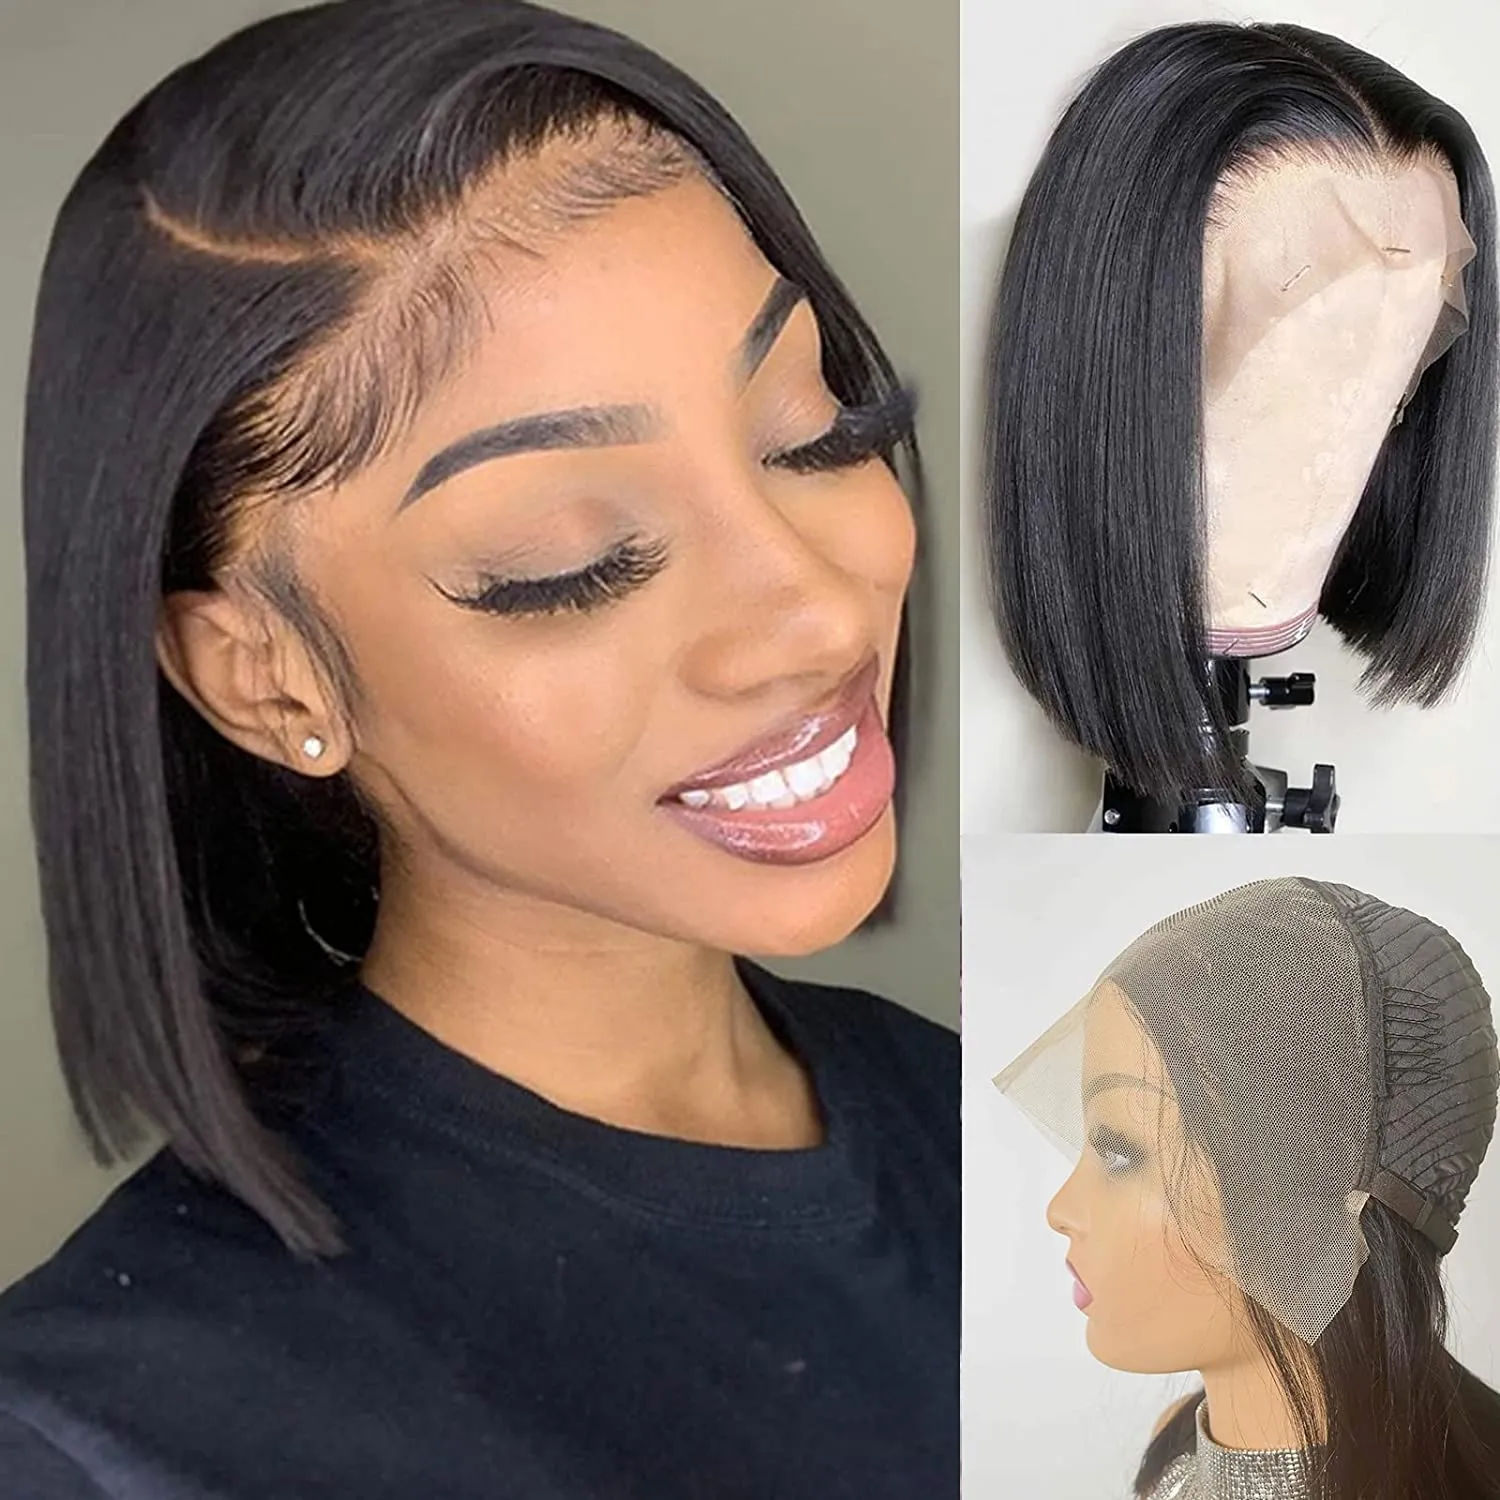
Easier for beginners. Buy a pre-made ventilated lace cap in your size from a wig supply vendor. These caps come with the lace, elastic bands, and mesh crown already constructed. You skip directly to ventilating the hair. Cost: $15–40. Time saved: 2–4 hours.
Full custom fit. You construct the cap yourself on a canvas block head that exactly matches your measurements. You attach lace to the front, mesh to the crown, and elastic to the nape. Tools needed: sewing needle, polyester thread, lace, mesh, elastic, canvas block head. More work, better fit.
You need 2–3 bundles of wefted hair (for a machine-sewn cap) or 100–150 grams of bulk hair (for a ventilated lace cap). Human hair is the standard for DIY wig making — it ventilates cleanly and lasts longer. Synthetic hair can be used but is harder to ventilate because the fiber is more slippery than human hair.
Wash the hair in cool water with clarifying shampoo. Air dry. Comb through to remove tangles. If using bulk hair, sort it by length — the longest strands go at the nape, the shortest at the crown for natural layering.
This is the core of wig making. Ventilating is the process of knotting individual strands of hair into the lace or mesh cap using a ventilating needle. Each knot holds 1–3 strands. A full wig contains tens of thousands of knots. This step cannot be rushed.
Tools: Ventilating needle (size 1 or 2 for most hair types), ventilating holder or pin, good lighting, patience.
Technique:
The hair should be ventilated in the direction it will fall — forward at the front, downward at the crown and nape. Ventilating against the growth direction creates hair that stands up or lies flat in unnatural ways.
Once all the hair is ventilated, the knots on the lace front will be visible as tiny dark dots. Bleach them to make the hairline invisible.
Your first DIY wig will take 30–40 hours and will probably not look as good as a factory-made wig that costs $200. Your third DIY wig will take 15–20 hours and will look better than anything you can buy off the rack for under $800. The learning curve is real, but so is the payoff. If you wear wigs daily and have specific requirements that commercial wigs do not meet — unusual cap size, specific hair texture, particular density — DIY wig making eventually pays for itself in both money and fit. If you wear wigs occasionally and are happy with off-the-rack quality, the time investment is probably not worth it.
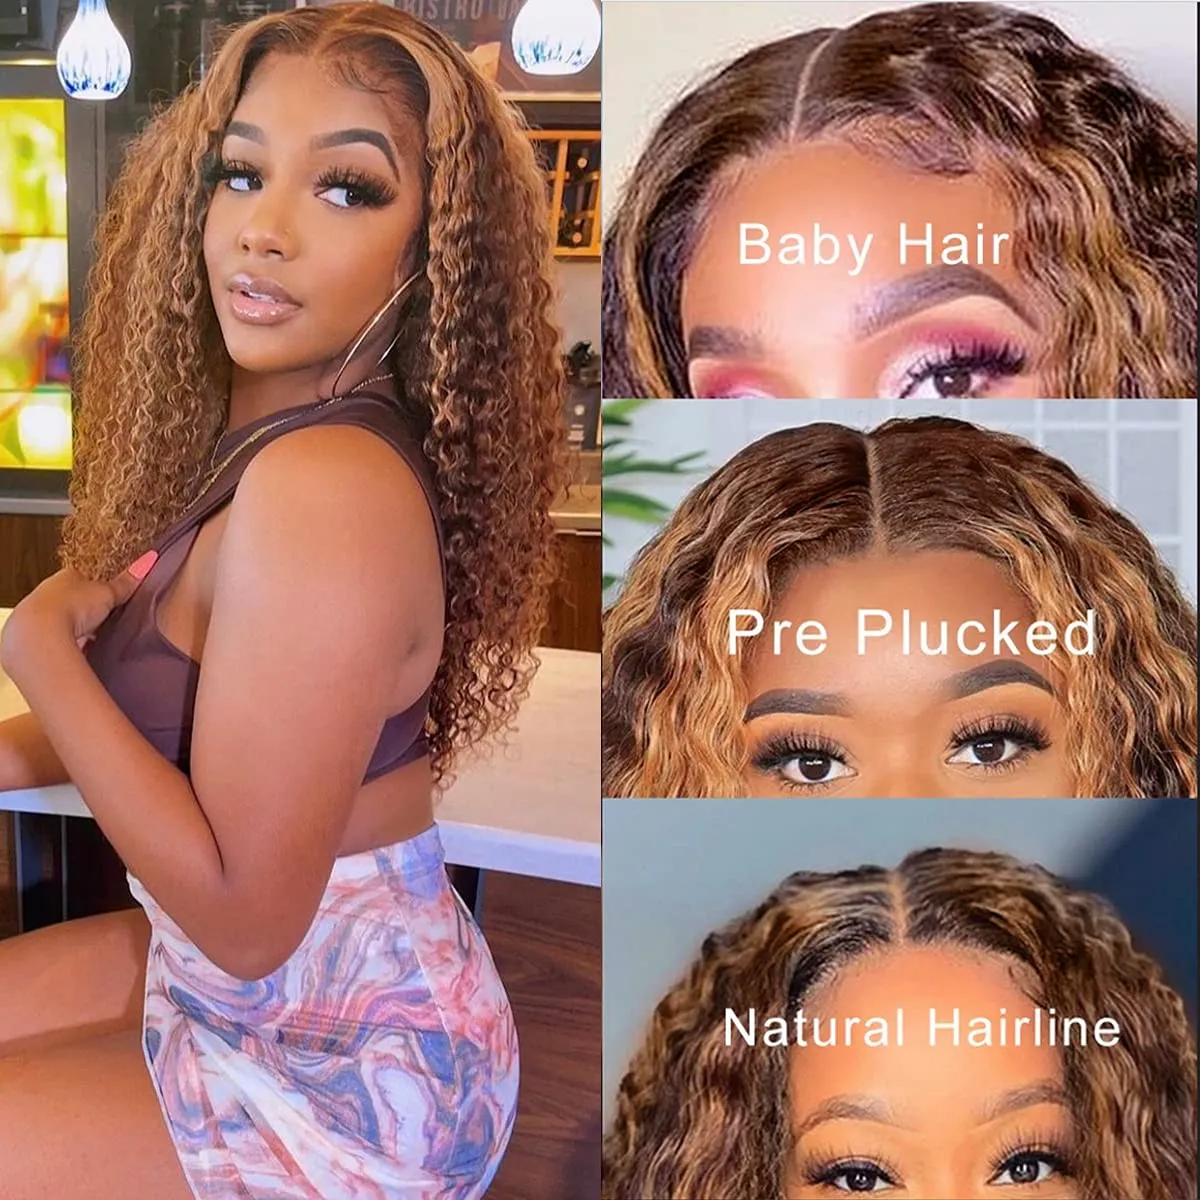
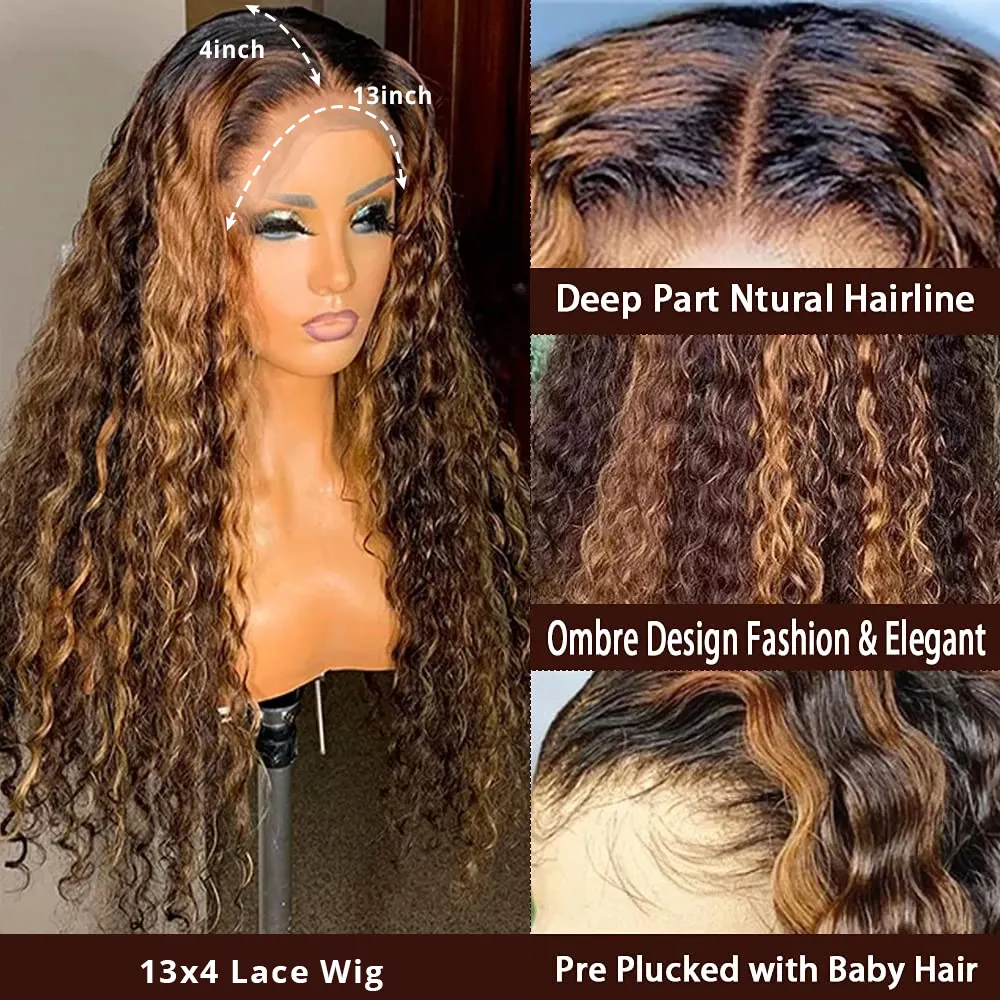
Not ready to make your own? We stock custom-sized wigs with HD lace, pre-plucked hairlines, and bleached knots — the quality of a custom unit without the 40-hour time investment.