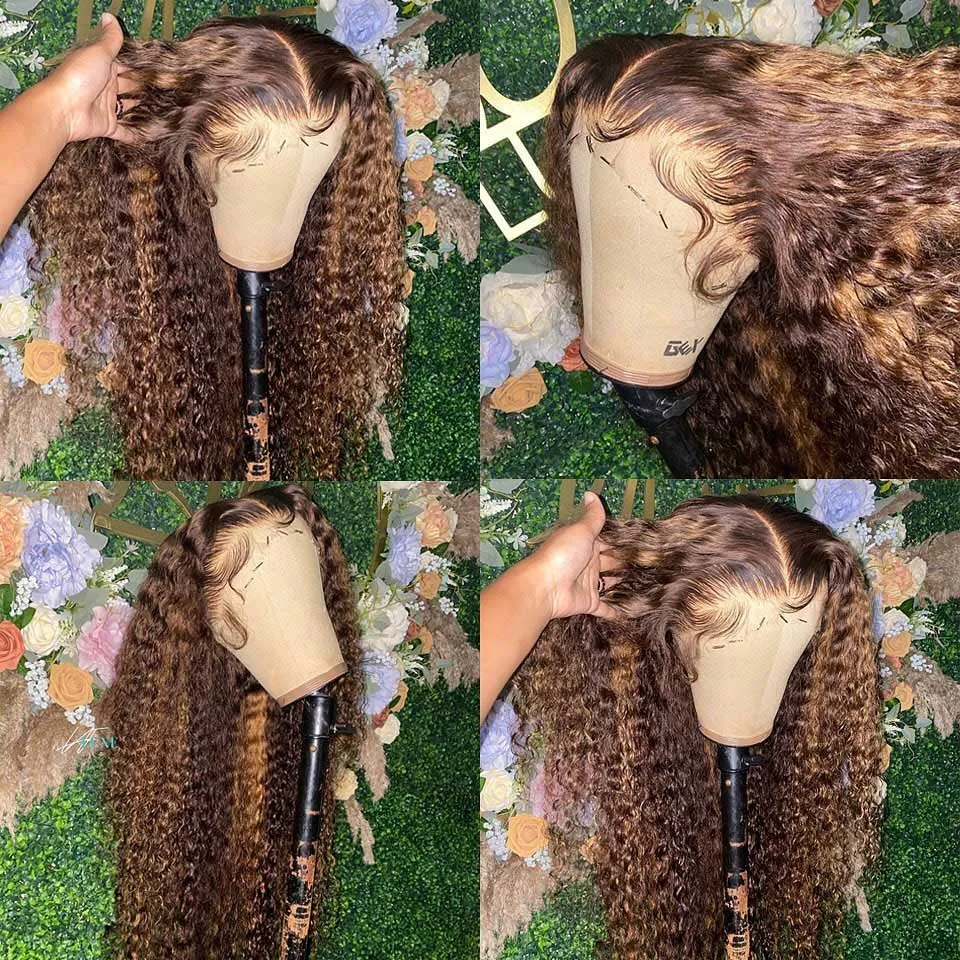
A wig cap is the foundation that decides whether a DIY wig feels secure or keeps fighting you. For most wearable wigs, the easiest route is not making the stretchy fabric from scratch; it is shaping a dome cap, mesh cap, or stocking cap to your head measurements and sewing hair or wefts onto it.
Start with measurements, not sewing
Measure your head circumference, front hairline to nape, ear to ear over the crown, and temple to temple around the back. Put a dome cap on a canvas block that matches those numbers. Pin the cap smoothly without stretching it so far that it shrinks later on your head.
For costume or craft wigs
Yarn and paper wigs can use a beanie, swim cap, or handmade base. Hard caps for dolls or display wigs often use plastic wrap, tulle, glue, and layers, but that method is not comfortable for everyday human wear.
Where beginners go wrong
They make the cap too tight, ignore ear placement, or forget that hair underneath adds bulk. Leave a little room for your natural hair, wig grip, or liner. A perfect cap on a bare block may feel too small on your real head.
Bottom line
To make a wig cap, shape an existing dome or mesh cap to your measurements, pin it flat, mark the hairline and nape, then build from there. A good cap is boring, comfortable, and invisible under the finished wig.